
Stone Veneer on Curved Surfaces: Expert Tips for Columns, Arches, and Rounded Walls
Share
Originally posted January 14, 2025, updated May 1, 2026.
Yes, manufactured stone veneer can be installed on curved or round surfaces like columns, arches, and fireplace surrounds. Success depends on using smaller stone pieces, precise cutting, and proper mortar techniques for a seamless, durable result.
Manufactured stone veneer has become a go-to choice for homeowners, designers, and contractors seeking the beauty of natural stone without the weight and expense. Its versatility allows it to enhance fireplaces, foundation walls, columns, arches, and even curved exterior features. But when it comes to round or curved surfaces, many wonder whether stone veneer can adapt to the shape without looking awkward or uneven. The answer is yes, but success depends on selecting the right stone, preparing surfaces properly, and using careful installation techniques. For more information on stone veneer for columns, posts, pillars, and arches, see our complete guide: stone veneer columns, posts, pillars, and arches.
In this post, we’ll walk through everything you need to know about installing manufactured stone veneer on curved surfaces, including design considerations, step-by-step techniques, and tips for achieving a professional, long-lasting finish.
Understanding stone veneer on curved surfaces
Unlike flat walls, curved surfaces require more flexibility in both stone selection and mortar application. While stone veneer panels are excellent for straight walls, their rigidity makes them unsuitable for rounded features. Individual manufactured stone pieces, on the other hand, can be arranged and adjusted to follow curves without leaving unsightly gaps.
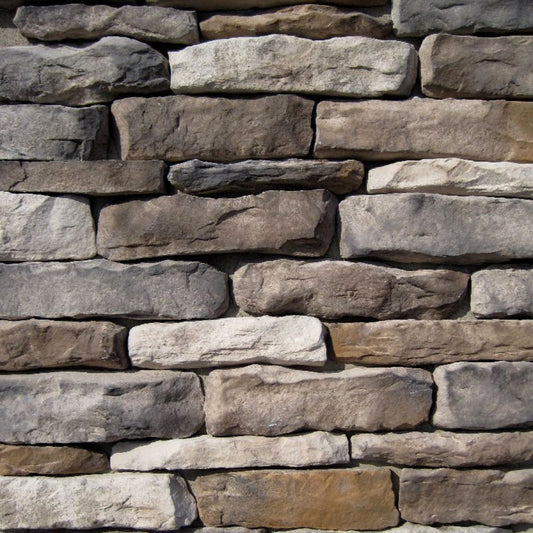
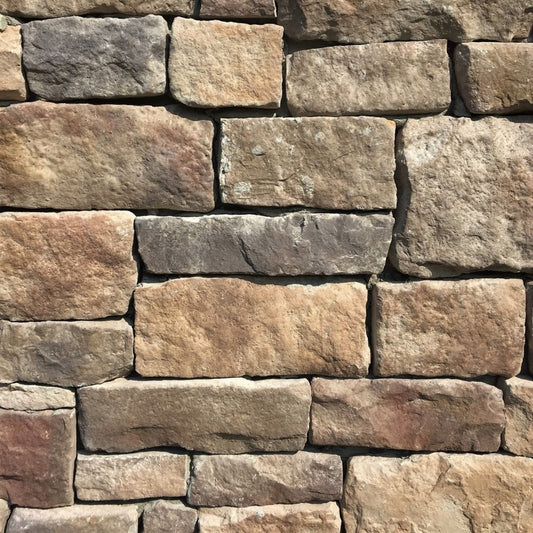
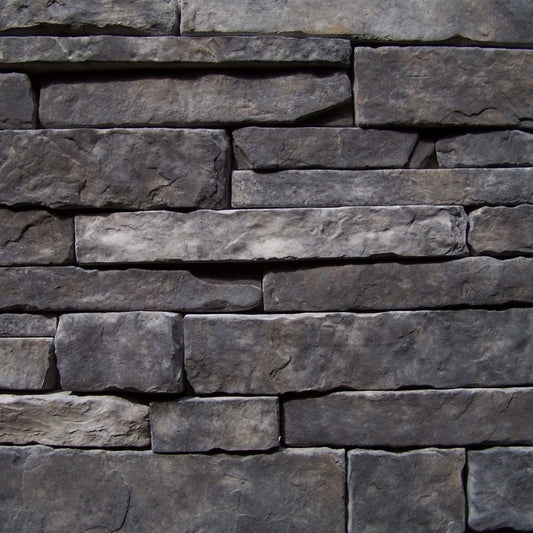
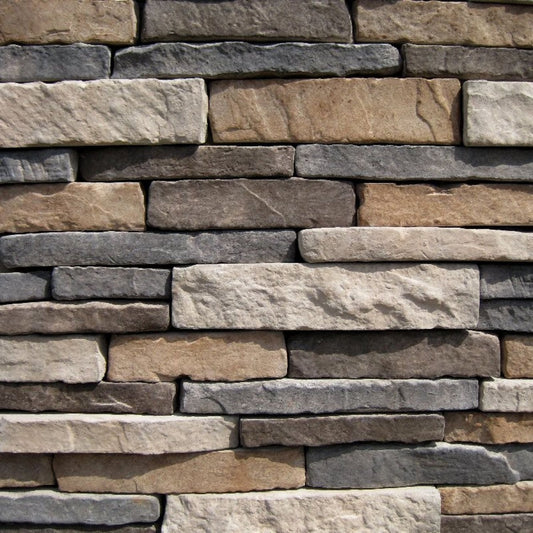
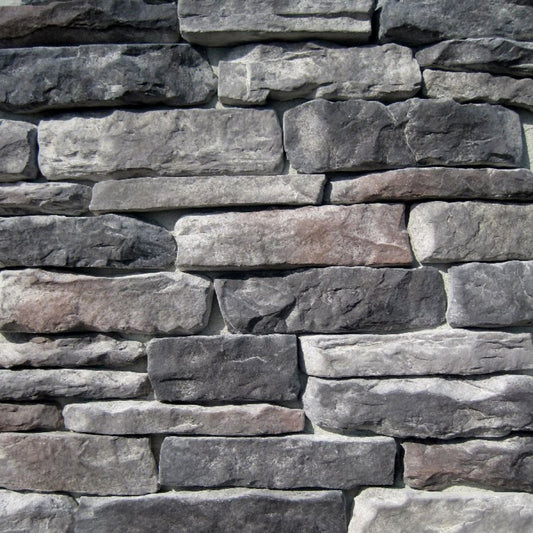
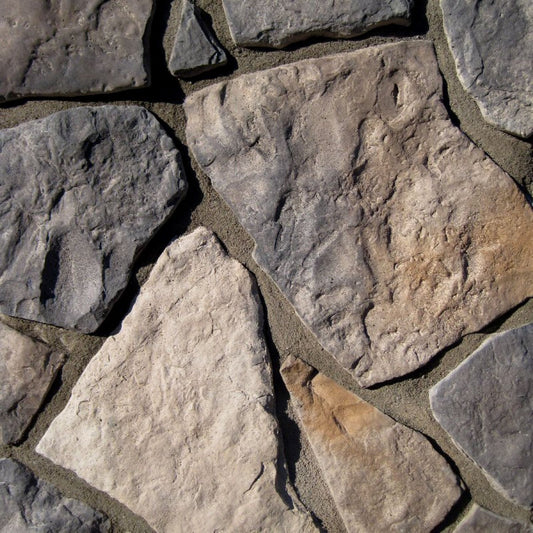
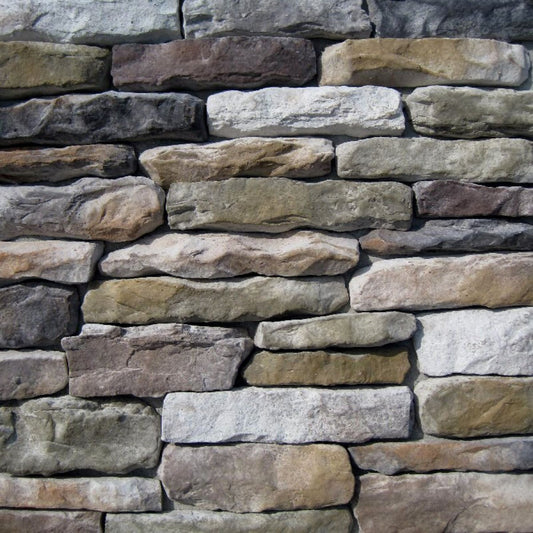
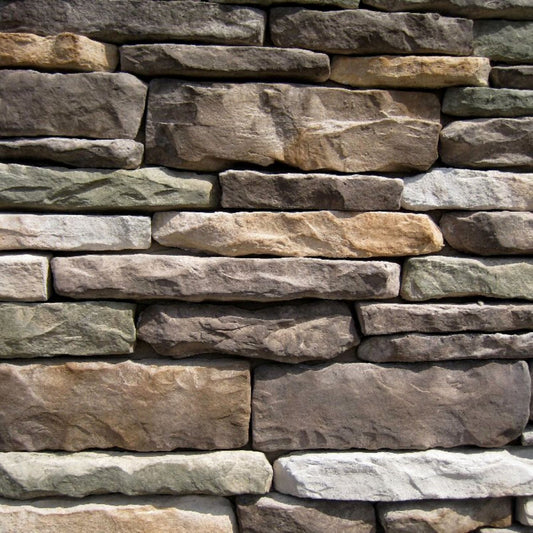
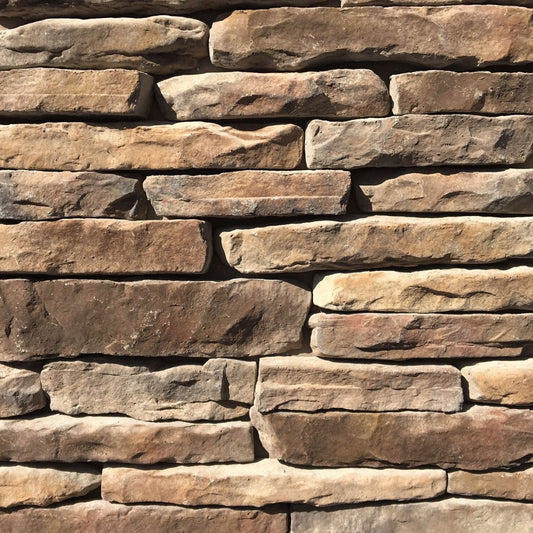
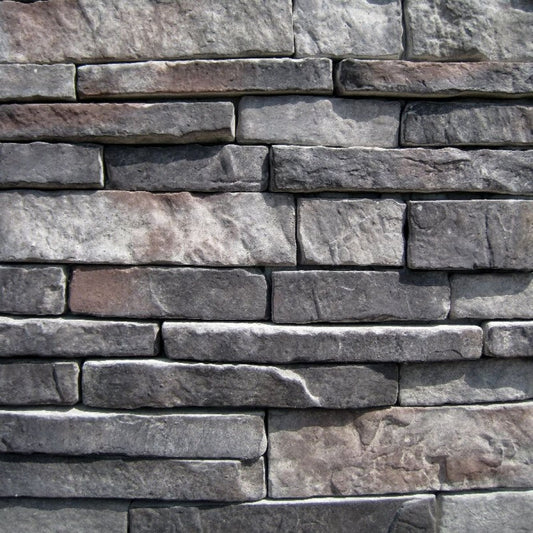
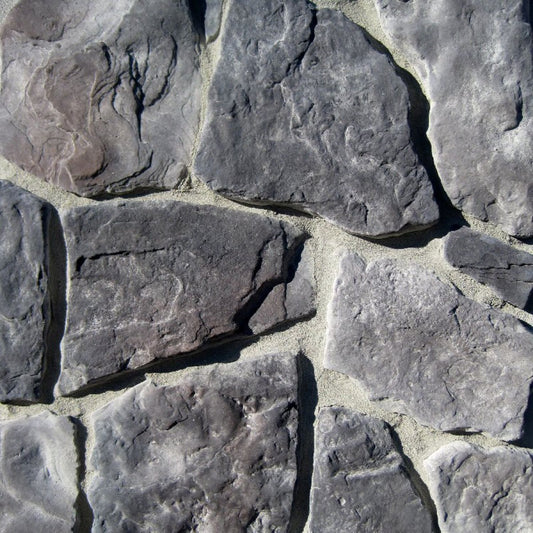
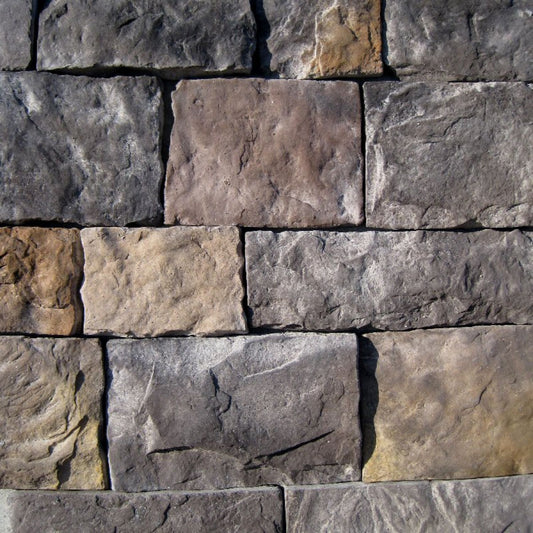
Choosing the right stone profile is critical. Smaller, irregularly shaped pieces, such as ledgestone or stacked stone, naturally adapt to curves. Larger, uniform stones can be more difficult to fit and may create awkward angles or forced gaps. For tight curves, like narrow columns or archways, trimming stones may be necessary to maintain a seamless appearance.
Another key consideration is the mortar joint. Curved applications often require slightly varied joint widths to accommodate the changing radius. Adjusting mortar thickness allows the stones to sit flush while maintaining a natural flow.
Preparing surfaces for curved stone veneer installation
The key to a successful curved stone veneer project starts with proper surface preparation. If you’re new to the process, our DIY stone veneer installation guide covers the fundamentals in detail, helping you build a solid foundation before tackling curved applications.
Ensuring the surface is clean, stable, and free of debris is essential for strong adhesion and a long-lasting installation. Remove any dust, dirt, grease, or loose particles, and make sure the area is smooth and ready to receive the stone veneer.
For outdoor or moisture-prone areas, installing a weather-resistant barrier is highly recommended. This layer protects your installation from water damage and helps prevent common issues such as efflorescence or mortar peeling. Afterward, attach corrosion-resistant metal lath to provide a secure, textured base that allows the mortar to bond effectively. This step is especially important on curved surfaces, where even minor movement can compromise the veneer’s stability.
Once the lath is in place, apply a scratch coat of mortar. Spread a thin, even layer and lightly score it with a notched trowel to create texture. The scored surface increases adhesion, ensuring that the stones lock into place securely. Careful preparation at this stage is critical for achieving a seamless, professional look, particularly on rounded walls, columns, and arches where precision makes all the difference.
Dry fitting and cutting stones
Before applying any mortar, arrange your stone pieces on a flat surface to plan placement. Dry fitting allows you to visualize how the stones will flow along the curve and determine which pieces need trimming. For rounded surfaces, dry fitting is particularly important because even small variations in stone shape can disrupt the natural curve.
Cutting stones to fit is often necessary, especially on tight radii. A wet masonry saw with a diamond blade is ideal for precise cuts, while a grinder can handle smaller adjustments. Mixing different stone sizes and shapes helps maintain a natural look along the curve. Careful planning at this stage can save significant time during the actual installation and prevent costly mistakes.
Applying mortar and installing stone
Once your stones are dry fitted and ready, it’s time to attach them to the prepared surface. For a deeper look at professional installation techniques, see our guide on how to install manufactured stone veneer to refine your approach and achieve a cleaner, more consistent finish.
Start from the bottom and work upward, applying a generous layer of mortar to the back of each piece. This "back buttering" ensures a strong bond with the scratch coat. Press each stone firmly into place, adjusting as needed to fit the curvature.
For tight-fitting curves, slightly rotating or angling stones can help maintain continuity. Optional spacers may be used to keep joints consistent, though many professional installers rely on careful hand placement to achieve a natural, seamless appearance.
Filling joints and finishing the surface
If your design includes visible mortar joints, filling and tooling them properly is essential. A grout bag provides controlled application, while a jointing tool allows you to shape the seams for a polished look. Brushing away excess mortar after it partially sets ensures the finish remains clean and professional.
After the mortar has cured, consider applying a breathable sealant designed for manufactured stone. This protective layer shields the stone from moisture and staining, particularly in outdoor or high-traffic areas, while preserving its natural texture and color.
Common applications for curved stone veneer
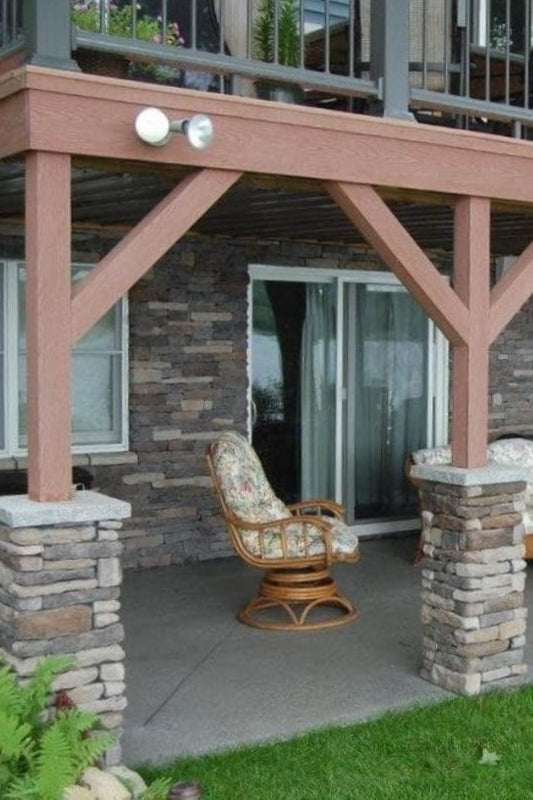
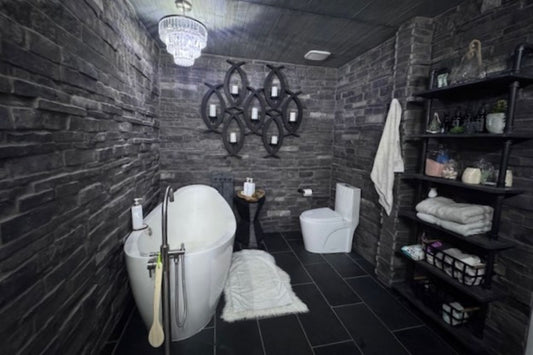
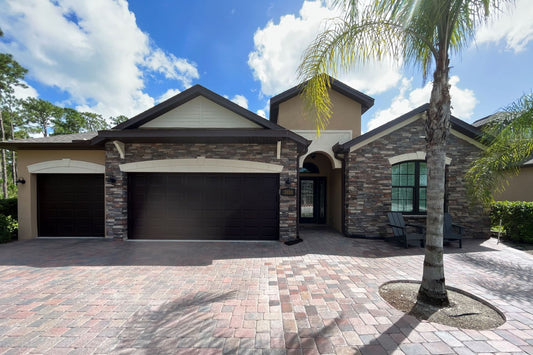
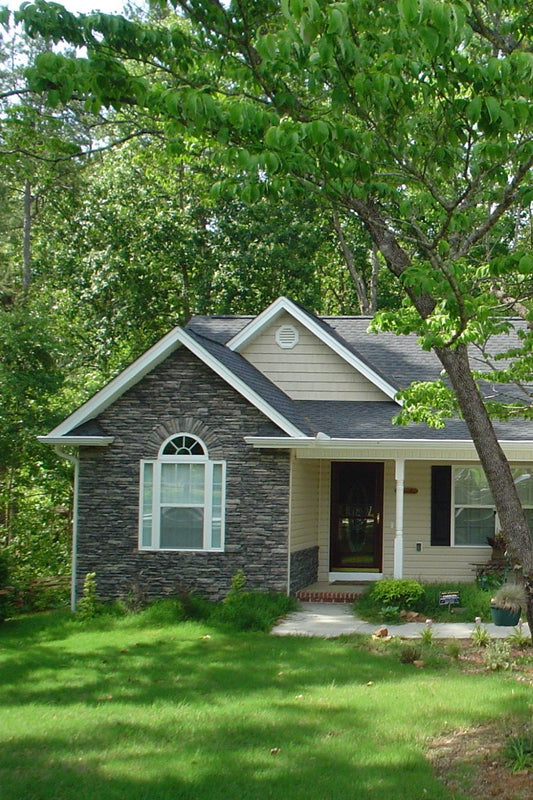
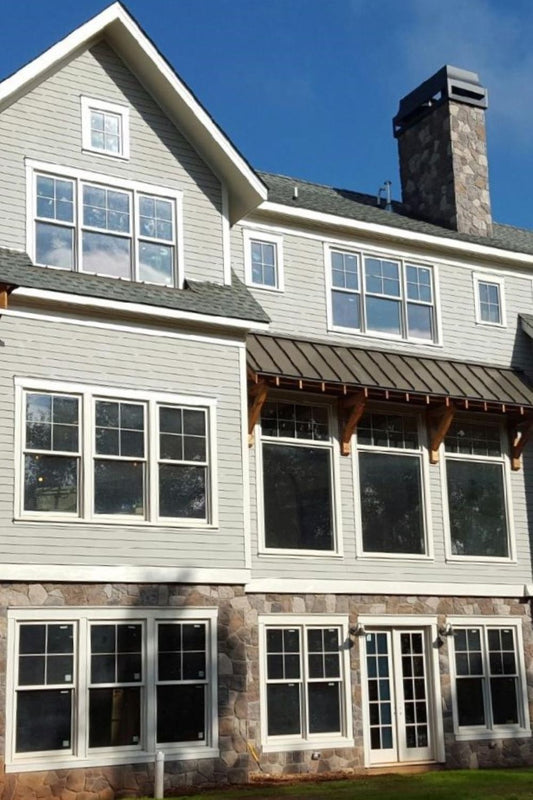
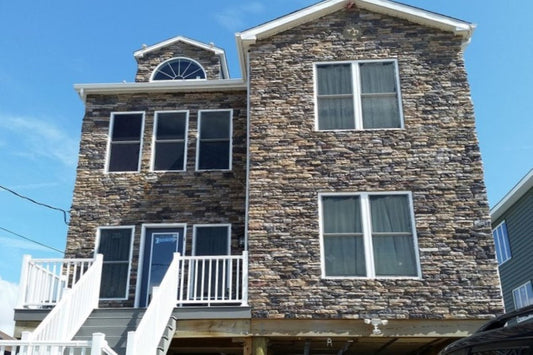
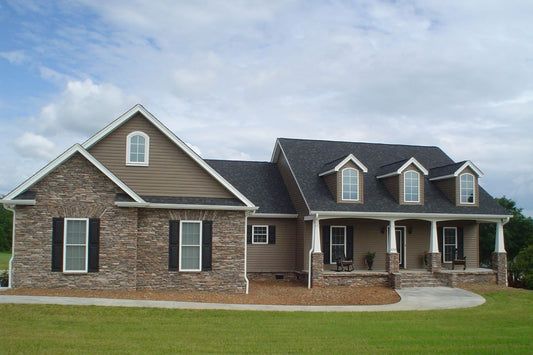
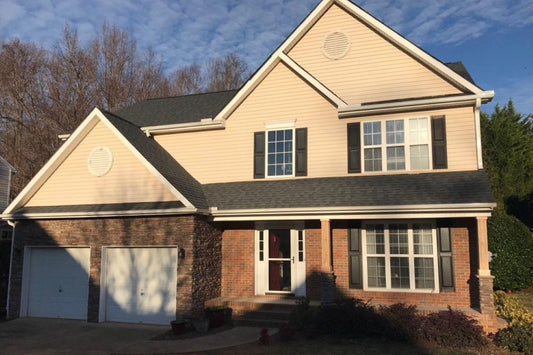
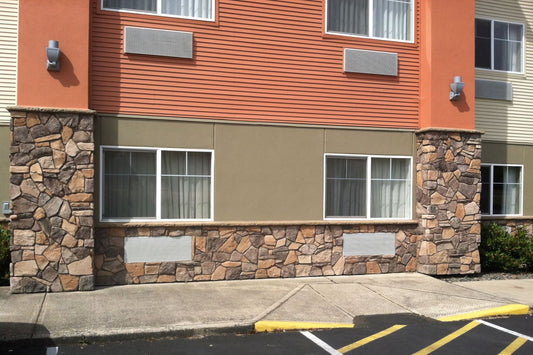
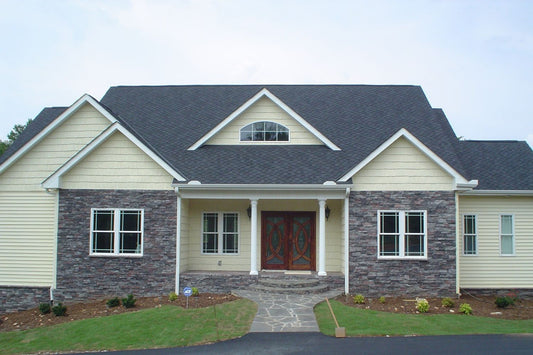
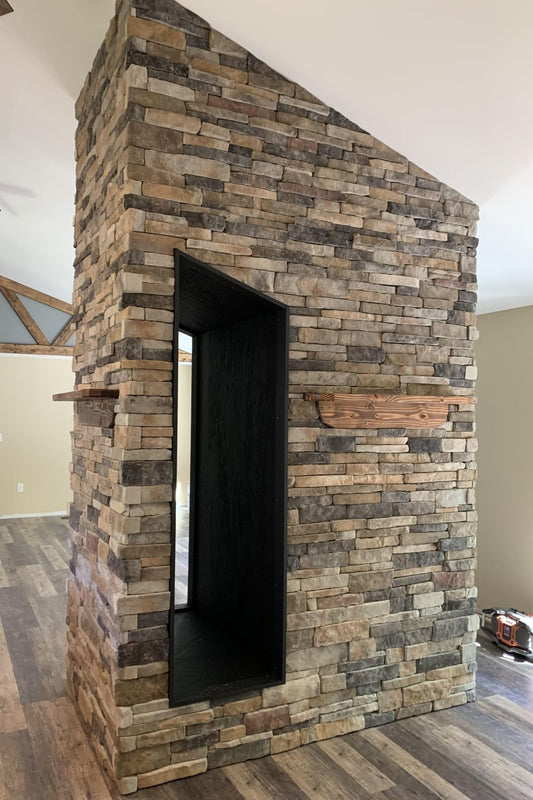
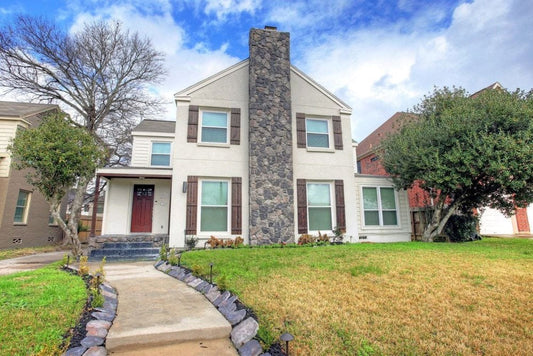
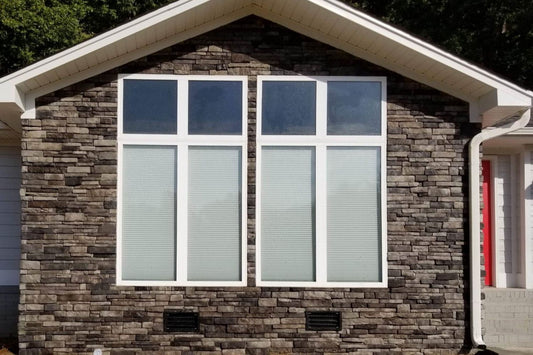
Curved stone veneer installations can dramatically enhance a variety of architectural features. Exterior columns and pillars gain timeless elegance and become focal points for porches and entryways. Rounded fireplace surrounds or chimney stacks can be wrapped in veneer for a cohesive, visually striking appearance. Curved landscape walls and garden features also benefit from the depth and texture of stone, adding dimension to patios and outdoor living areas. Even archways and entryways take on a refined, architectural appeal when accentuated with manufactured stone veneer.
Tips for a successful curved installation
Installing stone veneer on curves is more labor-intensive than flat surfaces, requiring patience, precision, and attention to detail. Choosing smaller, irregular stones allows for a smoother fit along rounded surfaces, while dry fitting before applying mortar reduces errors and gaps. Adjusting mortar thickness accommodates tight or wide curves, ensuring the stone sits flush and looks natural. Hiring an experienced mason can be invaluable, as curved surfaces often require advanced techniques for seamless results. While skilled DIYers can undertake these projects, professional installation guarantees a polished and durable outcome.
Avoid pre-fabricated panels for curved applications, as they are designed for flat walls and do not bend. Individual stones offer the flexibility needed to maintain the integrity of the curve while providing the aesthetic appeal of natural stone.
Durability and maintenance
When installed correctly, stone veneer on curved surfaces is highly durable and long-lasting. Regular inspection for loose stones or deteriorating mortar ensures early intervention if repairs are needed. Applying a quality sealant enhances the stone’s resistance to moisture, staining, and freeze-thaw cycles in colder climates. Interior installations benefit from occasional dusting or gentle cleaning, while exterior surfaces may require periodic rinsing to maintain their appearance.
Stone veneer on curved surfaces
Curved surfaces, from columns and archways to rounded fireplace surrounds, offer unique opportunities to showcase the beauty of manufactured stone veneer. With careful planning, the right materials, and expert techniques, you can create a seamless, durable, and visually striking installation that enhances any space.
From Mountain View Stone: what you should know
At Mountain View Stone, we know that installing manufactured stone veneer on curved surfaces requires careful planning, the right stone selection, and precise techniques to achieve a seamless, long-lasting finish. Smaller, irregular stones are ideal for rounded features, and dry-fitting pieces before applying mortar ensures a natural flow along the curve. Proper surface preparation, attention to mortar joints, and patience during installation are essential for a beautiful, durable result, whether you’re a DIYer or working with a professional.
Frequently asked questions
1. Can manufactured stone veneer be installed on curved surfaces? Yes, manufactured stone veneer can be installed on curved walls, columns, and arches. Using smaller, irregular stones and proper mortar techniques ensures a seamless, professional finish.
2. What is the best stone veneer style for round columns and arches? Ledgestone and stacked stone profiles are ideal for curved surfaces because their smaller, varied shapes fit naturally along tight radii.
3. Do I need special tools to install stone veneer on a curve? Standard masonry tools work, but a wet saw or grinder is recommended for trimming stones to fit tight curves and maintain a polished appearance.
4. How can I prevent uneven mortar joints on a curved stone veneer installation? Adjusting mortar thickness and dry-fitting stones before installation allows you to maintain consistent joints and a natural flow along rounded surfaces.
5. Is installing stone veneer on curved walls or columns more expensive than flat walls? Yes, curved installations usually require more labor, precise cutting, and additional stones, which can increase project costs compared to flat wall applications.
6. Can I DIY stone veneer on a round column or archway? Skilled DIYers can attempt it, but curved surfaces are challenging. Hiring a professional mason ensures a seamless, durable installation that looks natural and lasts.
What's next?
Upgrade your space with our high-quality stone veneer! Shop now for the perfect style or order a sample to see the beauty up close. Start your project today!
Have a question?
Please see our full terms of service or check out our frequently asked questions.
For general information and questions please call: (864) 882-8960 Mon. - Fri. 8am - 5pm (EST) or email: info@mountainviewstone.net we are more than happy to help you.
Or you can submit your questions via our contact us page.
We look forward to working with you on your upcoming project.
The Mountain View Stone Team
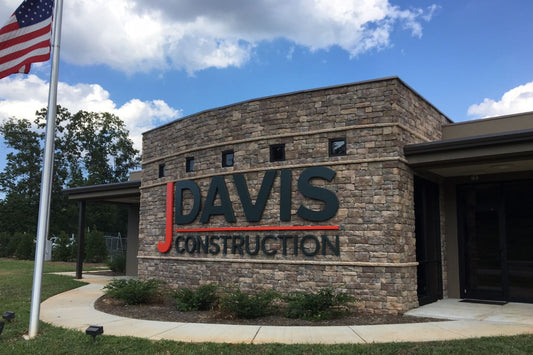
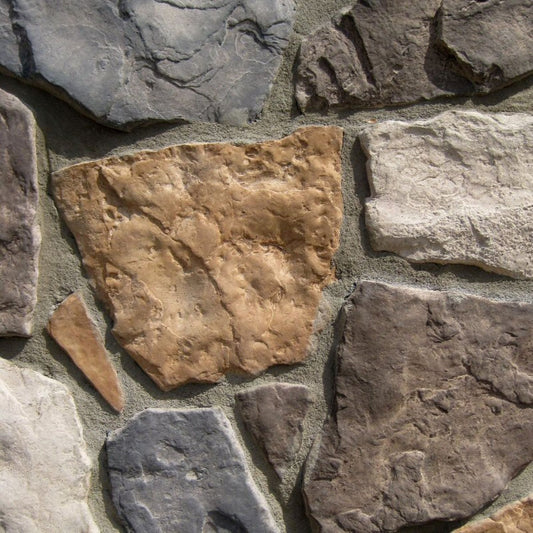
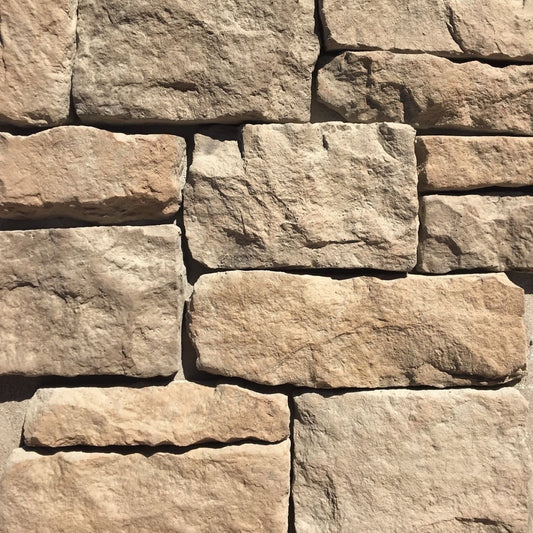
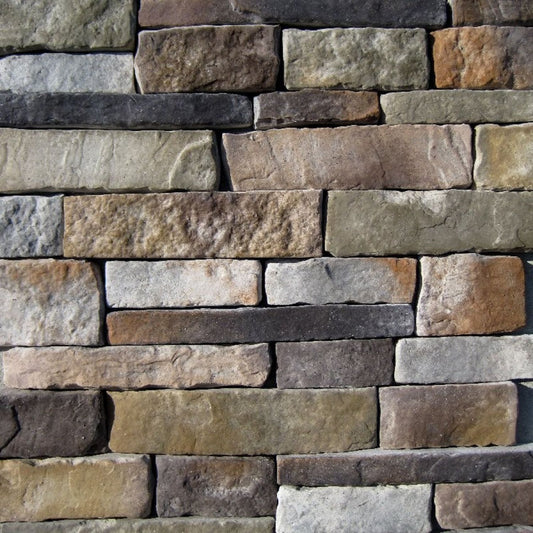
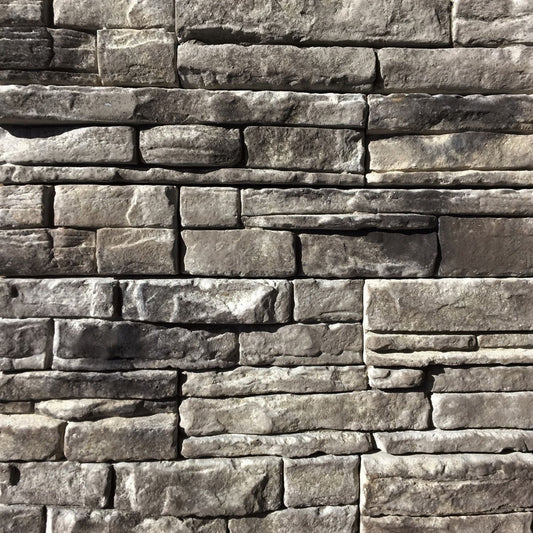
Pictured is hackett stone aspen.


2 comments
Hi Carol,
Thank you for your question and interest in our stone veneer.
Our production facility is in Fair Play, South Carolina which is in the upstate of South Carolina, but we ship orders all over the country. Unfortunately, we do not sell through local distributors, only via our website.
Please let us know if you have any more questions!
Clanton, AL – We have a curved Lake front lot retainer wall acid stained approx 10ft high 95ft in length. Want to place your prefab type manufactured panels. Do you have a contractor in this area that can provide a quote ? Lay Lake Dam area.