
How to Install Manufactured Stone Veneer on Columns, Posts, and Pillars
Share
Installing manufactured stone veneer on columns, posts, and pillars requires a properly prepared substrate, weather-resistant barrier for exterior applications, metal lath, a scratch coat, Type S mortar, and matching corner pieces. Start at the bottom, install corners first, stagger joints for a natural appearance, maintain consistent mortar coverage, and finish with your preferred grout style for a durable, professional-looking result.
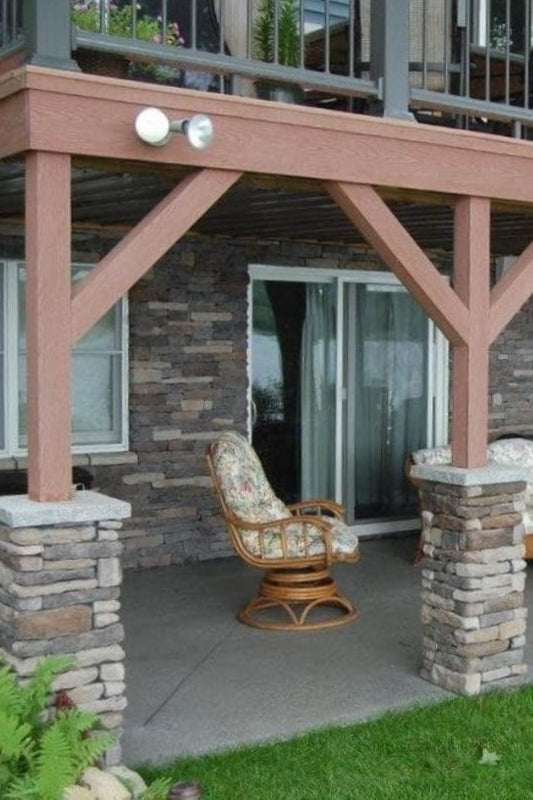
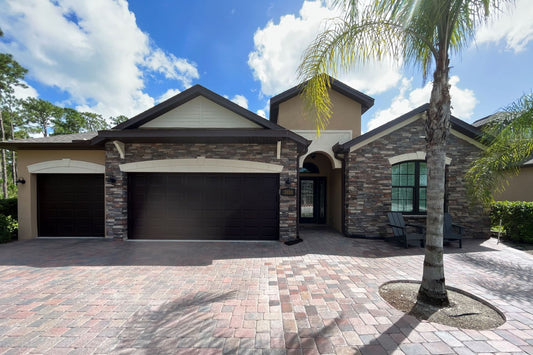
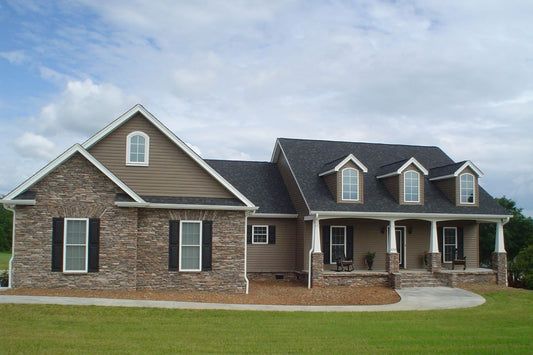
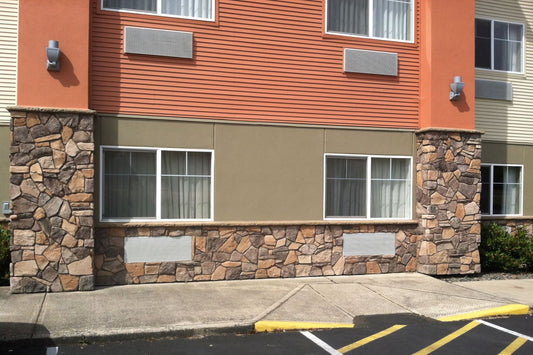
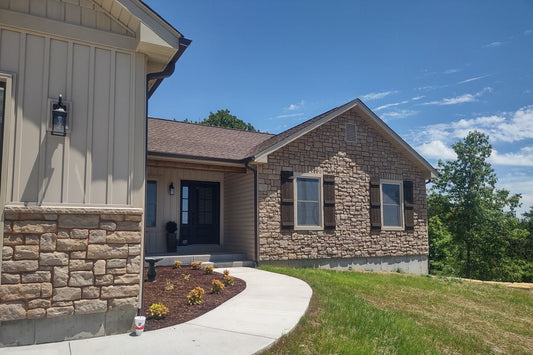
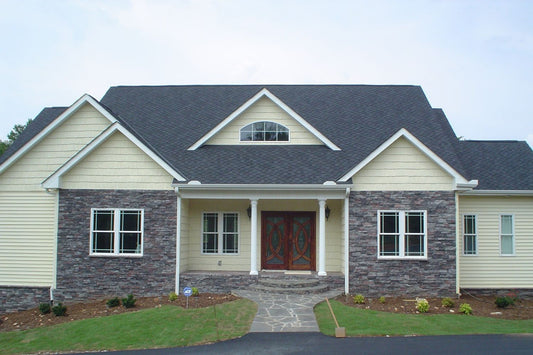
Columns, posts, and pillars are among the most effective places to install manufactured stone veneer. Whether framing a front porch, supporting an entryway, surrounding a mailbox, or enhancing outdoor living spaces, stone-clad columns instantly add architectural character and increase curb appeal. Learn more about designing and installing these features in our complete guide to stone veneer columns, posts, pillars, and arches. They create visual weight, complement a home's exterior, and deliver the timeless appearance of natural stone without the cost or structural requirements of full-depth masonry.
While installing manufactured stone veneer on a column follows many of the same principles as installing it on a flat wall, there are several important differences. Outside corners, limited working space, and maintaining consistent joint patterns all require careful planning. Fortunately, with proper preparation and installation techniques, homeowners and contractors can achieve a clean, professional finish that lasts for decades.
This post explains how to install manufactured stone veneer on columns, posts, and pillars, including substrate preparation, corner installation, mortar application, and finishing techniques that produce the most natural-looking results.
Why Stone Veneer Works So Well on Columns
Columns naturally attract attention because they project from the main structure of a building. Covering them with manufactured stone veneer transforms ordinary framing or concrete into an elegant architectural feature.
Unlike natural full-bed stone, manufactured stone veneer is lightweight, making it suitable for many existing structures without requiring additional foundation support. It replicates the texture, color variation, and depth of natural stone while remaining much easier to install.
Stone veneer columns work equally well on front porches, entryways, covered patios, outdoor kitchens, fireplaces, gate entrances, fences, pergolas, and decorative landscape features.
Because columns are viewed from multiple angles, careful installation is even more important than on flat walls. Proper corner alignment and balanced stone placement greatly improve the finished appearance.
Choose the Right Stone Profile
Nearly every manufactured stone profile can be installed on columns, although the visual effect varies considerably.
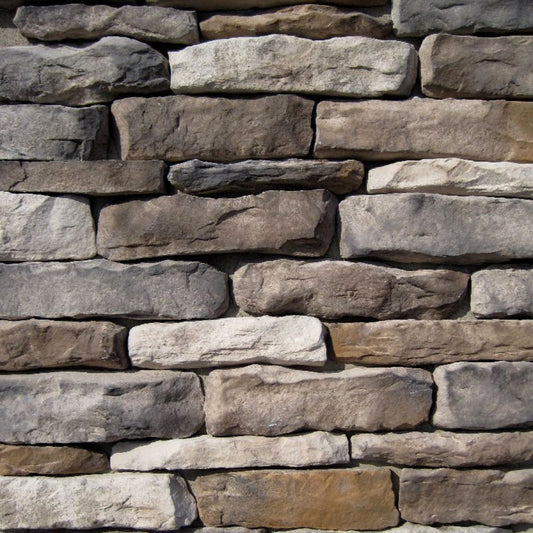
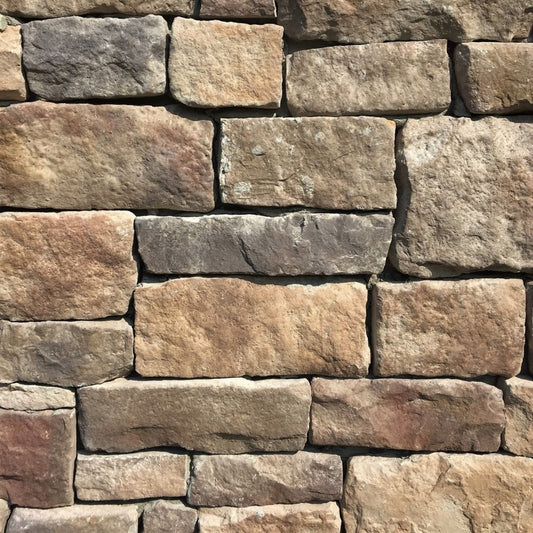
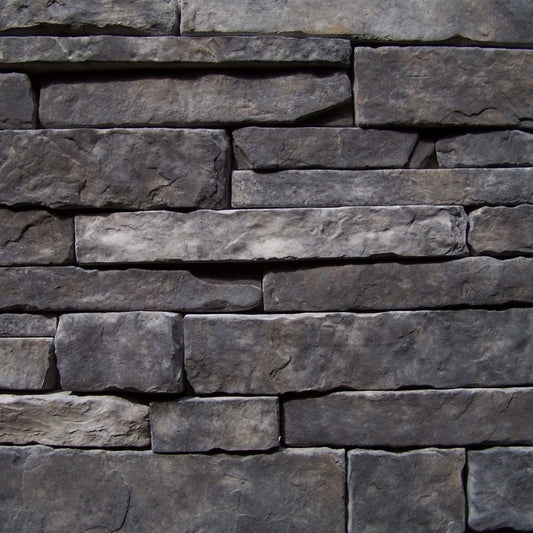
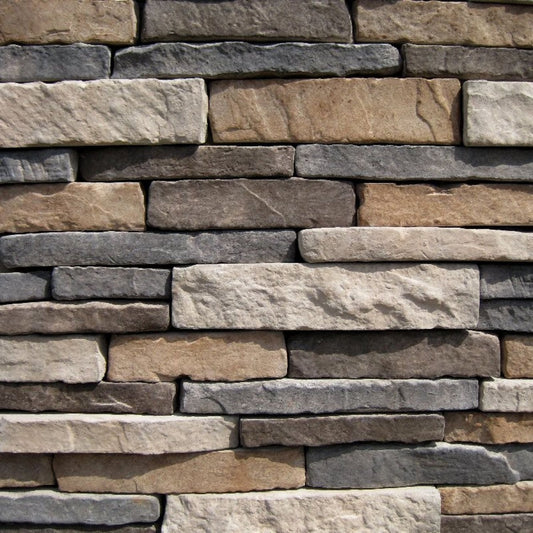
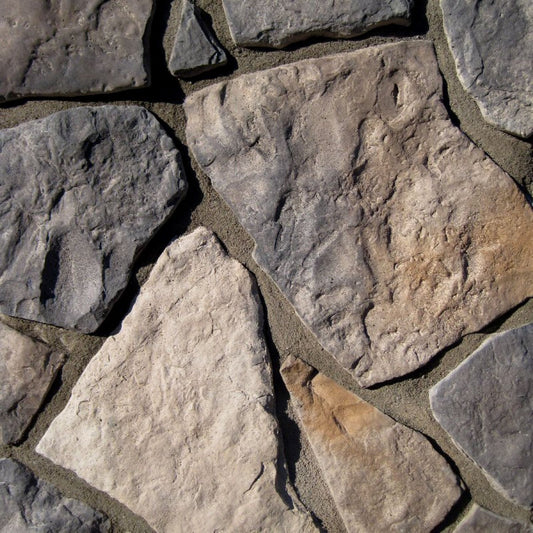
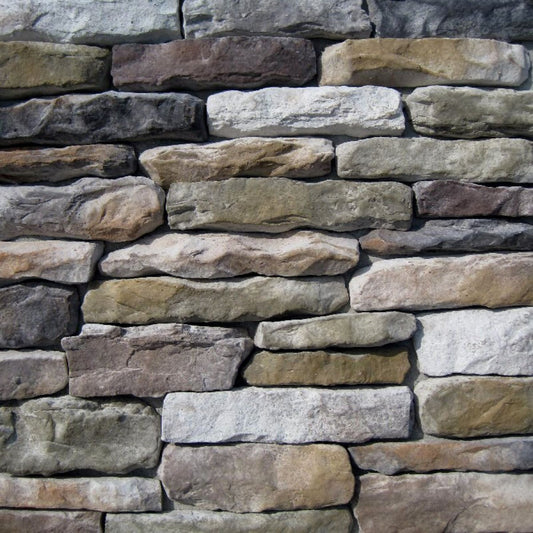
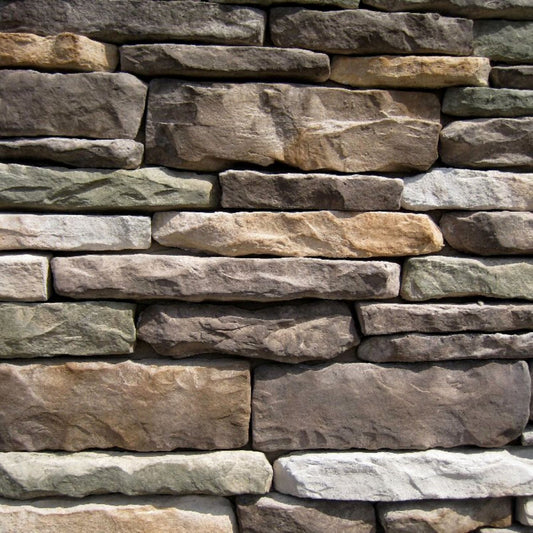
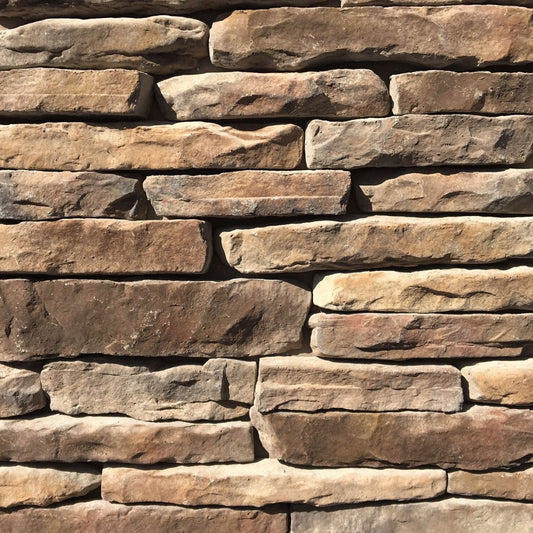
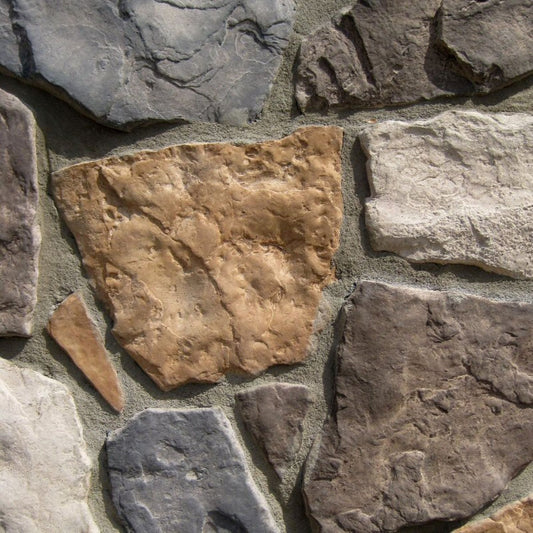
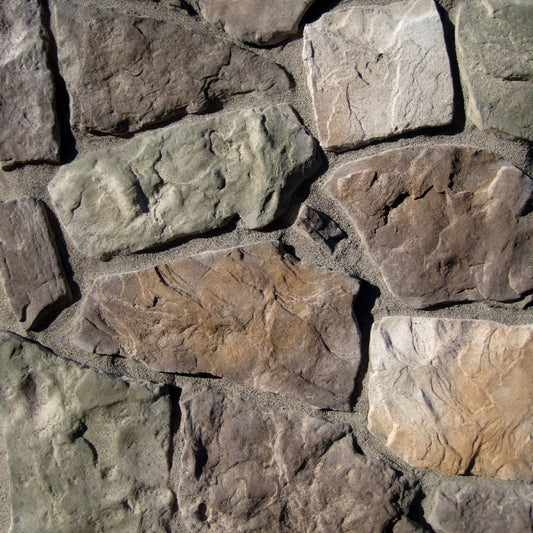
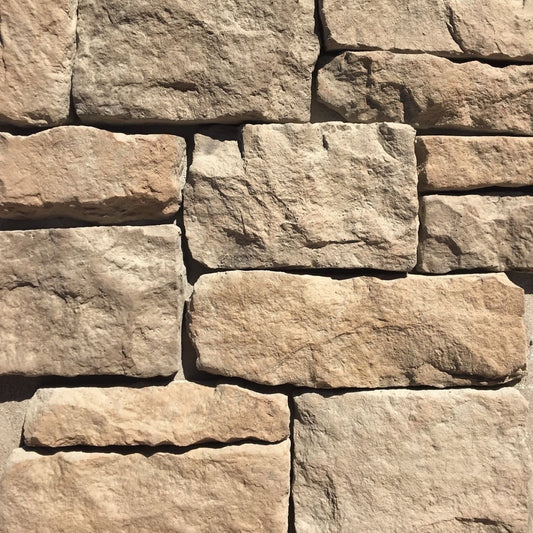
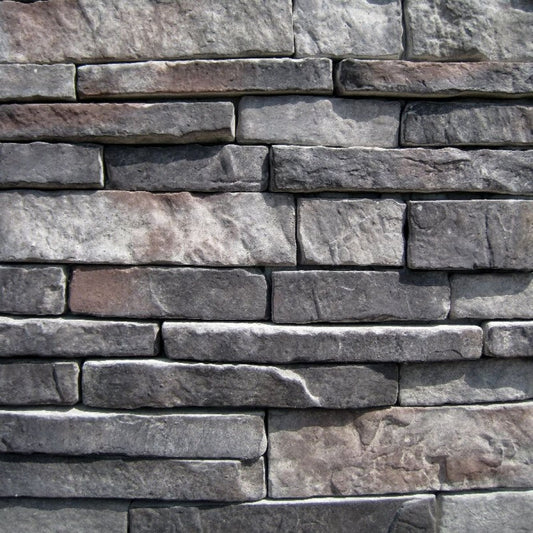
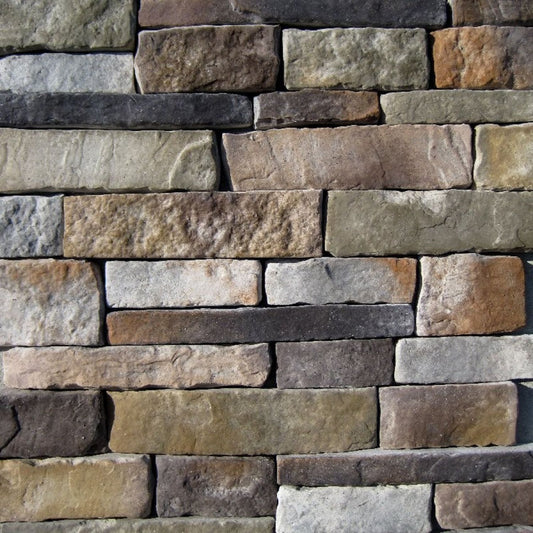
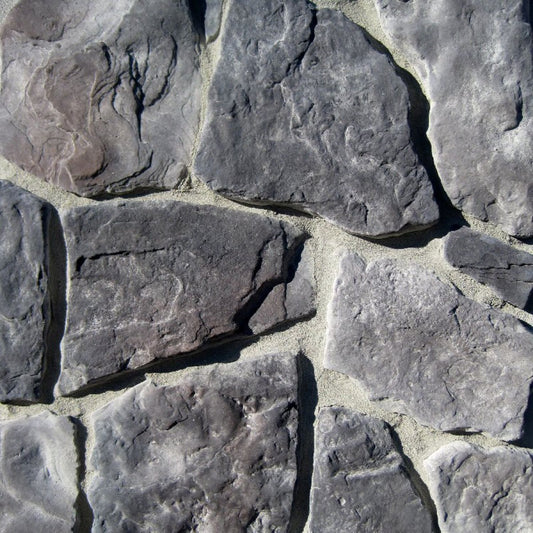
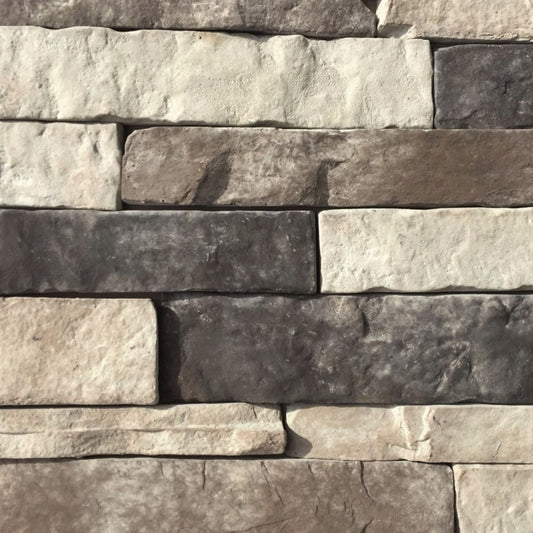
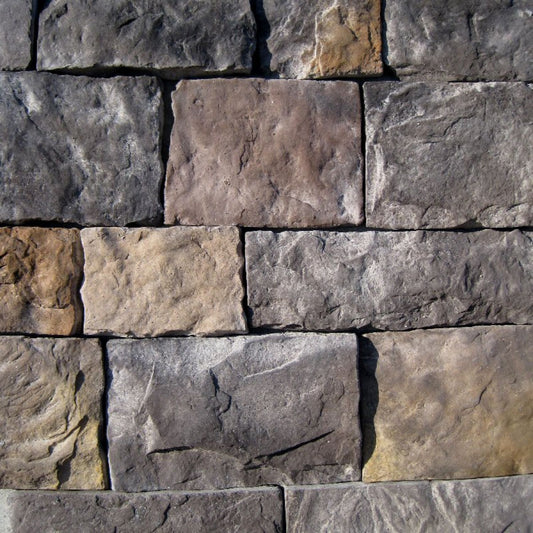
Stacked stone produces a modern dry-stack appearance with minimal visible mortar joints. Fieldstone offers a more traditional, handcrafted look with irregular stone sizes and generous grout joints. Limestone and ashlar profiles provide formal architecture with rectangular shapes and clean courses.
Before beginning installation, dry-lay several stones on the ground to understand how the sizes and textures work together around the width of your column.
Preparing the Column Before Installation
A successful installation starts with proper substrate preparation. The stone veneer is only as reliable as the surface beneath it.
Wood-framed exterior columns require a weather-resistant barrier followed by galvanized metal lath securely fastened to the framing. A scratch coat is then applied over the lath to create a solid bonding surface for the mortar.
Concrete masonry units, poured concrete, and properly prepared masonry surfaces may require less preparation depending on their condition, but they should always be clean, structurally sound, and free from dirt, paint, oils, or loose material that could interfere with mortar adhesion.
Even though columns have less surface area than walls, they are exposed to significant weather conditions. Proper preparation helps prevent moisture intrusion and ensures long-term performance.
Measure and Plan the Layout
Before mixing mortar, carefully measure each side of the column.
Columns are highly visible from every direction, making balanced stone placement especially important. Rather than simply working around the column as you go, plan how the stones will wrap each corner.
Laying out stones beforehand allows you to distribute larger and smaller pieces evenly while avoiding awkward cuts near the top of the column.
Whenever possible, avoid creating obvious repeating patterns. Manufactured stone is designed to replicate natural masonry, and random placement creates the most authentic appearance.
Install Matching Corner Pieces First
Corner pieces are the foundation of every column installation.
Manufactured stone veneer corner units are designed with long and short returns that wrap around the edge of the column, creating the illusion of full-thickness natural stone.
Begin installation at the bottom of each corner using Type S mortar. Alternate the long and short legs of each corner piece as you work upward. This alternating pattern mimics traditional masonry construction and prevents visible repetition.
Installing all corner pieces first establishes the framework for filling the flat faces between them.
Carefully check each course with a level to ensure the column remains straight as the installation progresses.
Apply Type S Mortar Correctly
Type S mortar provides the strength and flexibility required for manufactured stone veneer installations.
Apply mortar to both the back of each stone and the prepared substrate using the buttering method. Press each stone firmly into place while slightly rotating it to collapse the mortar ridges and achieve full contact.
A small amount of mortar squeezing from the edges indicates good coverage. Any excess mortar should be removed before it hardens.
Avoid using construction adhesives, mastic, or thin-set products. Manufactured stone veneer is designed to be installed using mortar, and alternative adhesives may not provide adequate long-term performance.
Fill the Faces Between the Corners
Once the corner pieces are installed, begin filling the flat faces of the column.
Work from the bottom upward while maintaining consistent spacing between stones if installing a grouted profile. For dry-stack profiles, carefully fit stones together according to the manufacturer's recommended joint spacing.
Periodically step back and view the column from multiple angles. Since columns are visible from every side, slight inconsistencies become much more noticeable than they do on large walls.
Mix stone sizes, textures, and colors evenly throughout the installation to create a natural appearance.
If cuts become necessary near the top of the column, distribute them evenly instead of concentrating several small pieces in one location.
Maintaining Proper Alignment Around the Column
One of the biggest challenges when installing stone veneer on columns is keeping courses aligned around all four sides.
As installation progresses, regularly check that mortar joints remain level and that corners continue wrapping naturally around the column.
Small adjustments made early are almost invisible, while larger corrections near the top often become very noticeable.
Taking time to check alignment every few rows results in a much more professional finished project.
Grouting and Joint Finishing
Once the stones have set sufficiently, grout the joints if your chosen profile requires it.
A grout bag allows mortar to be placed neatly between stones without excessive cleanup. After the mortar reaches thumbprint hardness, strike the joints using the desired joint tool to create a consistent finish.
Some homeowners prefer standard recessed joints for a traditional appearance, while others choose over-grouted joints for a rustic, old-world style.
Regardless of the finish, remove loose mortar with a soft brush after it begins to harden. Avoid using excessive water during cleanup, as it may discolor fresh mortar or spread cement residue across the stone surface.
Installing Stone Around Caps and Trim
Many columns include decorative caps, beam connections, lighting fixtures, or trim details. Plan these transitions before installation begins so cut stones remain balanced and symmetrical.
If a column cap will overhang the finished veneer, verify dimensions before installing the final courses.
For electrical fixtures mounted on columns, ensure boxes are properly extended to account for the finished stone thickness before beginning installation.
Careful planning around these details creates cleaner transitions and reduces unnecessary cutting.
Exterior Installation Considerations
Exterior columns are constantly exposed to rain, snow, sunlight, and temperature changes.
Proper drainage, moisture management, and maintaining recommended clearances above finished grade help protect both the veneer and the structure behind it.
Do not install stone veneer in direct contact with soil. Maintaining adequate clearance above landscaping helps prevent moisture problems and reduces the risk of physical damage from lawn equipment.
Weather conditions during installation also matter. Extremely hot temperatures can cause mortar to dry too quickly, while freezing temperatures may prevent proper curing. Follow recommended installation practices whenever working in challenging weather conditions.
Common Mistakes to Avoid
Most installation problems stem from rushing the preparation or failing to plan the layout.
Poor corner alignment immediately draws attention because every side of the column remains visible. Inadequate mortar coverage can reduce bond strength, while repeating identical stone patterns makes manufactured veneer appear artificial.
Another common mistake is using only one stone size across an entire column. Natural stone installations contain a variety of shapes and sizes that create visual balance.
Finally, avoid cleaning fresh mortar too aggressively with water. Allow the mortar to firm before brushing the joints clean for the best appearance.
Long-Term Maintenance
Manufactured stone veneer requires very little maintenance after installation.
Occasional rinsing with clean water removes dirt and pollen while preserving the stone's natural appearance. If deeper cleaning becomes necessary, use a soft brush and a manufacturer-approved masonry cleaner.
Regularly inspect exterior columns for cracked mortar joints or impact damage, particularly near driveways and walkways where equipment may contact the veneer.
With proper installation and routine maintenance, manufactured stone veneer columns can maintain their appearance for decades.
How to Install Stone Veneer on Columns, Posts, and Pillars
Installing manufactured stone veneer on columns, posts, and pillars is an excellent way to add texture, character, and lasting curb appeal to both residential and commercial spaces. While these applications require more attention to detail than flat wall installations, careful preparation, proper corner installation, and thoughtful stone placement make it possible to achieve a professional-looking finish.
The key to a successful stone veneer column installation is building a strong foundation beneath the stone, using the correct mortar, planning the layout before installation, and maintaining consistency as the veneer wraps around each side. Taking the time to balance colors, vary stone sizes, and properly finish the mortar joints will create a natural appearance that enhances the surrounding architecture.
Whether you are updating a front porch, creating a dramatic entryway, or adding stone accents to outdoor living areas, manufactured stone veneer provides the beauty of natural stone with a more manageable installation process. With the right techniques and attention to detail, stone-clad columns and pillars can become a durable design feature that adds value and timeless style to your property.
From Mountain View Stone: What You Should Know
At Mountain View Stone, we recommend planning your column installation before opening the first box of stone. Dry-laying corner pieces, balancing colors across all sides, and checking alignment frequently produce a much more natural-looking finished project. Always use Type S mortar and matching manufactured corner pieces designed for your selected profile. Taking extra time during layout is one of the easiest ways to achieve professional results that highlight your home's architecture for years to come.
Frequently Asked Questions About How to Install Manufactured Stone Veneer on Columns, Posts, and Pillars
Can manufactured stone veneer be installed on wood columns?
Yes. Wood-framed columns require proper preparation before stone installation. For exterior applications, this typically includes a weather-resistant barrier, galvanized metal lath, a scratch coat, and Type S mortar to create a secure installation.
Do I need special corner pieces for stone veneer columns?
Yes. Matching corner pieces are designed to wrap around outside corners, creating the appearance of full-depth natural stone. They also simplify installation and produce a much more realistic finished look.
What mortar should I use for manufactured stone veneer?
Type S mortar is recommended for installing manufactured stone veneer. It provides the strength and durability needed for long-lasting performance on columns, posts, and pillars.
Can I install stone veneer directly over concrete columns?
In many cases, yes. Clean, structurally sound concrete may be suitable for direct installation depending on its condition and the manufacturer's installation requirements. The surface must be free of contaminants that could interfere with mortar adhesion.
Should I grout stone veneer columns?
That depends on the stone profile and the appearance you want. Traditional fieldstone and many irregular profiles typically use mortar joints, while stacked stone profiles often feature tight or dry-stack installations with minimal visible joints.
How long will manufactured stone veneer last on exterior columns?
When properly installed over a correctly prepared substrate and maintained according to manufacturer recommendations, manufactured stone veneer can provide decades of attractive, durable performance on exterior columns, posts, and pillars.
What's Next?
Enhance your project with premium manufactured stone veneer designed to deliver timeless beauty and lasting durability. Shop now to bring your design vision to life with confidence or order a sample to experience the authentic textures and natural color variations up close.
Have a Question?
Please see our full terms of service or check out our frequently asked questions.
For general information and questions please call: (864) 882-8960 Mon. - Fri. 8am - 5pm (EST) or email: info@mountainviewstone.net we are more than happy to help you.
Or you can submit your questions via our contact us page.
We look forward to working with you on your upcoming project.
The Mountain View Stone Team
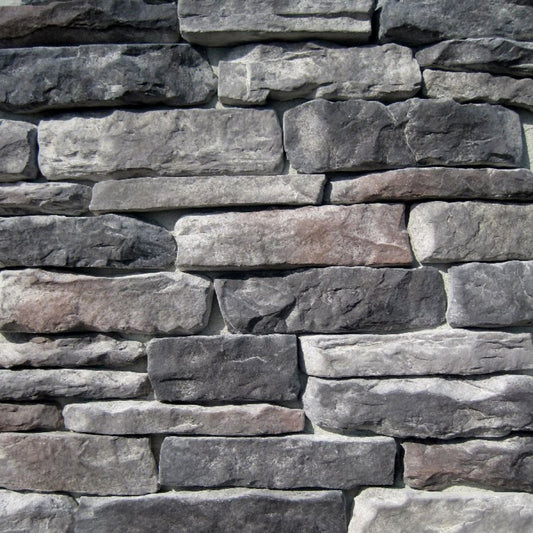
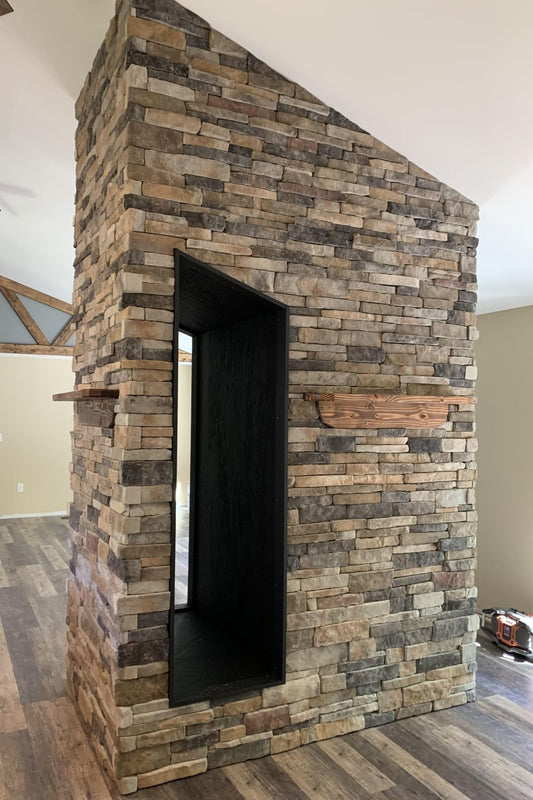
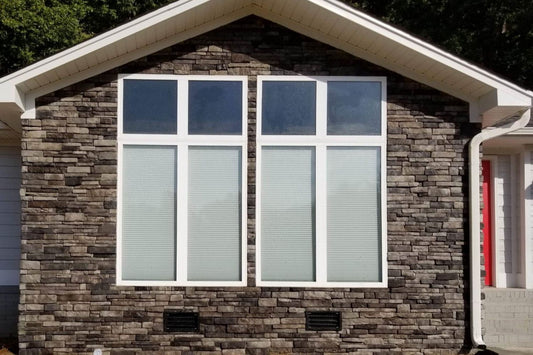
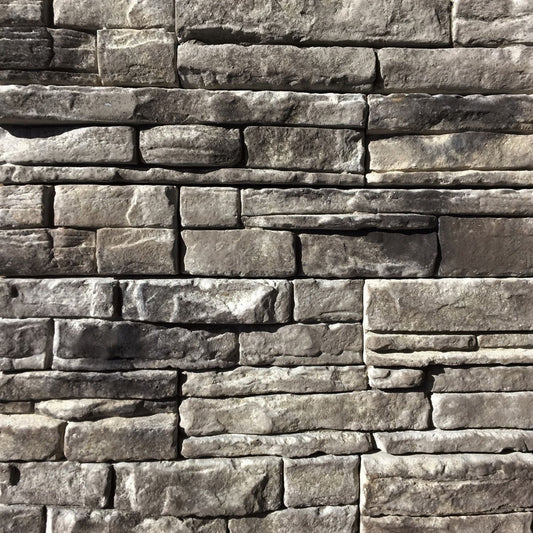
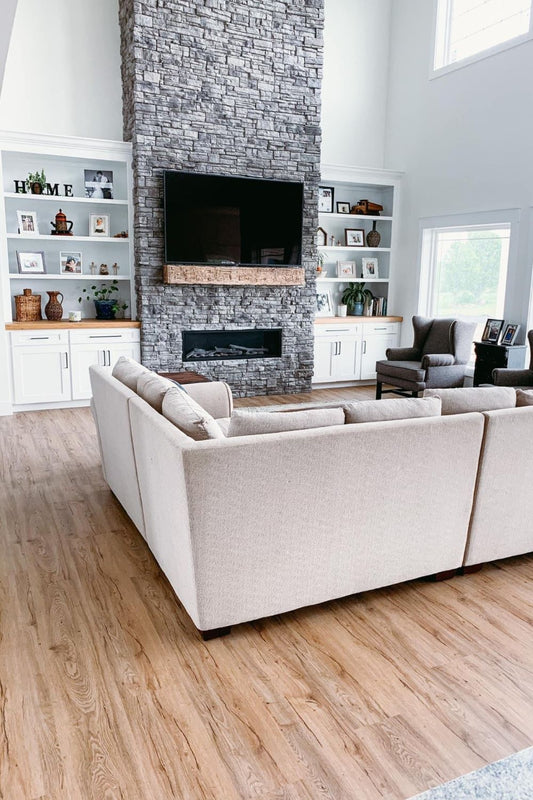
Pictured is ledge stone rustic.