How to Wrap Deck Posts with Stone Veneer: A Step-by-Step Guide
Share
Wrapping deck posts with stone veneer involves preparing the post surface, adding a weather-resistant barrier, installing metal lath, applying a scratch coat of mortar, and then setting manufactured stone veneer pieces in a staggered pattern. Once cured, the surface is pointed and sealed to protect against moisture and freeze-thaw damage, creating a durable and natural stone finish for outdoor deck structures.
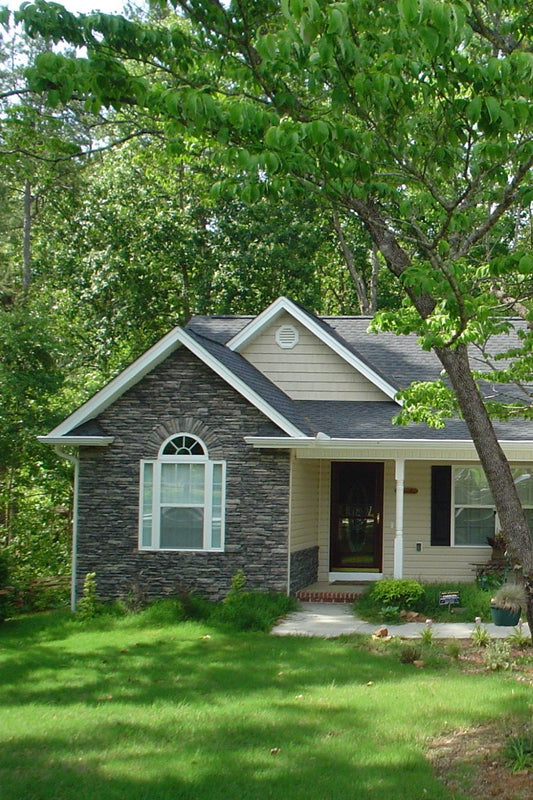
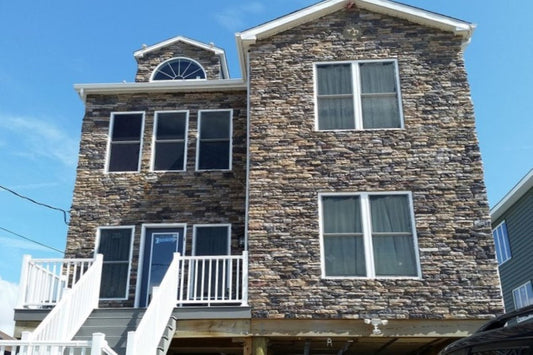
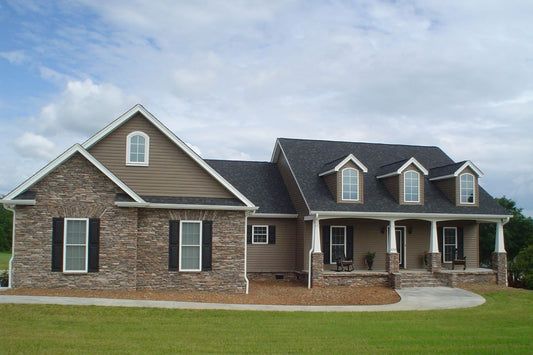
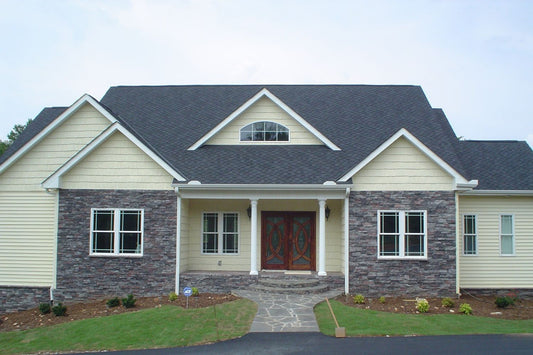
Wrapping deck posts with stone veneer is one of the most effective ways to elevate the look of an outdoor living space without rebuilding the structure itself. Deck posts are highly visible architectural elements, and when they are finished with manufactured stone veneer, they instantly shift from basic structural supports into intentional design features. Whether you are upgrading a residential backyard deck or enhancing a commercial outdoor seating area, stone-wrapped posts add permanence, texture, and visual weight that wood or vinyl alone cannot achieve. For more information see our complete guide stone veneer columns, posts, pillars, and arches where we cover design considerations, installation methods, material selection, and real-world applications to help you plan and execute your stone veneer projects with confidence.
This post walks through the entire process of how to wrap deck posts with stone veneer, from planning and surface preparation to installation techniques and long-term maintenance considerations. It is designed for both experienced DIY builders and contractors looking to refine their workflow on exterior stone applications.
Understanding why stone veneer works for deck posts
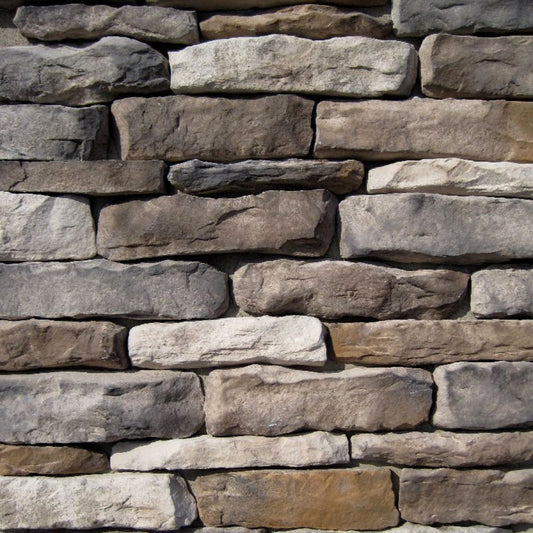
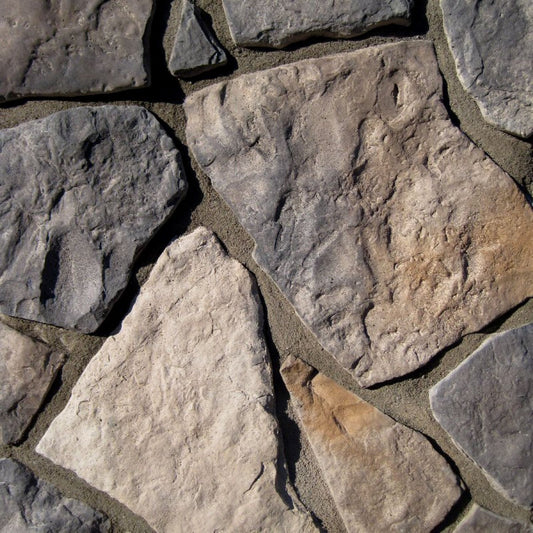
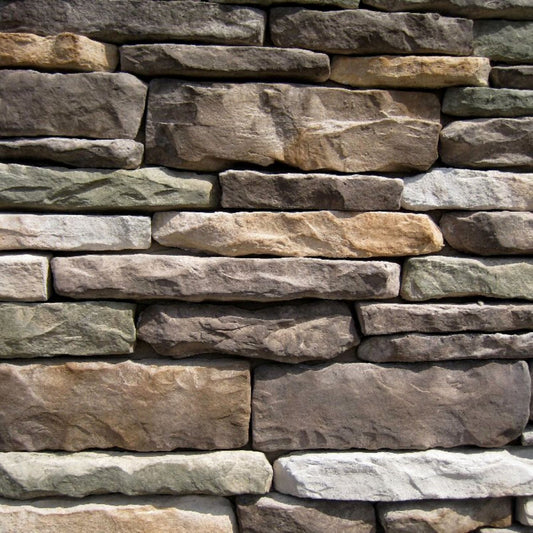
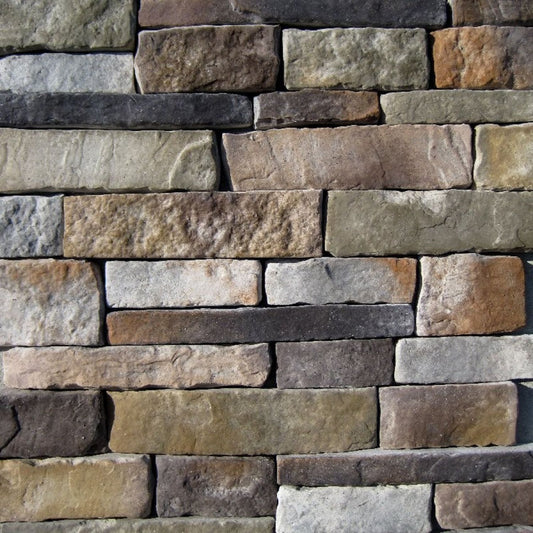
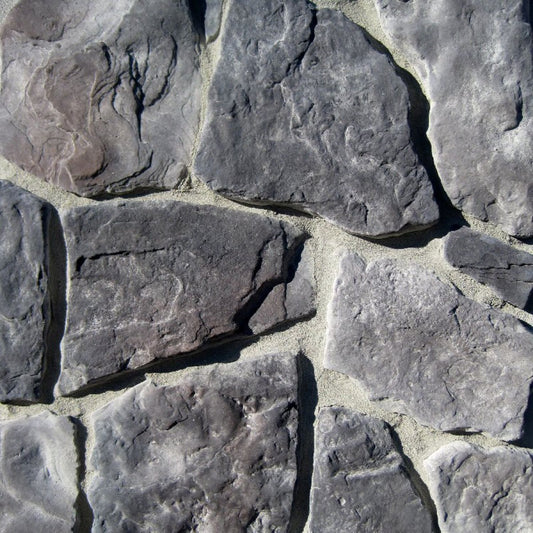
Deck posts are exposed to constant environmental stress, including moisture, UV exposure, temperature changes, and physical contact. Because of this, the finishing material must do more than look good; it must also perform structurally over time. Manufactured stone veneer is especially well suited for this application because it is lightweight compared to full-bed stone, yet still delivers the depth and realism of natural masonry.
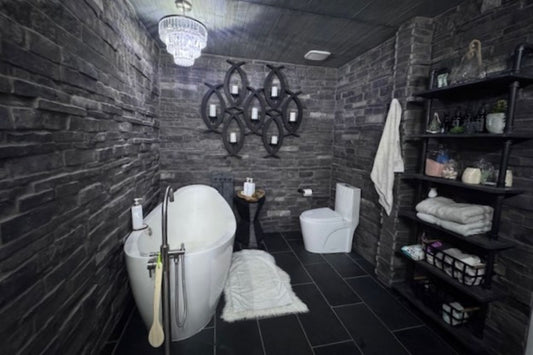
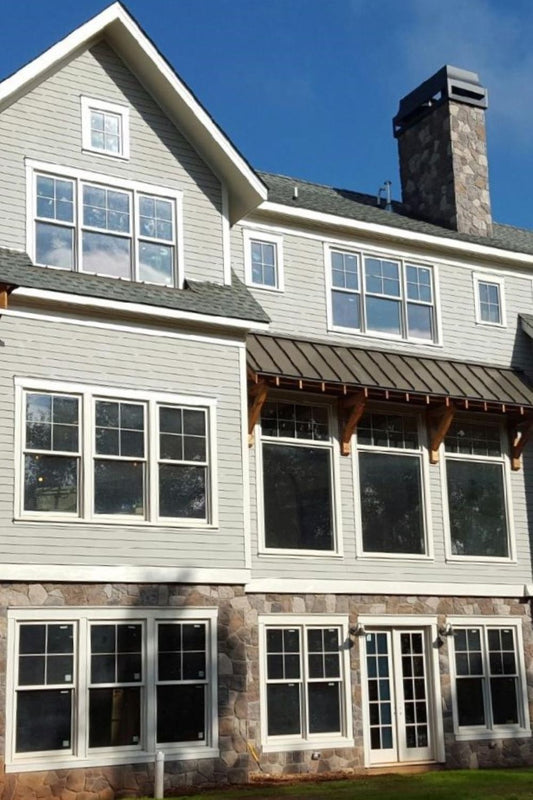
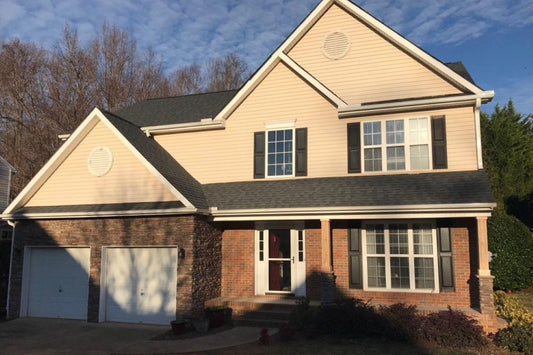
When properly installed, stone veneer creates a protective outer shell around the post assembly. This layer helps shield underlying framing materials from direct exposure while also improving the overall aesthetic integration of the deck into the surrounding landscape. In modern outdoor design, stone-wrapped posts are often used to visually anchor pergolas, decks, and covered patios, making the structure feel more grounded and architecturally complete.
Planning the post wrap before installation begins
Successful stone veneer installation starts long before any mortar is mixed. The first step is evaluating the existing deck post structure to ensure it can support a stone veneer wrap system. Most applications involve building a secondary frame around the structural post using pressure-treated lumber or metal studs, creating a square or rectangular surface suitable for veneer installation.
This framing stage is critical because stone veneer should never be applied directly to raw wood or unsupported surfaces. Adequate clearance must also be considered to ensure that the final wrapped post aligns proportionally with the rest of the deck structure, especially when multiple posts are being finished in sequence.
At this stage, it is also important to plan transitions between the stone wrap and adjacent surfaces such as railings, beams, or deck flooring. Clean termination points help ensure the finished installation looks intentional rather than added on after the fact.
Preparing the surface for stone veneer application
Once the post is properly framed, the surface must be prepared to accept a mortar-based system. This typically begins with the installation of a weather-resistant barrier, which protects the interior structure from moisture intrusion. This layer is especially important in exterior deck environments where posts are exposed to rain, snow, and humidity.
After the barrier is installed, a metal lath is fastened securely around the entire post surface. The lath provides the mechanical grip necessary for the mortar scratch coat to bond effectively. Proper fastening is essential here, as any loose areas can lead to long-term failure of the veneer system.
The scratch coat is then applied over the lath, creating a rough, textured surface that will hold the stone veneer units in place. This layer must be allowed to cure adequately before stone installation begins, ensuring maximum bond strength and long-term durability.
Installing the manufactured stone veneer on deck posts
With the prepared surface ready, the stone installation process begins. Manufactured stone veneer pieces are typically installed starting from the bottom of the post and working upward. This bottom-up approach ensures that each new row of stone is supported by the one beneath it, reducing slippage during curing.
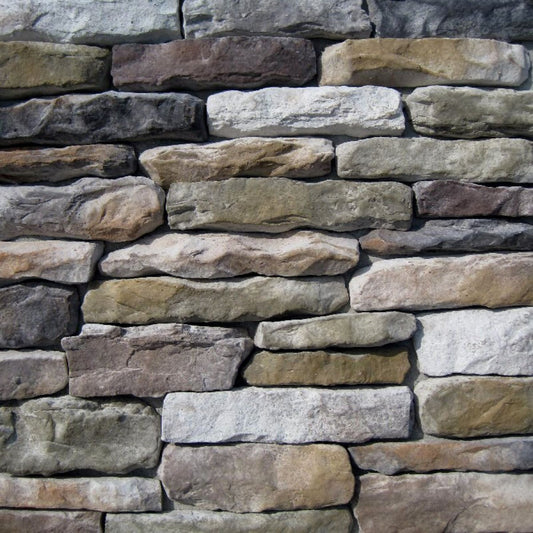
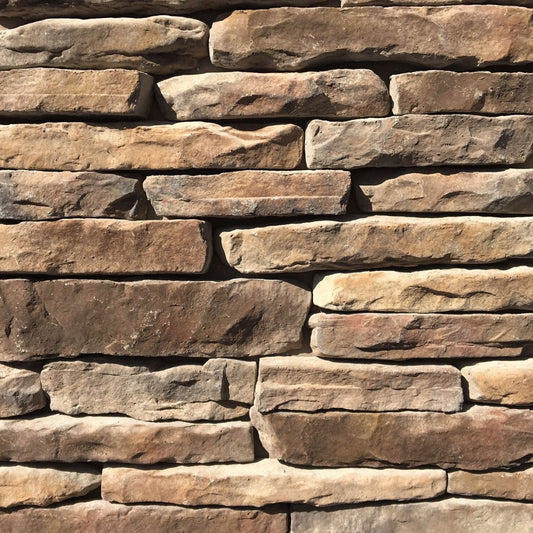
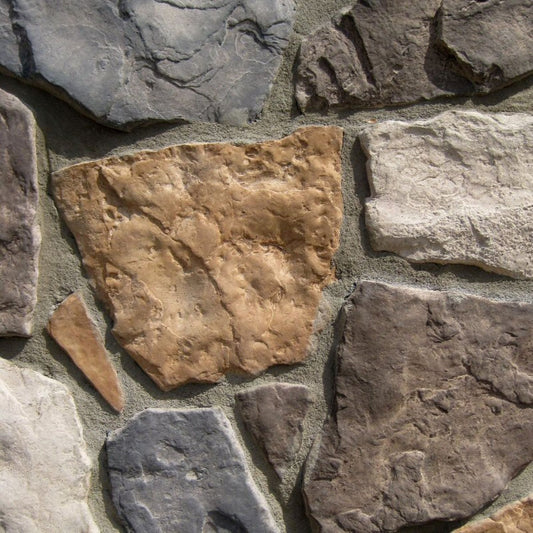
Each piece is back-buttered with mortar before being pressed firmly into the scratch coat. Slight variations in spacing and alignment are encouraged to replicate the natural randomness of real stone. As the installation progresses, it is important to step back periodically to evaluate the overall pattern and balance of color and texture around each side of the post.
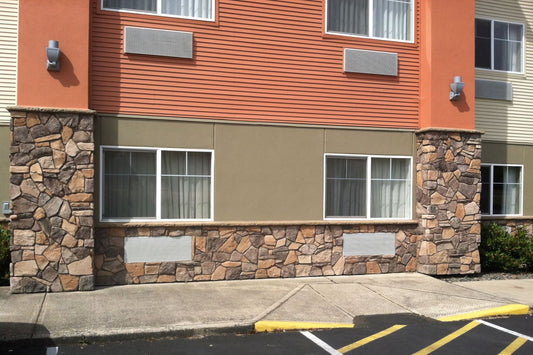
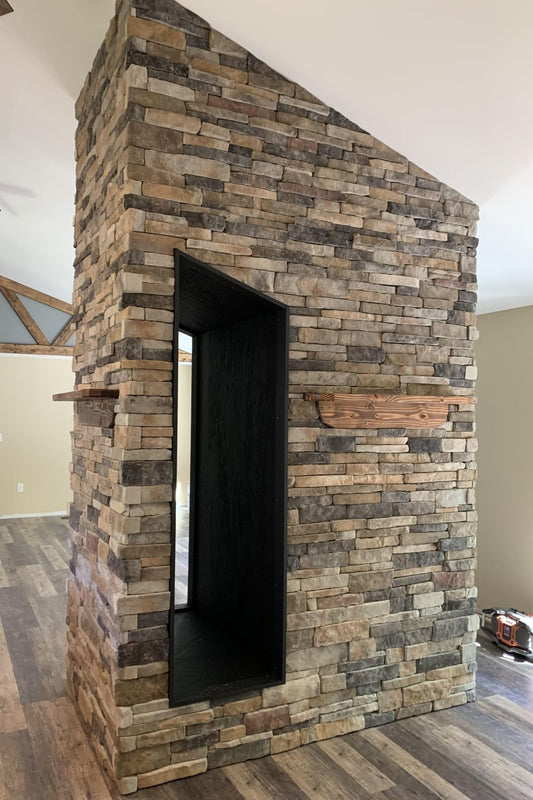
Corners require special attention, as they define the visual structure of the finished column. Many installers use corner veneer units to create seamless transitions around edges, helping the post appear fully solid rather than surface-clad. Proper staggering of joints between sides ensures that the post maintains a cohesive, masonry-like appearance from every viewing angle.
Managing transitions and structural details
One of the most overlooked aspects of wrapping deck posts with stone veneer is how the top and bottom transitions are handled. At the base of the post, it is important to ensure that stone does not sit directly in standing water or soil contact. A slight elevation above the deck surface allows for drainage and prevents long-term moisture damage.
At the top of the post, a cap or trim detail is typically installed to shed water away from the veneer surface. Without proper capping, water can penetrate behind the stone system, leading to deterioration of the substrate over time. These transition details are what separate a visually appealing installation from a long-lasting professional-grade system.
Electrical fixtures, post lighting, or railing attachments should also be planned in advance. Cutting stone veneer around these features is possible, but it is always cleaner and more durable when integration is designed before installation begins.
Finishing, grouting, and sealing the stone surface
After the stone veneer has been installed and the mortar has cured, the joints between stones are typically addressed through a process known as pointing or grouting. This step helps lock the system together and fills any visible voids between pieces, depending on the style of stone being used.
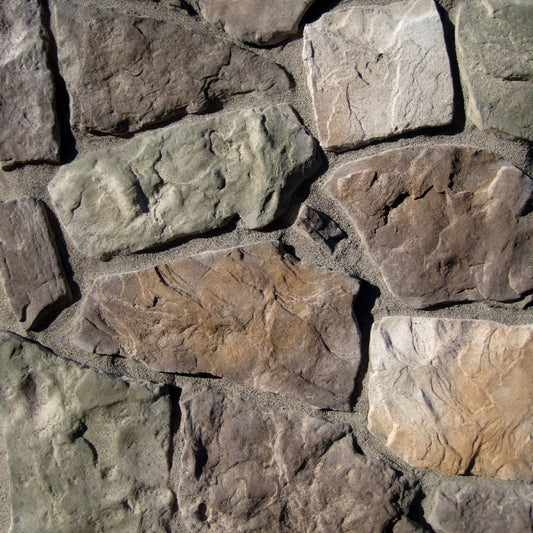
Once the masonry work is complete, the surface should be cleaned to remove any excess mortar residue. This ensures the natural color variation of the stone remains visible and consistent. In some exterior applications, a breathable masonry sealer may be applied to help reduce moisture absorption and staining, although this depends on the specific product system being used.
Proper curing time is essential before exposing the finished posts to heavy moisture or physical contact. Rushing this stage can compromise the integrity of the entire installation.
Common installation mistakes to avoid
One of the most frequent issues in DIY stone veneer post wraps is inadequate surface preparation. Skipping or improperly installing the weather barrier or lath system can lead to premature failure. Another common issue is inconsistent mortar coverage behind veneer pieces, which creates hollow spots that weaken the bond over time.
Improper planning of post dimensions is also a recurring problem. If the framed post is too small or uneven, the veneer layout becomes difficult to align cleanly, resulting in awkward cuts and visual imbalance. Taking time to plan proportions before installation significantly improves the final result.
Long-term maintenance and performance
Once installed correctly, stone veneer deck posts require very little maintenance. Occasional cleaning with water and a soft brush is usually sufficient to remove dirt and organic buildup. In climates with freeze-thaw cycles, periodic inspection of mortar joints and cap details helps ensure the system continues performing as intended.
Because manufactured stone veneer is designed for exterior durability, it maintains its appearance well over time when properly installed. The combination of correct drainage, proper substrate preparation, and quality mortar work is what ultimately determines longevity.
How to wrap deck posts with stone veneer
Wrapping deck posts with stone veneer is ultimately about turning a structural necessity into a defining design feature. What starts as simple vertical framing for a deck can become a strong architectural statement when it is finished with a properly installed manufactured stone system. The process is not just cosmetic, it relies on correct preparation, moisture management, and layering techniques that ensure the veneer performs as well as it looks in outdoor conditions.
When each stage is done correctly, from framing and weather barriers to lath, scratch coat, and careful stone placement, the finished posts gain both durability and visual permanence. Instead of fading into the background of a deck design, they become anchor points that tie together railings, beams, and surrounding landscaping.
Like most exterior stone applications, long-term success depends less on speed and more on discipline during installation. Taking the time to build a proper substrate, maintain clean transitions, and manage water exposure will ensure the finished work holds up through seasonal changes, especially in climates with freeze-thaw cycles.
For homeowners and contractors alike, stone-wrapped deck posts remain one of the most effective upgrades for outdoor living spaces. They add texture, depth, and a sense of craftsmanship that immediately elevates the entire structure, without requiring a full rebuild.
From Mountain View Stone: what you should know
At Mountain View Stone, what you should know is that while wrapping deck posts with manufactured stone veneer can create a durable, high-end architectural finish, long-term performance depends entirely on correct installation methods and proper substrate preparation. Stone veneer should never be applied directly to wood or inadequately framed posts; it requires a properly engineered system that includes a weather-resistant barrier, metal lath, and a full scratch coat to ensure reliable bonding and moisture protection. Skipping or modifying these steps can lead to moisture intrusion, bond failure, and reduced system lifespan, which may also void manufacturer warranty coverage. When installed according to best practices and on appropriate exterior assemblies, manufactured stone veneer remains one of the most effective ways to elevate deck posts into long-lasting, visually impactful design features.
Frequently asked questions
1. How do you prepare deck posts before adding stone veneer? Deck posts must first be framed out to create a stable surface, then covered with a weather-resistant barrier and metal lath. A scratch coat of mortar is applied over the lath to create a bonding surface for the stone veneer.
2. Can stone veneer be installed directly on wood deck posts? Stone veneer should never be installed directly on wood. A proper system requires a framed substrate, moisture barrier, metal lath, and scratch coat to ensure long-term adhesion and weather resistance.
3. How long does it take to wrap deck posts with stone veneer? For most standard residential decks, wrapping a set of posts can take one to three days depending on preparation, curing time, and the complexity of the design. Larger or multi-post structures may take longer.
4. Do stone veneer deck posts need sealing? Sealing is optional in many cases, but it can be beneficial in harsh climates or high-moisture environments. A breathable masonry sealer can help reduce staining and moisture absorption without trapping vapor.
5. How long will stone veneer last on outdoor deck posts? When installed correctly with proper moisture management and structural preparation, stone veneer can last for decades. Longevity depends heavily on installation quality and environmental exposure.
What's next?
Transform your home with premium manufactured stone veneer. Shop now to bring your design vision to life with confidence or order a sample to experience the authentic texture, color, and craftsmanship up close firsthand.
Have a question?
Please see our full terms of service or check out our frequently asked questions.
For general information and questions please call: (864) 882-8960 Mon. - Fri. 8am - 5pm (EST) or email: info@mountainviewstone.net we are more than happy to help you.
Or you can submit your questions via our contact us page.
We look forward to working with you on your upcoming project.
The Mountain View Stone Team
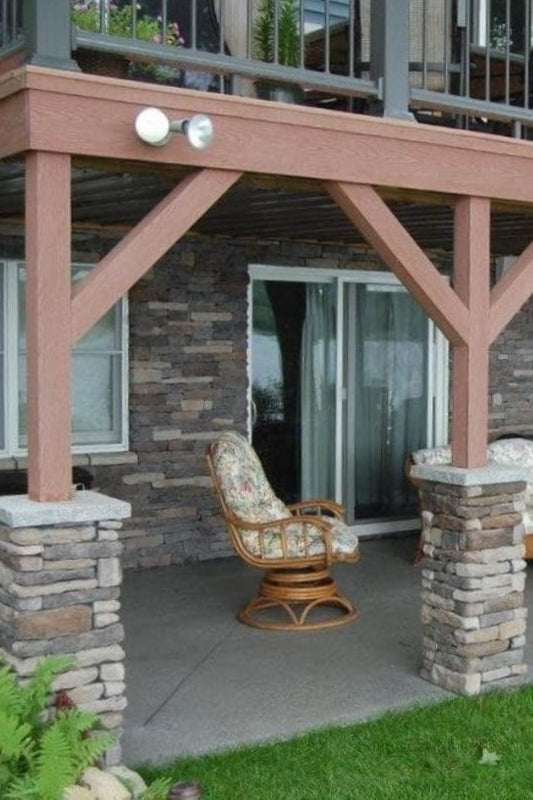
Pictured is an AI image of stone veneer being installed on deck posts.