Tools Needed to Install Manufactured Stone Veneer: A Complete Guide
Share
The tools needed to install manufactured stone veneer include a masonry saw or angle grinder for cutting, a mortar mixer, trowels for applying scratch coat and setting stone, a hawk for holding mortar, a level, tape measure, and safety gear. Proper tools ensure strong adhesion, accurate placement, and a professional finish.
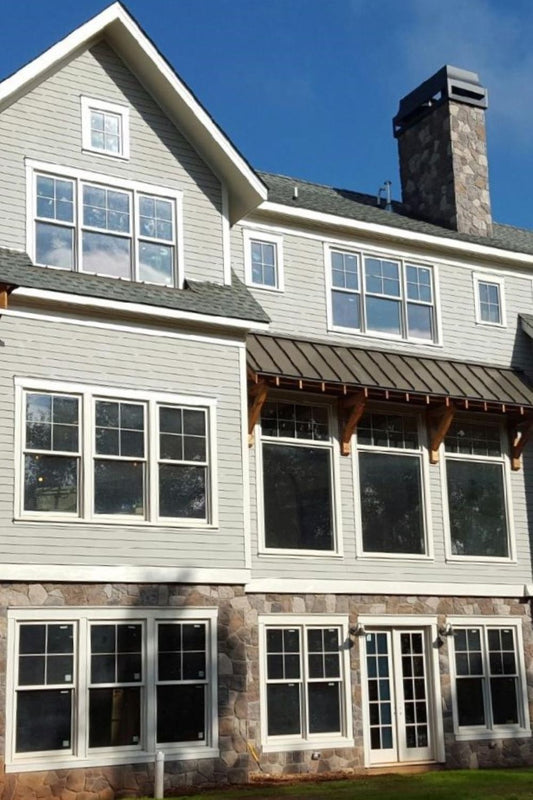
Installing manufactured stone veneer is one of the most effective ways to elevate both interior and exterior spaces. Whether you are creating a statement fireplace, upgrading a home exterior, or building a feature wall, the quality of your installation depends heavily on the tools you use. While the material itself is designed to be lighter and more accessible than natural stone, achieving a durable and professional result still requires the right combination of masonry tools, preparation equipment, and safety gear. For a step-by-step walk through, see our DIY stone veneer installation guide.
Understanding which tools are essential, how they are used, and why they matter will not only improve the efficiency of your project but also reduce costly mistakes. This guide breaks down the key tools needed to install manufactured stone veneer, helping homeowners, contractors, and DIYers approach their projects with confidence.
Why the right tools matter for stone veneer installation
Manufactured stone veneer installation is a process that relies on proper surface preparation, precise mortar application, and careful placement of each stone. Unlike other wall coverings, stone veneer must bond securely to the substrate while maintaining consistent spacing and alignment. Using improper tools can lead to weak adhesion, uneven finishes, and long-term performance issues such as cracking or detachment.
Professional installers rely on specialized masonry tools because they allow for better control, consistency, and efficiency. Even for smaller DIY projects, investing in the correct tools ensures that each step of the installation process is completed correctly, from the scratch coat to the final grout joints.
Essential cutting tools for manufactured stone veneer
One of the most important aspects of installing stone veneer is cutting the material to fit around corners, edges, and obstacles. Manufactured stone is designed to be workable, but it still requires durable cutting tools that can handle dense materials. For a complete guide on the full installation process, see how to install manufactured stone veneer.
A masonry saw is often the preferred tool for larger projects because it provides clean, precise cuts with minimal chipping. Wet saws are especially useful as they reduce dust and help maintain the integrity of the stone surface. For smaller projects or quick adjustments, an angle grinder equipped with a diamond blade is a versatile alternative. It allows installers to make straight cuts, curved cuts, and detailed adjustments directly on-site.
Proper cutting tools not only improve the appearance of the finished installation but also help reduce material waste. Clean edges make it easier to achieve tight joints and a natural look, especially when working with irregular stone shapes.
Mortar mixing and application tools
Mortar is the foundation of any successful stone veneer installation, and having the right tools for mixing and applying it is essential. A mortar mixer or a heavy-duty drill with a mixing paddle ensures that the mortar reaches the correct consistency. Properly mixed mortar improves adhesion and makes the application process smoother.
Once mixed, mortar is typically handled using a mortar pan or bucket. A hawk is often used to hold a workable amount of mortar close at hand, allowing for efficient application without constant trips back to the mixing area. This tool is especially useful for vertical installations where speed and control are important.
Trowels play a central role in the process. A notched or flat trowel is used to apply the scratch coat, while a pointing trowel helps spread mortar onto the back of each stone. The ability to evenly distribute mortar ensures strong bonding and reduces the likelihood of air pockets, which can weaken the installation over time.
Surface preparation tools
Before any stone is installed, the substrate must be properly prepared. This step is critical for ensuring that the veneer adheres securely and performs well over time. Surface preparation tools help create a stable base for the installation.
A wire brush is commonly used to clean the surface and remove debris, dust, or loose material. For certain applications, especially exterior installations, metal lath may be installed to provide additional support. In these cases, tin snips are used to cut the lath to size, while a hammer or screw gun secures it in place.
Applying the scratch coat requires tools that can evenly spread and texture the mortar. After applying the coat, a scarifier or similar tool is used to create grooves in the surface. These grooves improve adhesion by giving the setting mortar something to grip onto when the stones are applied.
Layout and measuring tools for accuracy
Achieving a natural and visually appealing stone veneer installation requires careful planning and layout. Measuring and alignment tools help ensure that the stones are placed correctly and that the overall design looks balanced.
A tape measure is essential for planning cuts and ensuring consistent spacing. A level is used throughout the installation process to maintain straight lines and prevent the stones from drifting out of alignment. Chalk lines can also be helpful for marking reference points, especially on larger walls where consistency is critical.
Proper layout tools reduce guesswork and help avoid mistakes that can be difficult to correct later. Taking the time to measure and plan the installation results in a cleaner, more professional appearance.
Joint finishing and detailing tools
Once the stones are set, finishing the joints is an important step that enhances both the appearance and durability of the installation. Jointing tools are used to shape and compress the mortar between stones, creating a cohesive and finished look.
A grout bag is often used to apply mortar into the joints with precision. This tool works similarly to a piping bag, allowing for controlled placement of mortar in tight spaces. After the mortar begins to set, a jointing tool or striking tool is used to smooth and shape the joints.
A soft brush can then be used to remove excess mortar and clean the surface of the stones. Proper finishing not only improves the visual appeal but also helps protect the joints from moisture infiltration.
Safety equipment you should not overlook
Working with stone veneer involves cutting, mixing mortar, and handling heavy materials, all of which present potential hazards. Safety equipment is a critical part of any installation project.
Safety glasses protect against flying debris during cutting and mixing. Dust masks or respirators are important when working with mortar and cutting stone, as fine particles can be harmful when inhaled. Gloves provide protection while also improving grip when handling tools and materials.
Hearing protection may also be necessary when using power tools such as saws and grinders. Taking safety seriously ensures that the project can be completed efficiently without unnecessary risks.
Choosing between professional and DIY tool setups
The tools needed for manufactured stone veneer installation can vary depending on the scale of the project. Professional contractors often invest in high-end equipment such as wet saws and mortar mixers to improve efficiency and handle large volumes of work. These tools are designed for durability and precision, making them ideal for commercial or extensive residential projects.
For DIY installers, many of these tools can be rented or substituted with more affordable alternatives. An angle grinder, for example, can often replace a masonry saw for smaller projects. Understanding which tools are essential and which can be adapted helps keep costs manageable while still achieving a high-quality result.
Common mistakes caused by using the wrong tools
Using the wrong tools can lead to a range of installation issues that affect both the appearance and longevity of the stone veneer. Inadequate cutting tools can cause chipping or uneven edges, making it difficult to achieve tight joints. Improper mortar mixing can result in weak adhesion, increasing the risk of stones loosening over time.
Skipping layout tools often leads to uneven patterns and misaligned stones, which can be visually distracting. Poor joint finishing tools can leave gaps or inconsistencies that allow moisture to penetrate the installation.
Avoiding these mistakes starts with understanding the role each tool plays in the process and ensuring that you are properly equipped before beginning the project.
Tools needed to install manufactured stone veneer
Installing manufactured stone veneer is a rewarding project that can dramatically enhance the look and value of a space. While the material itself is designed for ease of use, achieving a professional finish depends on having the right tools for each stage of the installation process.
From cutting and mixing to layout and finishing, each tool plays a specific role in ensuring that the veneer is installed securely and looks its best. Whether you are a contractor or a homeowner taking on a DIY project, investing in the proper tools is one of the most important steps you can take toward a successful installation.
From Mountain View Stone: what you should know
At Mountain View Stone, we know that the right tools and proper preparation are what make all the difference in a successful manufactured stone veneer installation. While manufactured stone veneer is designed to be more accessible and installer-friendly than natural stone, achieving a durable, professional finish still depends on using the correct tools at every stage of the process. From surface preparation and mortar application to cutting, layout, and finishing, each step requires attention to detail and the proper equipment to ensure strong adhesion and a clean, consistent result. When installed correctly, manufactured stone veneer delivers a long-lasting, high-end appearance that performs beautifully in both interior and exterior applications.
Frequently asked questions
1. What tools do I need to install manufactured stone veneer? You will need cutting tools like a masonry saw or angle grinder, mortar mixing equipment, trowels, a level, measuring tools, and safety gear to complete the installation properly.
2. Can I install stone veneer without a wet saw? Yes, an angle grinder with a diamond blade can be used for most cuts, especially for smaller projects or detailed work.
3. Do I need special tools for mortar application? Using proper trowels, a hawk, and a mixing paddle helps ensure the mortar is applied evenly and bonds correctly to the surface.
4. Is installing manufactured stone veneer DIY-friendly? It can be a DIY project if you have the right tools and follow proper installation steps, though larger projects may benefit from professional installation.
5. What is the most important tool for stone veneer installation? While all tools are important, having the right trowels and proper cutting tools is critical for achieving strong adhesion and a clean, professional appearance.
What's next?
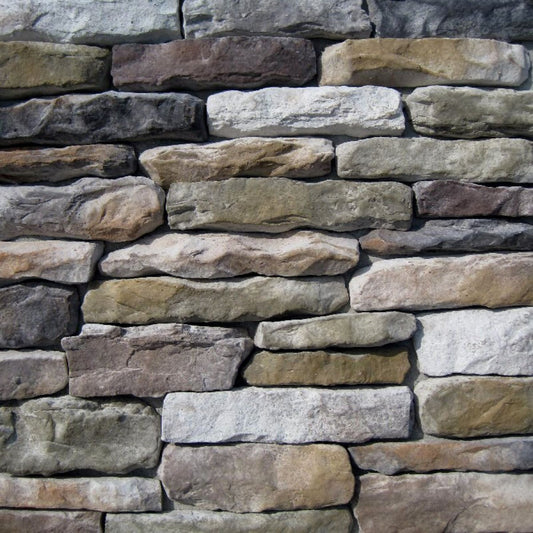
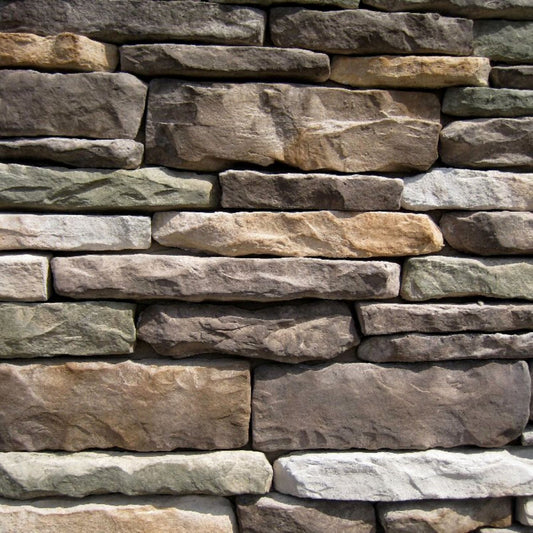
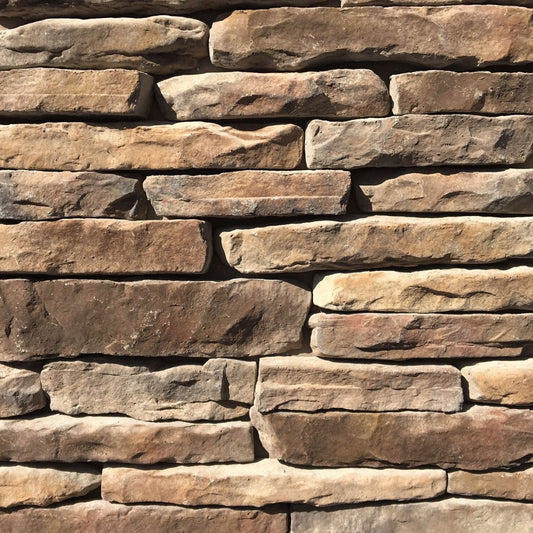
Bring your vision to life with high-quality stone veneer designed to elevate any space. Shop now to explore our full range of styles or order a sample to experience the texture and colors up close. Start your project today.
Have a question?
Please see our full terms of service or check out our frequently asked questions.
For general information and questions please call: (864) 882-8960 Mon. - Fri. 8am - 5pm (EST) or email: info@mountainviewstone.net we are more than happy to help you.
Or you can submit your questions via our contact us page.
We look forward to working with you on your upcoming project.
The Mountain View Stone Team
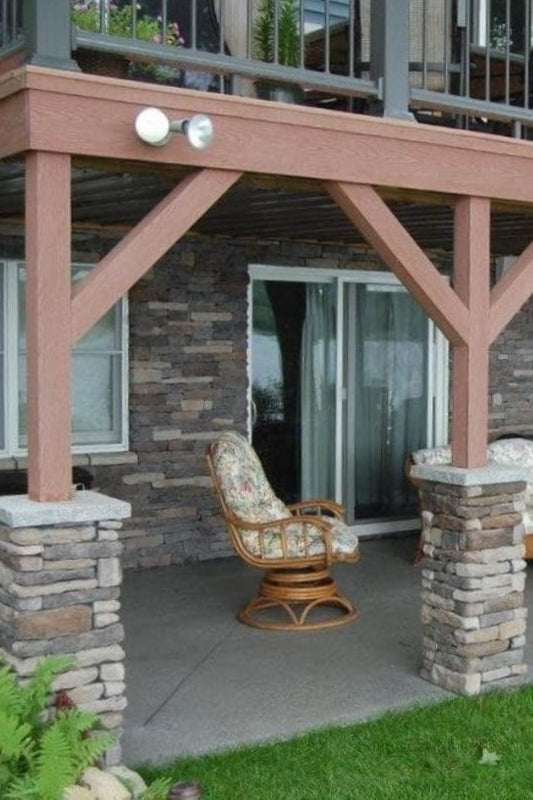
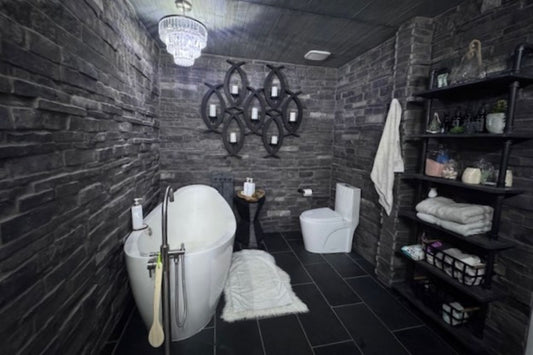
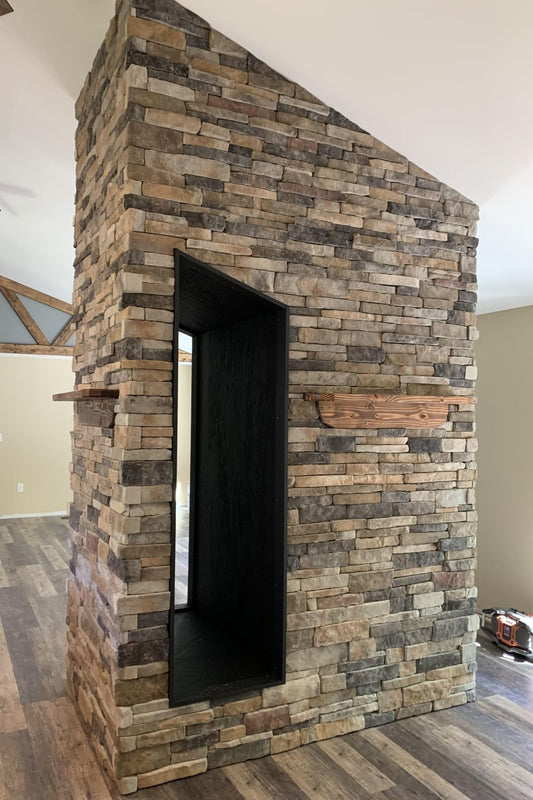
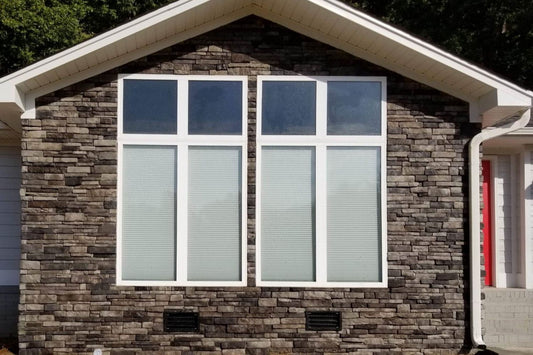
Pictured is an AI generated image of a stone veneer installation.