Preparing Your Wall Surface for Stone Veneer: A Guide to a Flawless Installation
Share
When it comes to installing manufactured stone veneer, proper wall preparation is one of the most important steps to ensure a durable, long-lasting, and beautiful finish. Whether you’re upgrading your home’s exterior or adding an interior stone accent wall, following the correct preparation steps will help your stone adhere securely and perform well for years to come. In this guide, we’ll walk you through how to prepare different wall surfaces for manufactured stone veneer, including wood, drywall, stucco, metal, masonry, and cement board, and answer common questions about weather barriers, metal lath, and surface bonding.
Preparing most common substrates
If your surface is made of wood, wallboard, paneling, drywall, sheetrock, stucco, metal, or insulated concrete forms (ICFs), you’ll need to follow a few critical preparation steps before applying manufactured stone veneer:
1. Apply a weather-resistant barrier: for exterior walls, always install a weather-resistant barrier (WRB) such as 15 lb. felt or better before applying metal lath. Apply the barrier horizontally, overlapping the top layer over the lower one by at least 4 inches. If vertical joints occur, overlap them by a minimum of 6 inches. Ensure the entire surface is completely covered to protect your wall from moisture penetration. This barrier is essential to prevent water damage and to provide a stable base for the veneer installation.
2. Install a metal lath: once your WRB is in place, it’s time to install the metal lath. Use 2.5 lb. diamond wire mesh. For exterior applications, use galvanized metal lath to prevent rusting. Fasten the lath using galvanized nails or staples, overlapping sides by at least ½ inch and ends by 1 inch. Secure the fasteners 6 inches on center vertically and 16 inches on center horizontally, ensuring they penetrate studs by at least 1 inch. Keep the lath flat against the wall, with the mesh pockets pointing upward to help grip the mortar. For metal surfaces, use self-tapping screws that penetrate at least ⅜ inch beyond the inside surface of the substrate.
3. Apply the scratch coat: use Type S mortar mix for your scratch coat. Follow the manufacturer’s mixing instructions on the bag to achieve a creamy, workable paste. Apply a thin, even coat of mortar to completely cover the metal lath. Use a rake or masonry tool to scratch the surface horizontally, which prevents it from drying smooth and helps the veneer bond properly. Mark level lines 6” to 12” apart in the mortar using a level, trowel, string, or chalk line to ensure your stone rows will stay straight. The scratch coat provides a firm, stable bonding surface for the stone veneer. Some local building codes require the scratch coat to cure for 48 hours before applying the stone. Always check your local building codes prior to installation.
Preparing masonry surfaces
If your surface is brick, block, or concrete, preparation is typically much simpler:
1. Check the surface condition: if the masonry surface is clean, unpainted, and untreated, no additional preparation is needed. You can apply the scratch coat and stone veneer directly.
2. Clean and repair: if the surface has paint, sealant, or any treatment, it may prevent proper adhesion. You have two options: apply a masonry bonding agent directly to the surface, or or install metal lath using corrosion-resistant concrete nails (as described above).
3. Scratch coat: apply a Type S mortar scratch coat over the clean masonry or attached metal lath. Blend the mortar to a creamy consistency and spread a thin, even layer across the entire surface. Use a rake or masonry tool to score horizontal grooves in the wet mortar to enhance bonding strength. Mark level lines every 6” to 12” to keep your stone courses straight during installation. Let the scratch coat dry for 48 hours if required by local codes before proceeding with the stone veneer installation.
Preparing cement board (fiber cement board)
Cement board is a popular substrate because of its durability and resistance to moisture, but it still requires proper preparation before installing manufactured stone veneer. Many homeowners assume that cement board eliminates the need for a weather-resistant barrier (WRB) or metal lath, but that’s a common misconception. Even though cement board is made for tile and exterior siding applications, it does not provide sufficient surface texture or moisture protection on its own for manufactured stone veneer installation.
1. Apply a weather-resistant barrier: on exterior walls, always install a 15 lb. felt or better WRB behind the metal lath, even when using cement board. This protects the wall cavity and framing from potential moisture intrusion.
2. Install metal lath: after applying your WRB, attach 2.5 lb. galvanized diamond metal lath securely over the cement board. This step ensures proper mortar grip and long-term adhesion. Fasten the lath with corrosion-resistant screws that penetrate through the cement board and into the studs.
3. Apply the scratch coat: once the lath is secure, apply a ½ inch scratch coat of mortar and allow it to cure before installing the stone veneer.
Common cement board brands
Here are a few of the most common cement board brands used in both interior and exterior projects, in fact, many customers recognize cement board only by these brand names. The installation process for all of these brands is the same as described in the cement board section above, including the use of a weather-resistant barrier, metal lath, and a scratch coat before applying manufactured stone veneer:
1. HardieBacker® Cement Board by James Hardie.
2. Durock® Cement Board by USG.
3. WonderBoard® Lite by Custom Building Products.
Why proper wall preparation matters
Skipping or rushing through surface preparation for manufactured stone veneer can lead to serious problems over time, including loose stones, poor adhesion, and trapped moisture that can damage your wall. Taking the time to properly prepare your surface with the correct weather-resistant barrier, metal lath, and scratch coat ensures strong, long-lasting adhesion, better moisture management, and a smoother installation process. Proper preparation not only prevents future issues but also delivers professional, high-quality results that enhance the durability and appearance of your stone veneer installation.
Frequently asked questions
1. Do I need a weather-resistant barrier on interior walls? Yes, but only In humid indoor areas like bathrooms, laundry rooms, or kitchens. A WRB is installed to protect the wall from moisture damage. However, if moisture isn’t a concern, you can apply the metal lath directly to the surface before installing your stone veneer.
2. Can I install manufactured stone veneer directly over drywall? Only on interior walls, and only if the drywall is in good condition. You’ll still need to apply metal lath and a scratch coat before installing the veneer.
3. What happens if I skip the metal lath? Skipping the lath can cause your stone veneer to fail prematurely. The lath provides essential grip for the mortar and ensures a secure bond to the wall.
4. Can I install over painted concrete or brick? Yes, but you’ll need to either apply a bonding agent or attach metal lath with corrosion-resistant nails. Painted or sealed surfaces can prevent proper adhesion if left untreated.
5. Can I install stone veneer directly on cement board without metal lath or a WRB?
No. Even though cement board (such as HardieBacker®, Durock®, or WonderBoard®) is durable, it’s not a bonding surface for stone veneer mortar by itself. You still need to install a weather-resistant barrier (for exteriors and humid interiors) and metal lath before applying your scratch coat and stone veneer. Skipping these steps can result in poor adhesion, moisture damage, or stone failure over time.
6. How do I know which fasteners to use for metal lath? Use galvanized nails or staples for wood and other non-metal substrates, and self-tapping screws for metal or cement board. Always follow the spacing and penetration guidelines for best results.
Preparing your wall surface for stone veneer
Preparing your wall surface properly is the foundation of a successful manufactured stone veneer installation. By taking the time to install the correct weather barrier, metal lath, and bonding materials, even when using cement board, you’ll ensure your stone veneer not only looks incredible but also stands the test of time.
You may also like
Can you install stone veneer over drywall? A step-by-step guide.
Can you install stone veneer over cement board? Essential preparation tips.
Can you install stone veneer on ICF? A complete installation guide.
What's next?
Elevate your home with premium manufactured stone veneer featuring realistic texture and natural color variation. Order a sample to experience the authentic stone detail up close or shop now to begin your project and achieve a timeless, durable finish that enhances any space.
Have a question?
Please see our full terms of service.
For general information and questions please call: (864) 882-8960 Mon. - Fri. 8am - 5pm (EST) or email: info@mountainviewstone.net we are more than happy to help you.
Or you can submit your questions via our contact us page.
We look forward to working with you on your upcoming project.
The Mountain View Stone Team
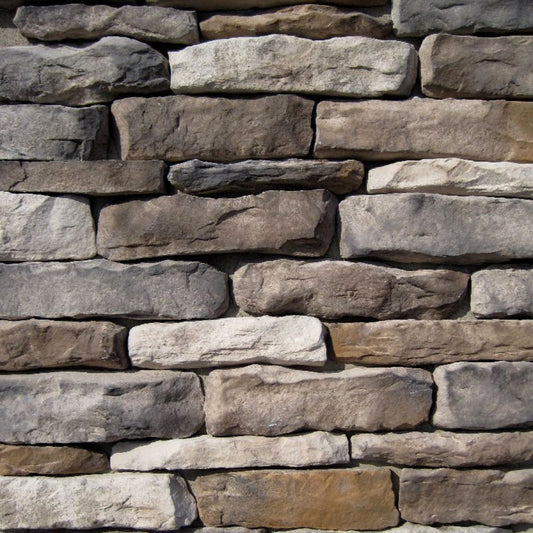
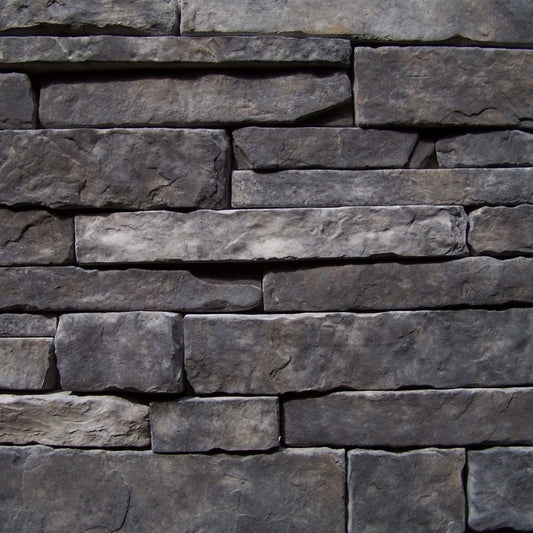
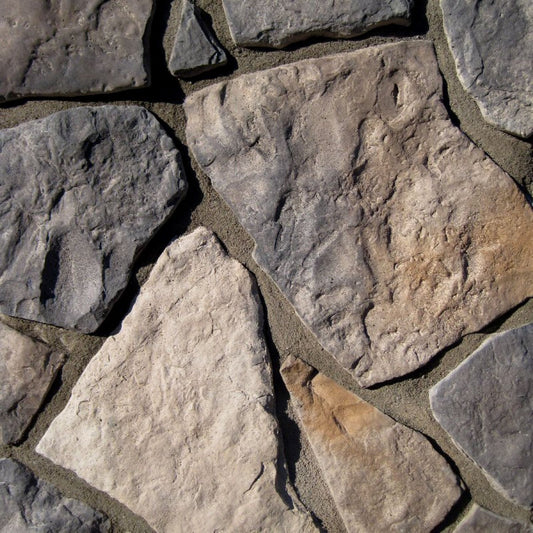
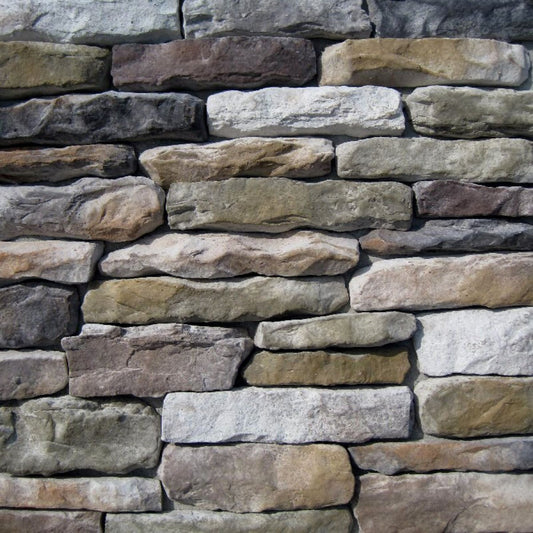
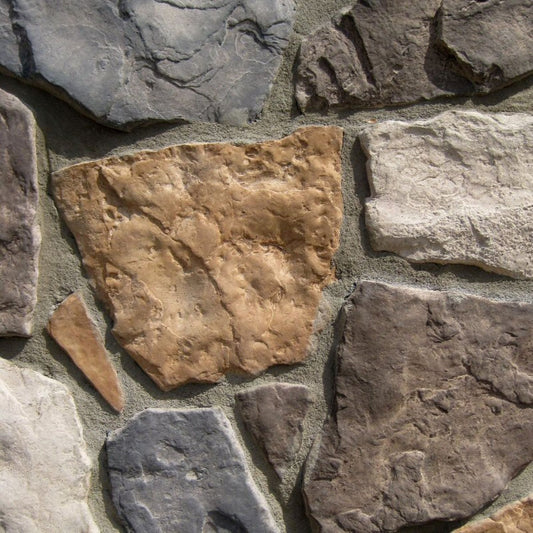
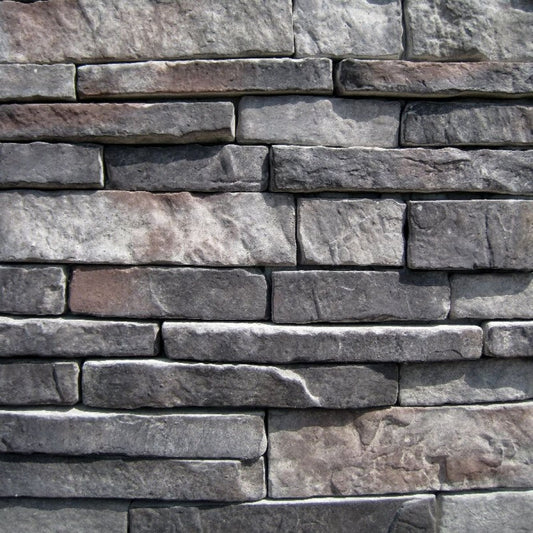
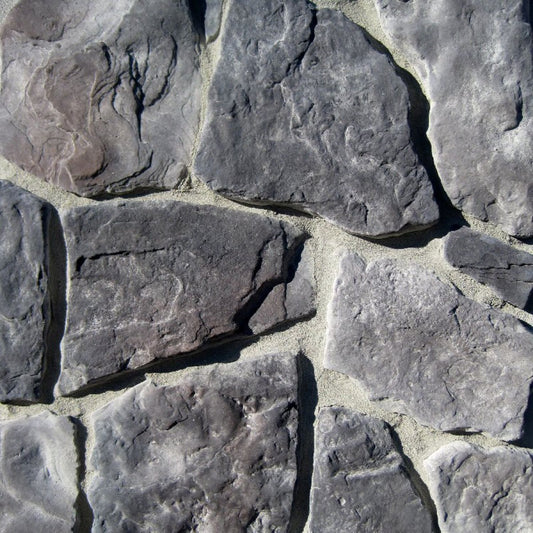
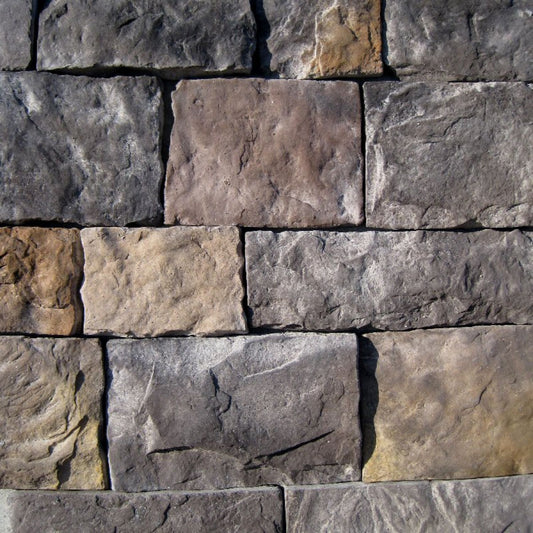
Pictured is field stone ash.