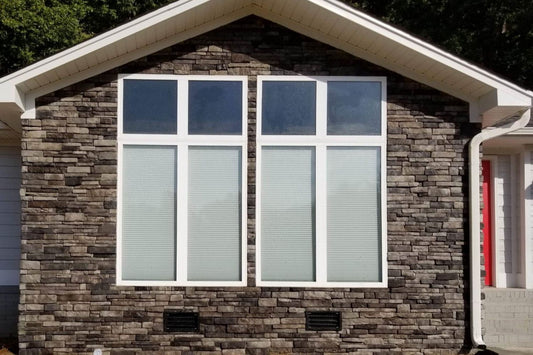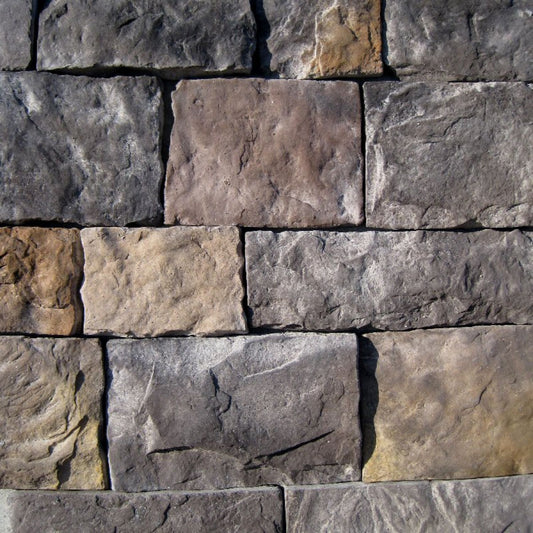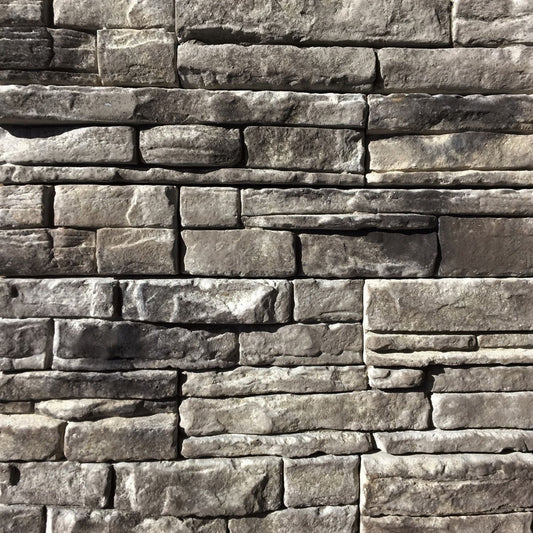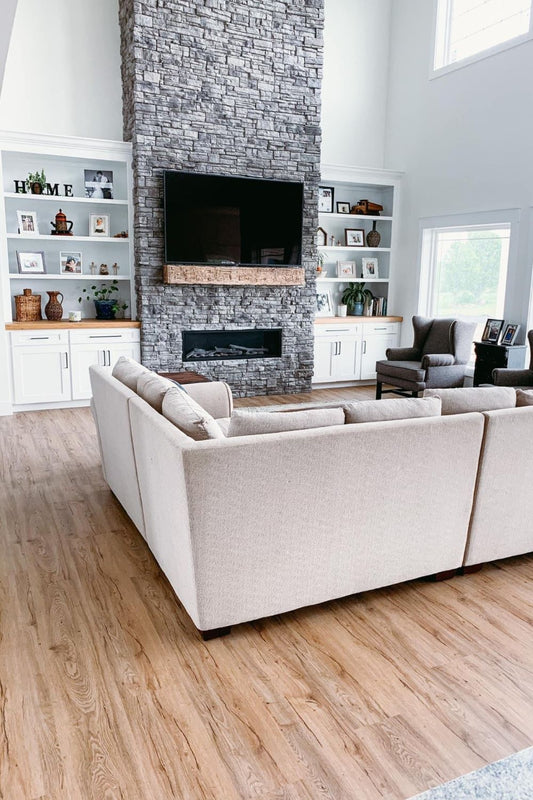

Perfect Grout Lines for Your Stone Veneer: Tips for a Clean, Professional Finish
Share
Originally posted September 29, 2025, updated July 13, 2026.
Grout line thickness affects the finished appearance, with tight joints creating a modern look, standard joints offering a traditional style, and over-grouted joints producing a rustic, old-world aesthetic. Proper mortar application and cleaning techniques help ensure a durable, professional-looking installation. The best mortar for manufactured stone veneer is Type S mortar because it provides the strength and bond needed for vertical masonry applications.
When installing manufactured stone veneer, the mortar you choose plays a much bigger role than simply holding the stones in place. Mortar creates the bond between the veneer and the wall, influences the appearance of the finished project, and contributes to its long-term durability. From selecting the proper mortar mix to deciding on grout line thickness and cleaning excess mortar during installation, every step affects both the structural performance and the overall design. For a complete look at the final stages of installation, including mortar joints, cleaning, accessories, and decorative finishes, see our complete guide to finishing manufactured stone veneer.
Whether you're creating a contemporary dry-stacked fireplace, a traditional exterior facade, or a rustic over-grouted feature wall, understanding how mortar works will help you achieve professional-looking results. This post explains the best mortar for stone veneer, how different installation styles influence grout joints, and the techniques professionals use to produce clean, attractive installations.
Why Mortar Matters for Stone Veneer Installation
Unlike tile, stone veneer requires a mortar that can support substantial weight while maintaining a strong bond over many years. The mortar must withstand changing temperatures, moisture exposure, and natural expansion and contraction without losing adhesion.
In addition to its structural role, mortar becomes a visible design element whenever grout joints are exposed. The color, texture, and thickness of the joints all influence the finished appearance. In many installations, the mortar is just as important visually as the stone itself.
Using the correct mortar and applying it properly helps prevent loose stones, cracking, moisture intrusion, and premature repairs.
What is the Best Mortar for Manufactured Stone Veneer?
For virtually all manufactured stone veneer installations, Type S mortar is the recommended choice. It offers an excellent balance of compressive strength, flexibility, and bonding performance, making it well suited for vertical stone veneer applications.
Type S mortar securely adheres the veneer to properly prepared substrates while providing enough strength to support the weight of individual stones. It also performs well in exterior environments where the installation may be exposed to rain, freeze-thaw cycles, and seasonal temperature changes.
Many installers also choose pre-blended stone veneer mortar products specifically formulated for manufactured stone. These mixes simplify installation by providing a consistent blend of cement, sand, and additives that improve workability and bonding.
Regular tile grout should never be substituted for stone veneer mortar. Tile grout is designed only to fill joints and lacks the strength necessary to support veneer on vertical surfaces.
The color of the mortar also deserves consideration. Matching the mortar to the stone creates a subtle, blended appearance, while selecting a contrasting color highlights each individual stone and produces a more dramatic architectural effect.
Understanding the Difference Between Mortar and Grout
The terms "mortar" and "grout" are frequently used interchangeably in stone veneer projects, but they serve slightly different purposes.
Mortar is the material that adheres each stone to the wall. It forms the structural bond that keeps the veneer securely attached.
Grout refers to the exposed mortar that fills the joints between individual stones after installation. While it is often the same material, grout becomes part of the visible finished surface and significantly affects the project's appearance.
Because the same Type S mortar commonly performs both functions, many installers simply refer to everything as mortar. Regardless of the terminology, using the proper masonry mortar remains essential for both strength and aesthetics.
Choosing the Right Grout Line Thickness
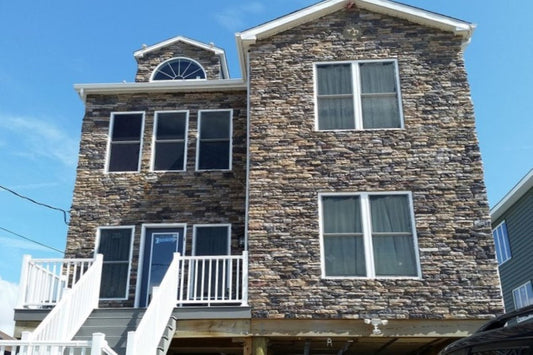
Grout line thickness has a dramatic impact on the overall character of a stone veneer installation. Even when using identical stone profiles, changing the width of the joints can completely transform the finished look.
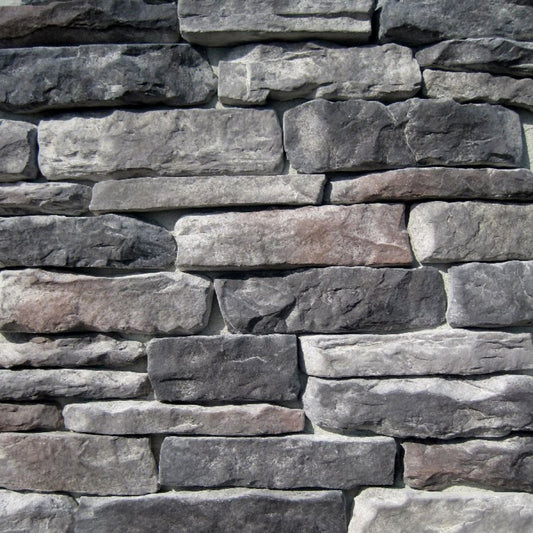
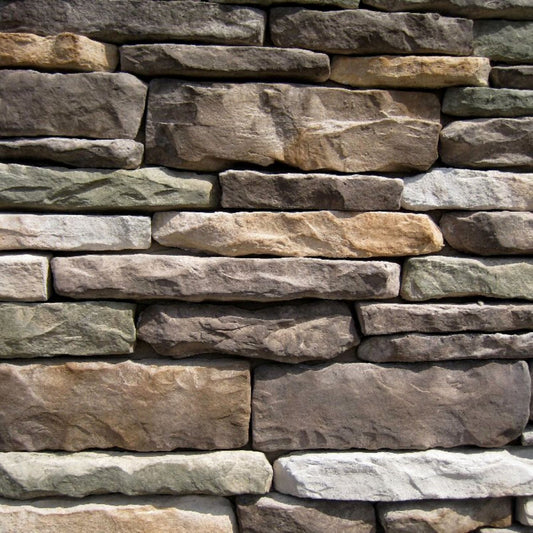
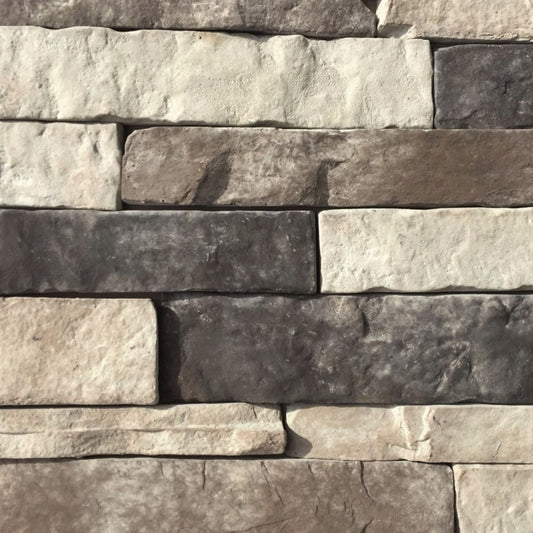
Tight joints between approximately ⅛ inch and ¼ inch create a clean, contemporary appearance. This style minimizes visible mortar and emphasizes the stone itself, making it especially popular in modern homes and commercial spaces.
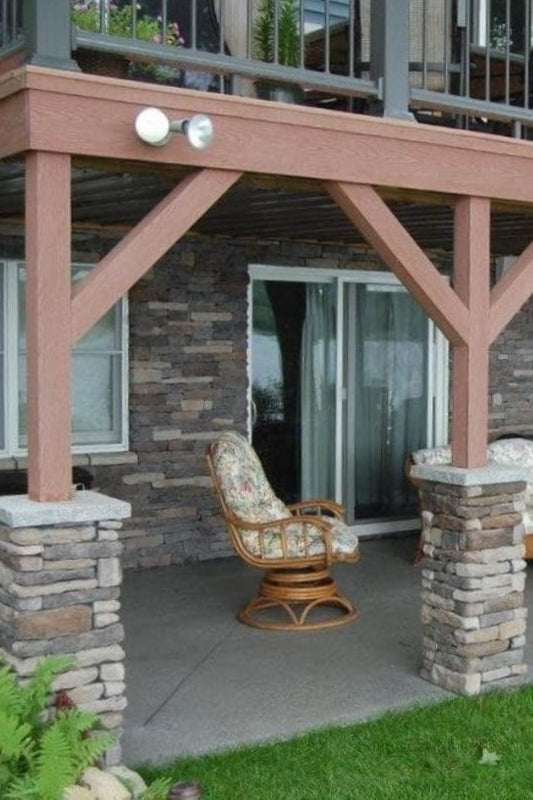
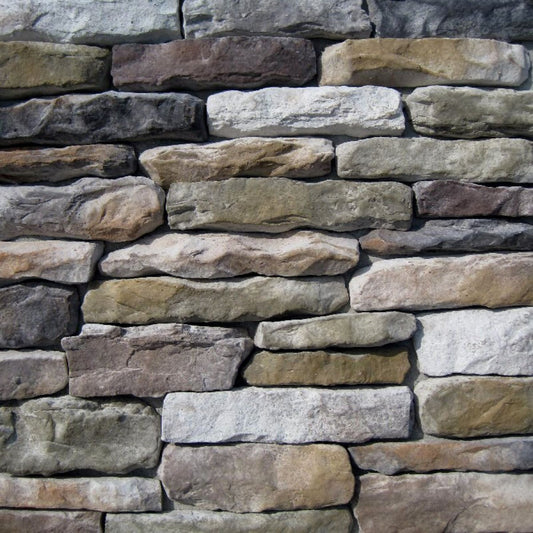
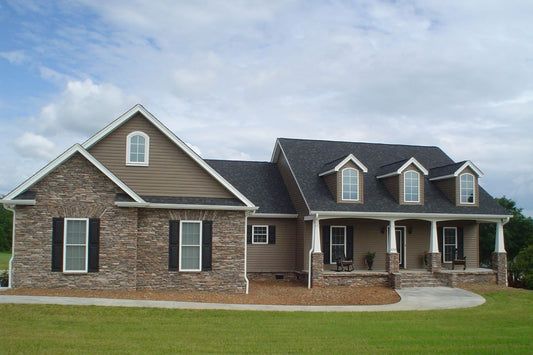
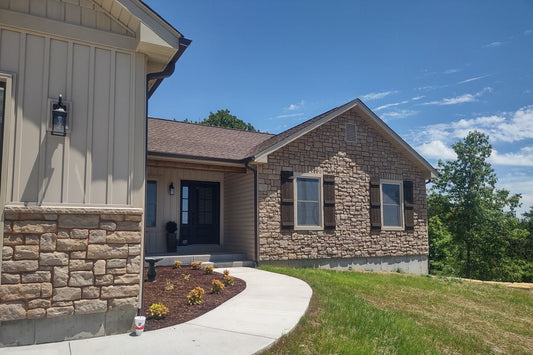
Standard grout joints ranging from roughly ⅜ inch to ½ inch provide the timeless appearance most homeowners associate with traditional masonry. This balanced look works well on fireplaces, entryways, accent walls, and exterior facades.
For homeowners seeking a rustic or historic appearance, wider joints approaching 1 inch create a bold handcrafted aesthetic. These thicker joints place greater visual emphasis on the mortar while complementing traditional architecture, cottages, mountain homes, and farmhouse designs.
Selecting the proper grout width is ultimately a design decision, but it should also complement the shape of the stone profile being installed.
Over Grouting Stone Veneer for Rustic Character
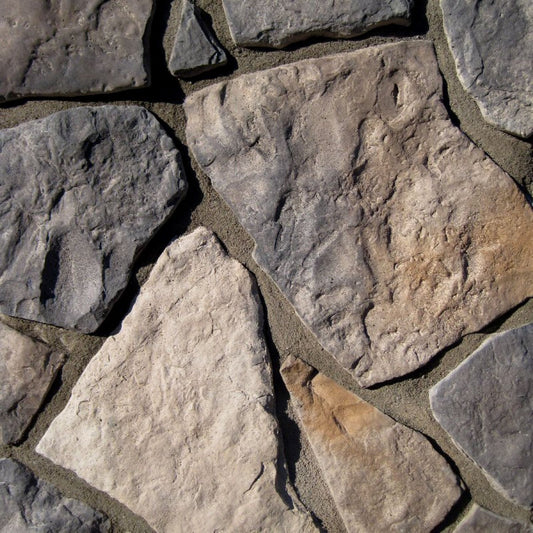
Over grouting is a distinctive installation technique that intentionally allows mortar to extend beyond the edges of the stone. Rather than creating clean, recessed joints, the mortar becomes one of the dominant visual features of the wall.
This technique often uses grout joints measuring an inch or more in width, with mortar partially overlapping the edges of adjacent stones. The finished appearance resembles old European masonry or historic hand-built stone structures where mortar was generously applied.
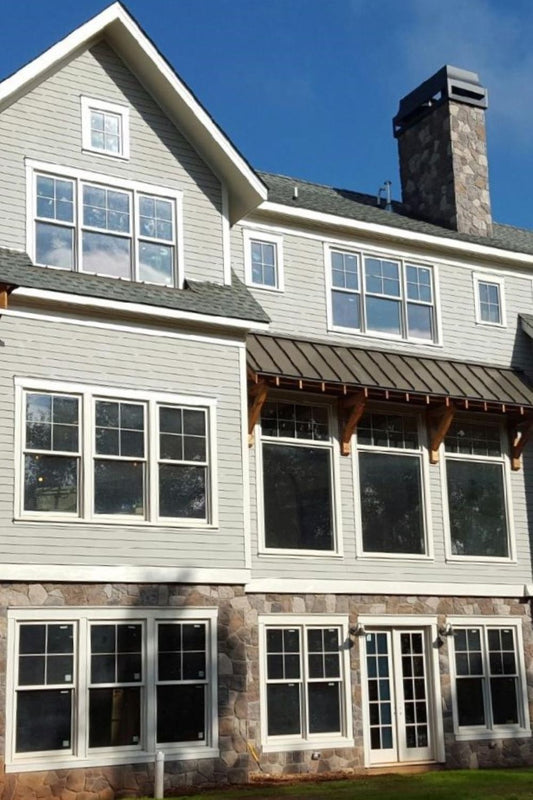
Over grouting works particularly well on fireplaces, exterior chimneys, garden walls, wine cellars, and rustic living spaces where homeowners want an aged, handcrafted appearance.
Although the technique appears less refined than standard grouting, it still requires careful workmanship. Consistent mortar placement and controlled shaping help achieve a natural appearance without looking messy or unfinished.
Dry Stacking Stone Veneer for a Modern Look
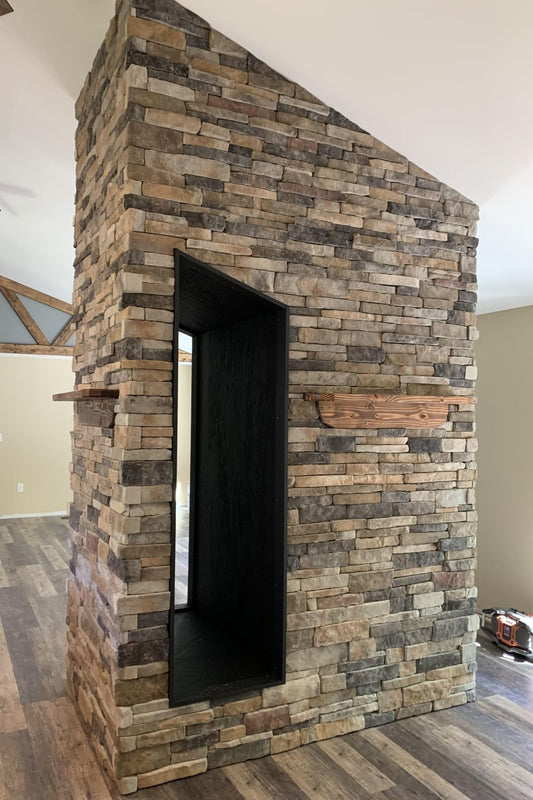
Dry stacking creates the illusion that stones are resting directly against one another without visible mortar joints. Despite the appearance, mortar is still applied behind every stone to create a secure bond.
This installation style has become increasingly popular in contemporary architecture because it highlights the natural texture and shape of the stone while minimizing visible joint lines.
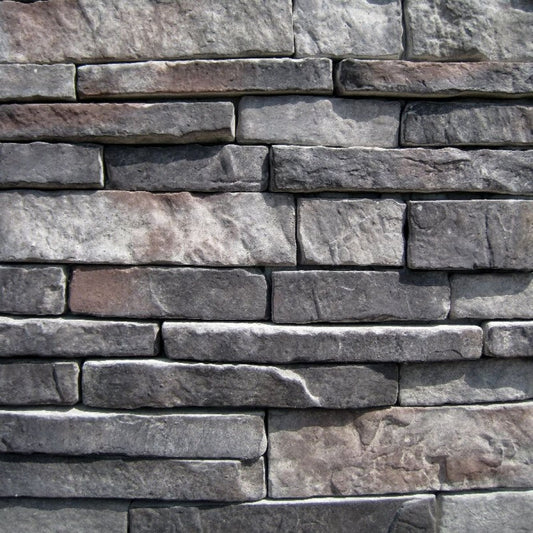
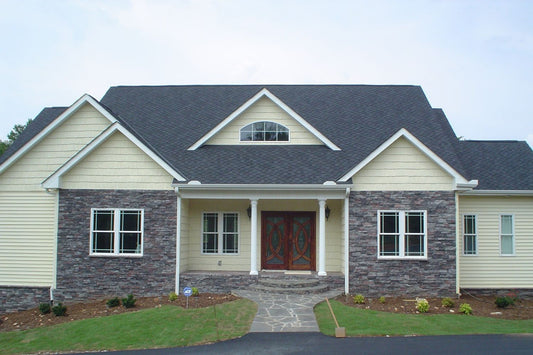
Dry stacking works best with manufactured stone veneer profiles that feature straight edges and consistent dimensions. Stacked stone, linear ledgestone, and other precisely manufactured profiles allow stones to fit tightly together with minimal spacing.
Irregular stone profiles are generally less suitable for true dry stacking because their varying shapes naturally create larger gaps that require visible mortar to achieve a balanced appearance.
How Stone Profiles Affect Grout Line Thickness
Not every stone veneer profile can achieve the same joint spacing. The shape and dimensions of the stone largely determine how narrow or wide the grout lines should be.
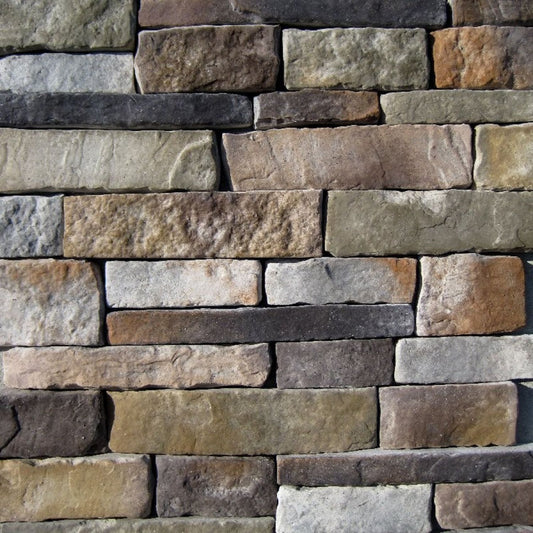
Linear profiles with relatively straight edges allow stones to nest closely together. These profiles are ideal for contemporary installations featuring tight joints or dry-stacked designs.
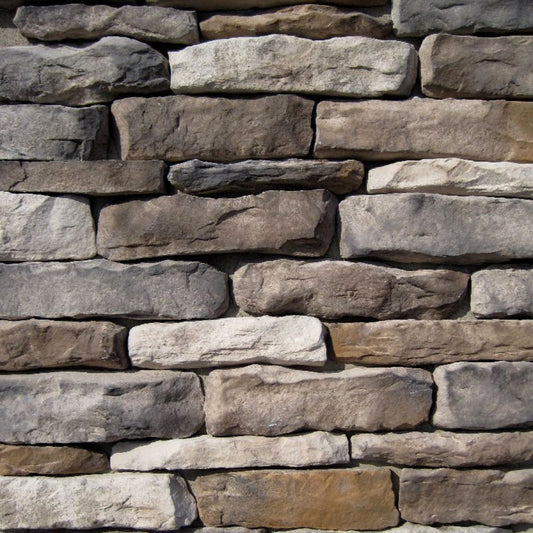
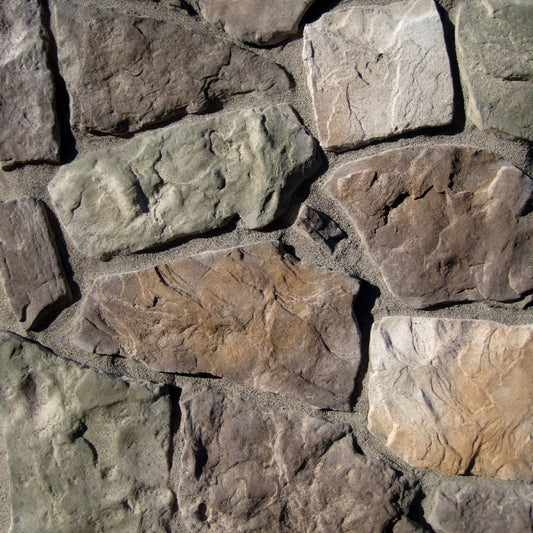
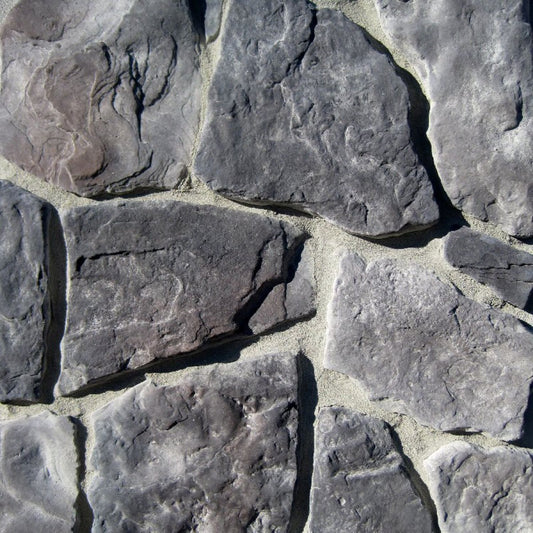
More irregular profiles, including many fieldstone and ledgestone styles, naturally create uneven gaps between individual stones. Wider grout joints help fill these spaces while maintaining structural integrity and visual balance.
Attempting to force irregular stones into extremely tight joints often creates awkward spacing and unnatural patterns. Instead, allowing the profile to dictate appropriate joint widths typically produces the most attractive finished installation.
Understanding this relationship between stone profile and grout line thickness helps homeowners choose a veneer style that matches their desired architectural appearance.
How to Remove Excess Mortar During Installation
Even experienced installers occasionally leave excess mortar during installation. The key is removing it properly before it hardens permanently.
Working in smaller sections helps prevent mortar from drying before adjustments can be made. As each area is completed, excess mortar should be carefully scraped away using a trowel or jointing tool rather than being smeared across the stone surface. For additional hands-on installation tips and best practices from start to finish, see our DIY stone veneer installation guide.
Once the mortar begins to firm up but has not fully cured, a stiff masonry brush can be used to shape the joints and remove remaining residue. Timing is important because brushing too early may pull mortar from the joints, while waiting too long makes cleanup much more difficult.
Wet mortar should never be wiped across the face of manufactured stone veneer. Doing so can spread cement residue into the textured surface and create stubborn stains that are difficult to remove after curing.
If cleaning is required after the mortar has hardened, choose a cleaner specifically designed for masonry or concrete. A non-etching cleaner can help remove mortar residue without damaging the stone surface. As with any cleaning product, always test it in an inconspicuous area before treating the entire installation.
Common Mistakes When Working With Stone Veneer Mortar
Many installation problems can be traced back to improper mortar techniques. Using the wrong mortar mix, applying mortar too dry or too wet, or allowing mortar to skin over before placing stones can all reduce bond strength.
Another common mistake is inconsistent grout joint thickness. Randomly varying joint widths often create an uneven appearance unless the design intentionally calls for a highly rustic style.
Cleaning mistakes are equally common. Waiting until mortar fully cures before attempting cleanup makes removal significantly more difficult, while aggressive scrubbing with acidic cleaners can permanently damage manufactured stone veneer.
Following manufacturer installation instructions and maintaining consistent workmanship throughout the project will help produce attractive, long-lasting results. For a complete walk through of every stage of the process, including surface preparation, mortar application, stone placement, and finishing techniques, read our how to install manufactured stone veneer like a pro guide.
Perfect Grout Lines for Your Stone Veneer
Mortar is much more than the adhesive behind your stone veneer, it's an essential part of both the installation and the finished design. Choosing Type S mortar, maintaining consistent grout line thickness, selecting an installation style that complements your stone profile, and cleaning excess mortar correctly all contribute to a beautiful, durable result.
Whether you're installing a sleek dry-stacked accent wall, a traditionally grouted exterior, or a heavily over-grouted rustic fireplace, understanding how mortar influences both appearance and performance will help you achieve a professional finish that stands the test of time.
From Mountain View Stone: What You Should Know
At Mountain View Stone, we recommend using Type S mortar for manufactured stone veneer installations because it provides the strength and bonding performance needed for long-term durability. The profile you choose also influences the finished appearance, with linear profiles lending themselves to tighter joints and irregular profiles naturally accommodating wider grout lines. Taking the time to select the right mortar, maintain consistent joint spacing, and clean excess mortar properly will help your finished project look professional for years to come.
Frequently Asked Questions About Perfect Grout Lines for Your Stone Veneer
What is the best mortar for manufactured stone veneer?
Type S mortar is the recommended mortar for most manufactured stone veneer installations because it provides excellent bonding strength and durability for vertical masonry applications.
Can I use regular tile grout instead of mortar?
No. Tile grout is designed to fill joints and does not provide the structural bond necessary to support stone veneer. Always use a masonry mortar such as Type S.
How thick should grout lines be for stone veneer?
Grout line thickness depends on the desired appearance and the stone profile. Tight joints create a modern look, medium joints provide a traditional style, and wider joints produce a rustic, old-world aesthetic.
Is dry-stacked stone veneer installed without mortar?
No. Dry-stacked veneer still uses mortar behind each stone to secure it to the wall. The difference is that the mortar is concealed, leaving little or no visible joint between the stones.
How do I remove mortar stains from stone veneer?
Remove excess mortar before it fully hardens whenever possible. If cleaning is necessary after curing, use a non-etching masonry cleaner designed for concrete or stone surfaces, and always test it in a small, hidden area first.
Does the stone profile affect grout line thickness?
Yes. Straight-edged profiles such as stacked stone and limestone generally allow tighter joints, while irregular profiles like fieldstone and ledgestone naturally require wider grout lines to create a balanced, attractive installation.
What's Next?
Transform your space with premium manufactured stone veneer. Shop now to create a timeless, durable design with confidence or order a sample to experience the authentic textures and vibrant colors
Have a Question?
Please see our full terms of service or check out our frequently asked questions.
For general information and questions please call: (864) 882-8960 Mon. - Fri. 8am - 5pm (EST) or email: info@mountainviewstone.net we are more than happy to help you.
Or you can submit your questions via our contact us page.
We look forward to working with you on your upcoming project.
The Mountain View Stone Team
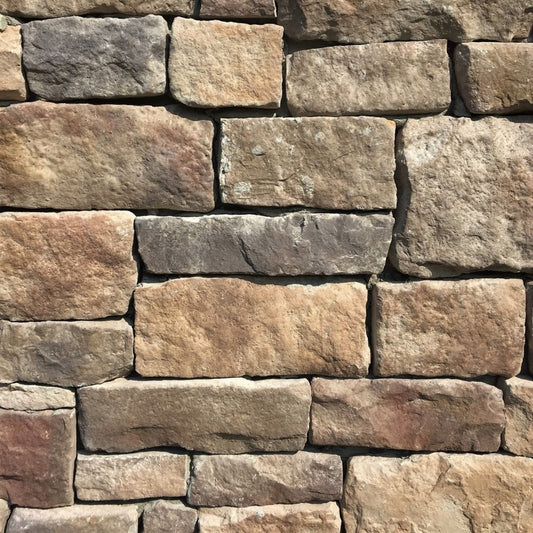
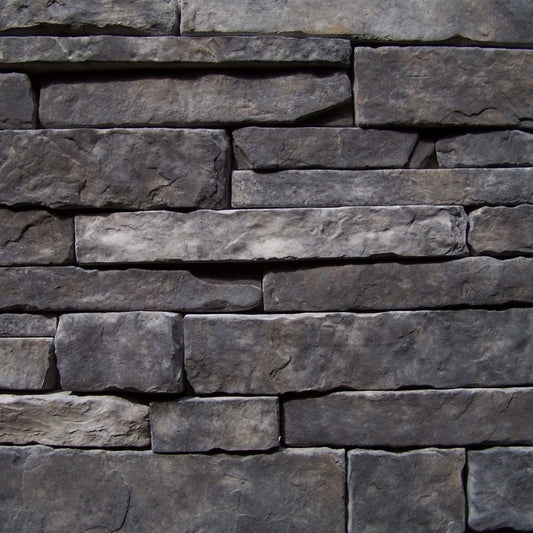
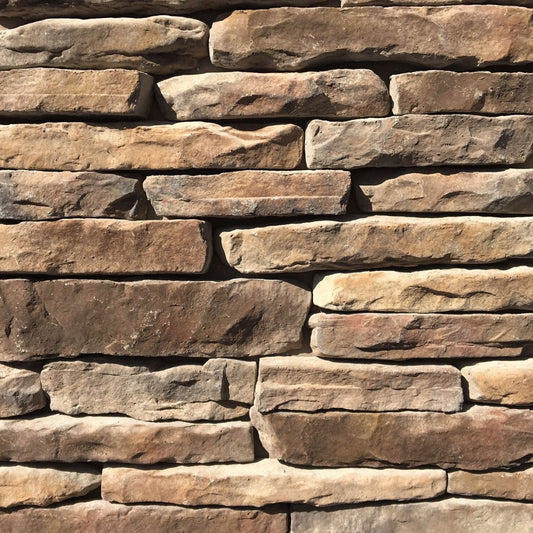
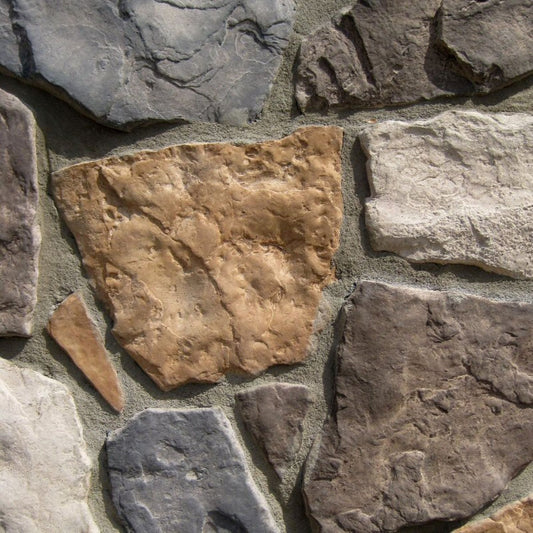
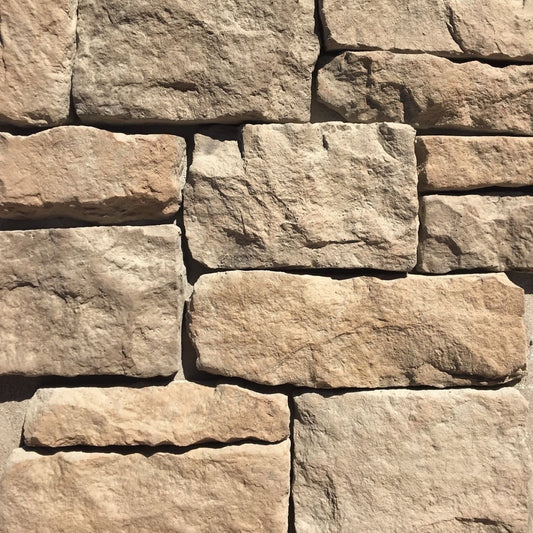
Pictured is field stone kona.