Why You Should Lay Out Manufactured Stone Veneer Before Installation
Share
Laying out manufactured stone veneer on the floor before installation allows you to pre-plan the pattern, balance color variation, avoid repeating shapes, and ensure a natural, cohesive look. This dry layout step helps prevent mistakes, reduces installation time, and results in a more professional finish.
Installing manufactured stone veneer is as much about planning as it is about execution. While the installation process itself gets most of the attention, one of the most important steps happens before any mortar is mixed or stone is applied. As outlined in our DIY stone veneer installation guide, laying out your stone veneer on the floor, often referred to as a “dry layout,” is a simple but highly effective way to control the final look of your project.
This step gives you the opportunity to see how the stones interact with each other, how colors distribute across the surface, and how shapes fit together. Without it, even high-quality stone can end up looking repetitive, unbalanced, or artificial. Taking the time to plan your layout ensures your finished installation looks natural, intentional, and professionally done.
Why dry layout matters for manufactured stone veneer
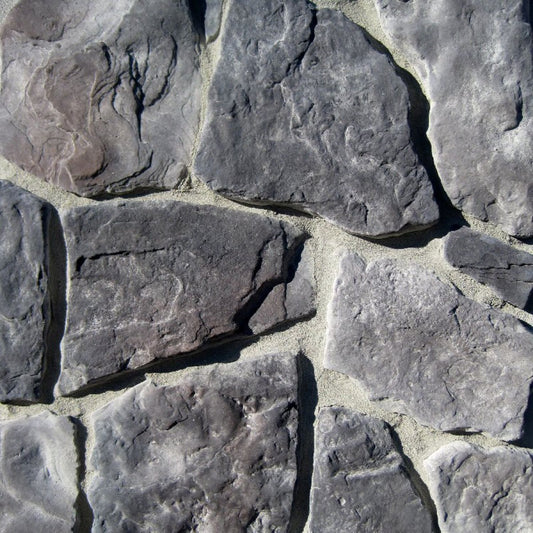
Manufactured stone veneer is designed to replicate the randomness and variation of natural stone, but that randomness still needs to be managed. When stones are installed directly from the box without pre-planning, patterns can unintentionally repeat, colors can cluster, and the overall appearance can feel unnatural.
By laying out the stones beforehand, you gain control over these variables. You can visually assess how different pieces work together and make adjustments before anything is permanently set. This not only improves the final look but also reduces hesitation and guesswork during installation.
Dry layout also helps you identify standout pieces. Some stones may be larger, more textured, or have unique color variations. Planning where these go allows you to use them intentionally as focal points rather than having them appear randomly or in awkward positions.
Creating a natural and balanced appearance
One of the primary goals of any stone veneer installation is to achieve a natural look. Nature does not repeat itself in obvious ways, and your installation should reflect that same irregularity.
When you lay out your stones on the floor, you can step back and view the arrangement as a whole. This perspective makes it easier to spot patterns that might not be obvious when working on a wall section by section. You can adjust placement to avoid clustering similar shapes or colors in one area.
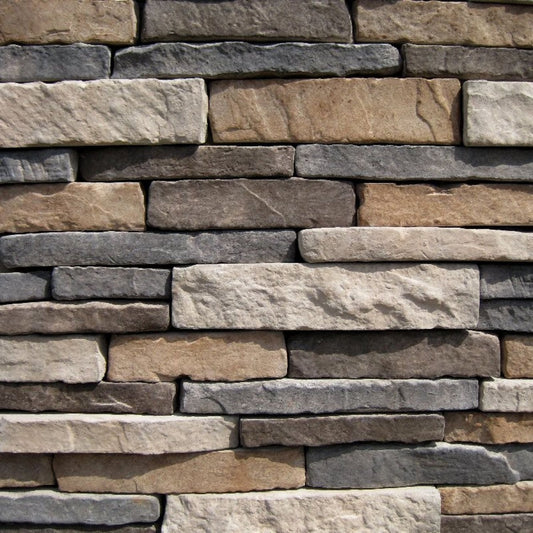
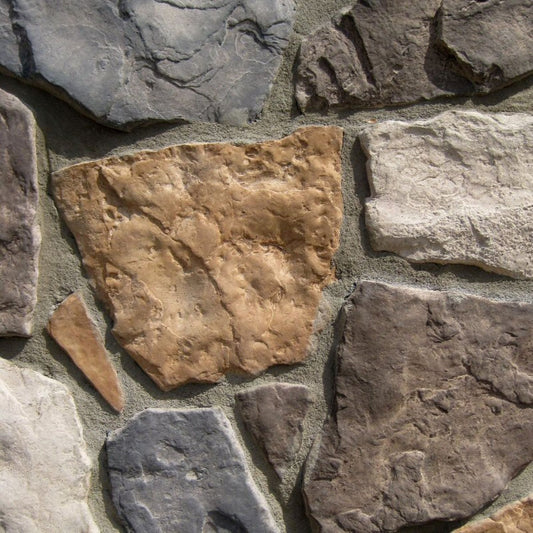
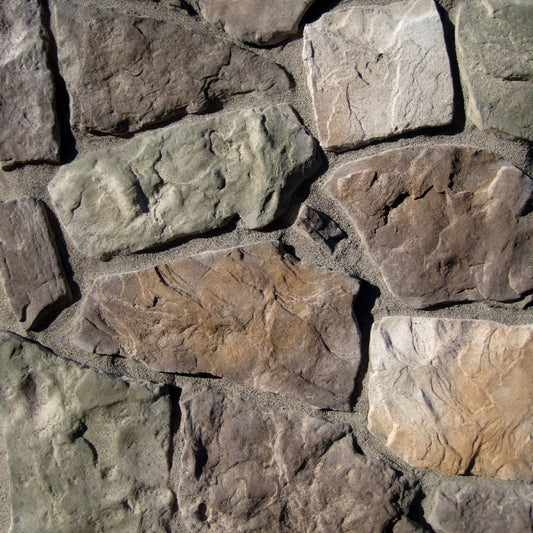
Color distribution is especially important. Manufactured stone veneer often includes a range of tones within a single product line. If darker stones end up grouped together or lighter tones dominate one section, the finished result can look uneven. A dry layout allows you to spread these variations evenly across the surface, creating a cohesive and balanced appearance.
Improving efficiency during installation
Beyond aesthetics, laying out your stones in advance significantly improves installation efficiency. When you already know where each piece will go, the installation process becomes much smoother. As detailed in our how to install manufactured stone veneer guide, planning ahead is one of the most important steps to achieving a clean, professional finish.
Instead of stopping to search for the right piece or adjusting stones on the wall, you can work in a steady, consistent rhythm. This reduces installation time and helps maintain proper mortar consistency and adhesion, since you are not rushing or pausing unpredictably.
It also minimizes waste. When stones are selected and placed without planning, cuts may be made unnecessarily or pieces may not fit as intended. With a dry layout, you can plan cuts ahead of time and use materials more efficiently.
Reducing mistakes and rework
Mistakes in stone veneer installation can be difficult and time-consuming to fix once the mortar has set. Removing and repositioning stones can damage both the material and the substrate, leading to additional work and potential inconsistencies in the finish.
A floor layout acts as a preview of your final installation. It allows you to experiment with different arrangements without any risk. If something doesn’t look right, you can easily adjust it before committing to the placement.
This proactive approach reduces the likelihood of errors and helps ensure that the installation progresses smoothly from start to finish. It also provides confidence, especially for first-time installers or complex projects.
Planning for corners, edges, and transitions
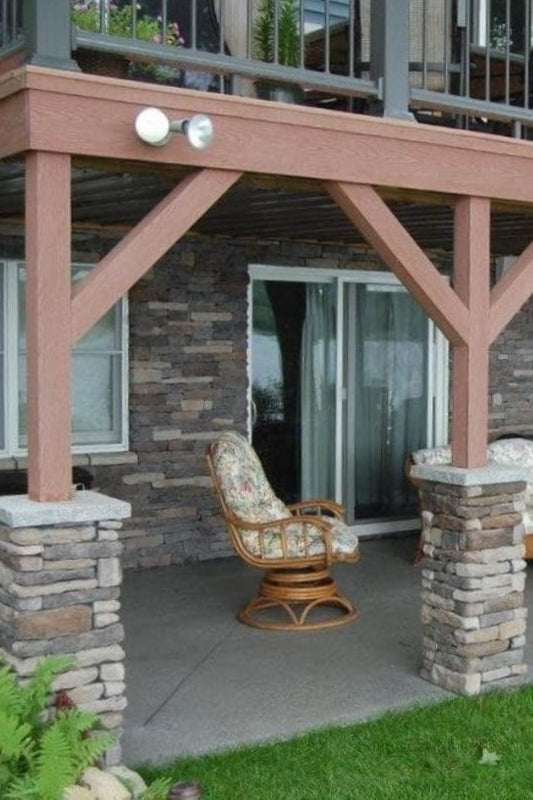
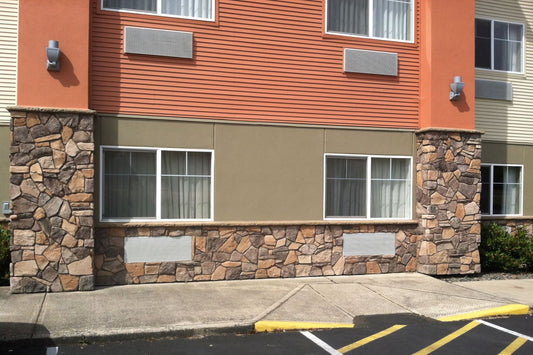
Corners and edges are some of the most visually critical areas in a stone veneer installation. These areas require careful planning to ensure a seamless and natural transition.
When laying out your stones, you can set aside corner pieces and plan how they will integrate with the flat stones. This helps maintain continuity in both pattern and color as the installation wraps around corners or transitions between surfaces.
Similarly, planning for edges such as windows, doors, or termination points allows you to avoid awkward cuts or mismatched pieces. By visualizing these areas in advance, you can ensure that the layout flows naturally across the entire surface.
Adapting layout to different stone profiles
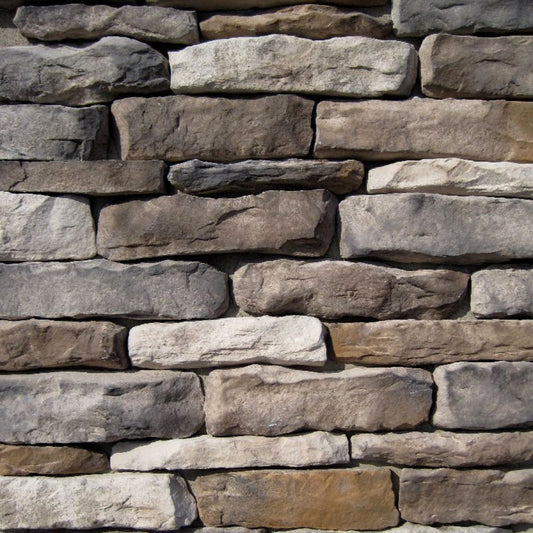
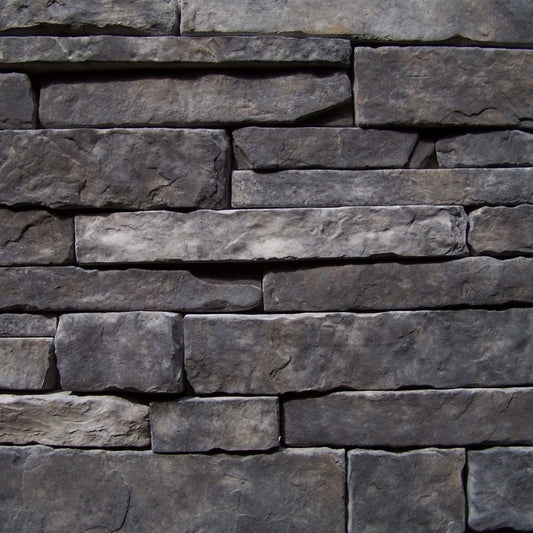
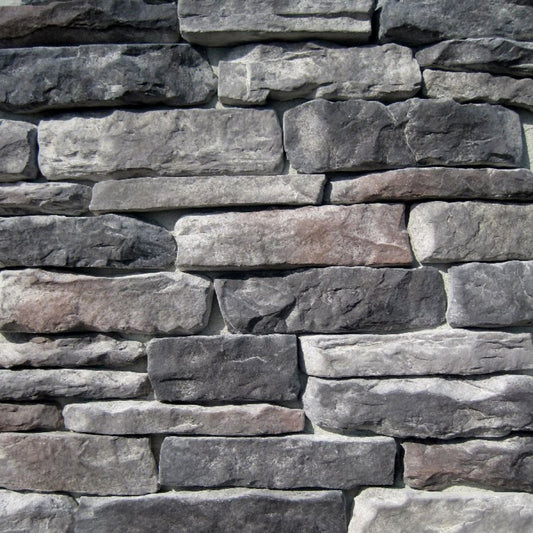
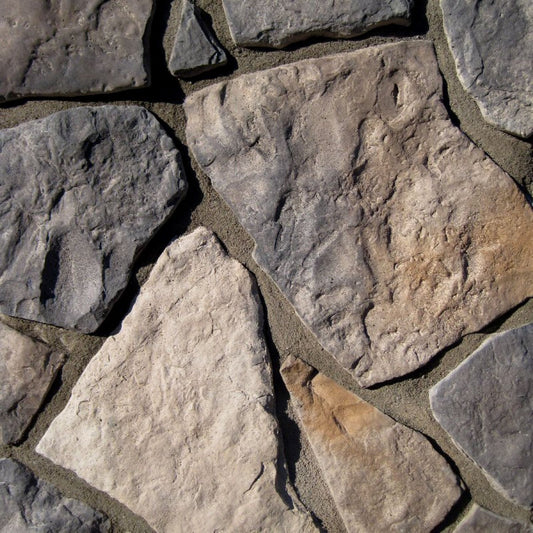
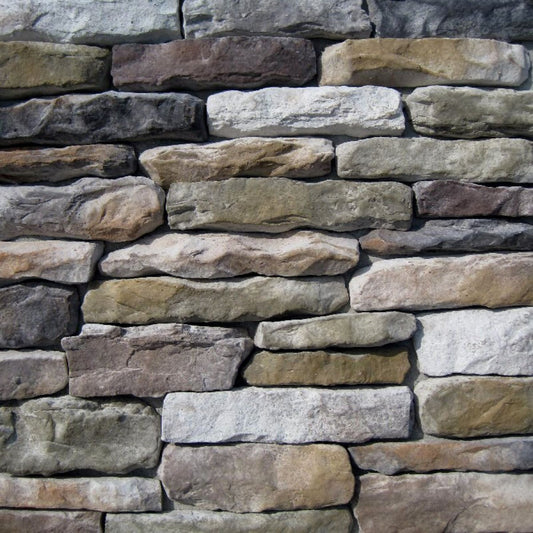
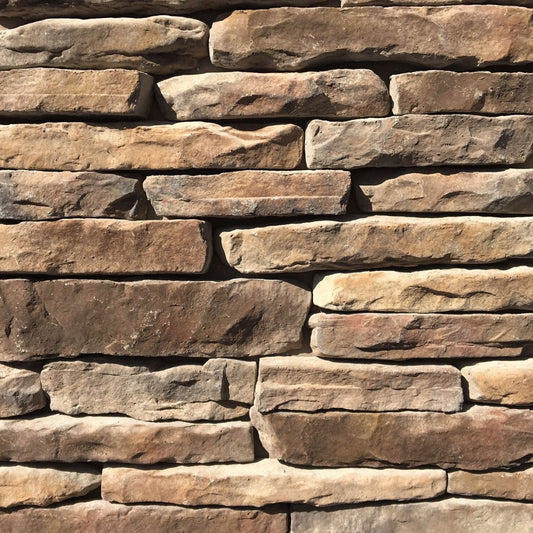
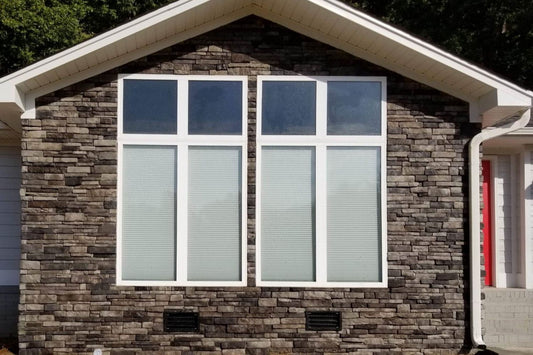
Different manufactured stone veneer profiles require slightly different layout approaches. Ledgestone, for example, tends to have a more linear and structured appearance, while fieldstone or river rock profiles are more irregular and organic.
A dry layout helps you understand how your specific profile behaves. With more structured profiles, you can ensure consistent joint spacing and alignment. With irregular profiles, you can focus on avoiding repetition and maintaining a balanced distribution of shapes and sizes.
Regardless of the profile, the goal remains the same: to create a cohesive surface that feels natural and visually appealing.
The role of lighting and perspective
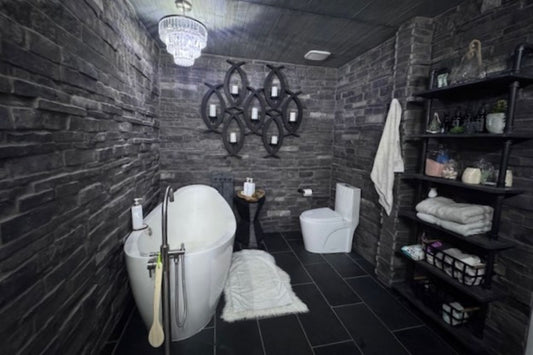
Lighting plays a significant role in how stone veneer appears once installed. Shadows, highlights, and texture all interact differently depending on light direction and intensity.
By laying out your stones on the floor, you can observe how light affects their appearance. Rotating or repositioning pieces can change how textures catch the light, allowing you to enhance depth and visual interest in the final installation.
Perspective is equally important. Viewing the layout from different angles and distances helps you identify patterns or imbalances that might not be visible up close. This broader view ensures a more polished and professional result.
Building confidence before installation
For many installers, especially those new to working with manufactured stone veneer, confidence is a key factor in achieving a successful outcome.
A dry layout provides reassurance. It allows you to see your design come together before committing to the installation. This reduces uncertainty and helps you approach the project with a clear plan.
Even experienced installers benefit from this step, particularly on larger or more complex projects. It serves as a final check to ensure everything aligns with the intended design.
Why you should lay out manufactured stone veneer before installation
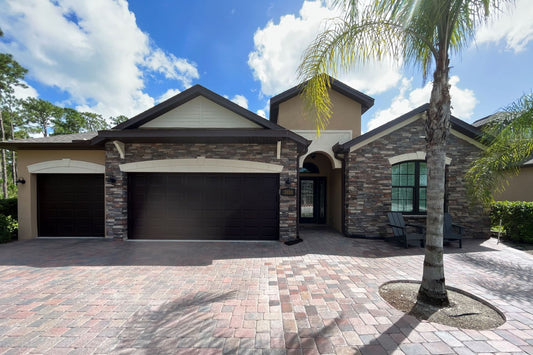
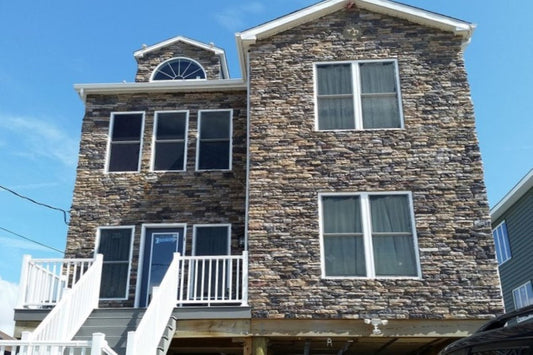
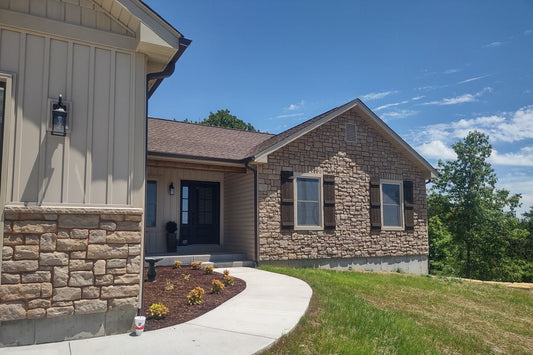
Laying out your manufactured stone veneer on the floor before installation is a simple step that delivers significant benefits. It enhances the overall appearance by ensuring balanced color distribution and natural variation, improves efficiency by streamlining the installation process, and reduces the risk of mistakes.
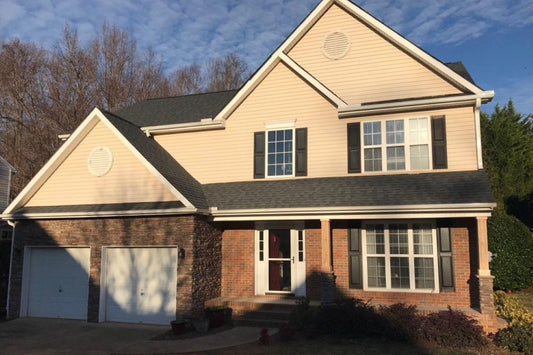
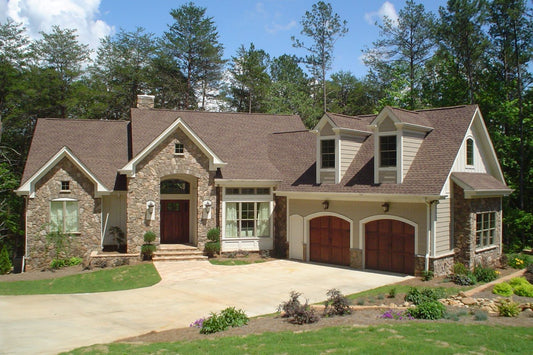
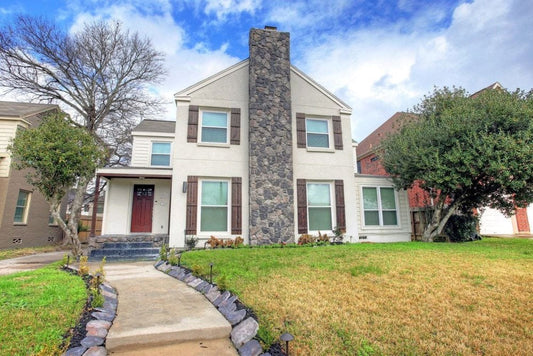
This preparation transforms the installation from a reactive process into a deliberate and controlled one. Whether you are working on a small accent wall or a large exterior project, taking the time to plan your layout will result in a more cohesive, professional finish that truly showcases the beauty of manufactured stone veneer.
From Mountain View Stone: what you should know
At Mountain View Stone, we strongly recommend taking the time to lay out your manufactured stone veneer before installation. Because our stone is made to order with intentional color variation, dry layout is the best way to ensure a balanced, natural appearance across your project. It allows you to blend tones, avoid repetition, and make the most of standout pieces. This step not only improves the final look but also makes installation faster and more efficient by reducing guesswork once you begin setting stone.
Frequently asked questions
1. Should I always lay out manufactured stone veneer before installing? While it may not be strictly required, it is highly recommended for achieving the best visual results and avoiding common installation issues.
2. How much stone should I lay out at one time? Ideally, you should lay out enough stone to cover a representative section of your project, allowing you to see patterns, color distribution, and variation clearly.
3. Does dry layout help with color consistency? Yes, it allows you to evenly distribute different tones and avoid clustering similar colors in one area.
4. Can I skip dry layout for smaller projects? Even on smaller projects, dry layout can improve the final appearance and reduce installation time, making it a worthwhile step.
5. How does dry layout reduce waste? By planning cuts and placement in advance, you can use materials more efficiently and avoid unnecessary trimming or discarded pieces.
6. Is dry layout necessary for all stone profiles? Yes, although the approach may vary slightly depending on the profile, all types of manufactured stone veneer benefit from pre-planning.
What's next?
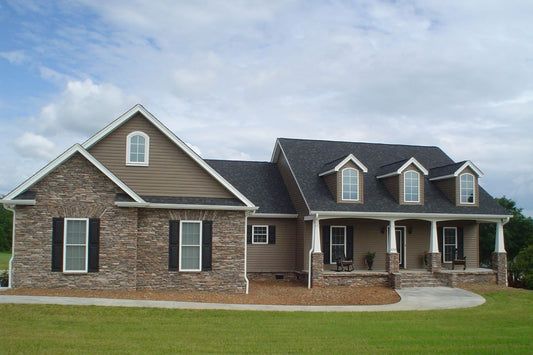
Upgrade your space with premium stone veneer crafted to enhance any project. Shop now to find the right fit for your design or order a sample to experience the color and texture firsthand. Bring your vision to life today.
Have a question?
Please see our full terms of service or check out our frequently asked questions.
For general information and questions please call: (864) 882-8960 Mon. - Fri. 8am - 5pm (EST) or email: info@mountainviewstone.net we are more than happy to help you.
Or you can submit your questions via our contact us page.
We look forward to working with you on your upcoming project.
The Mountain View Stone Team
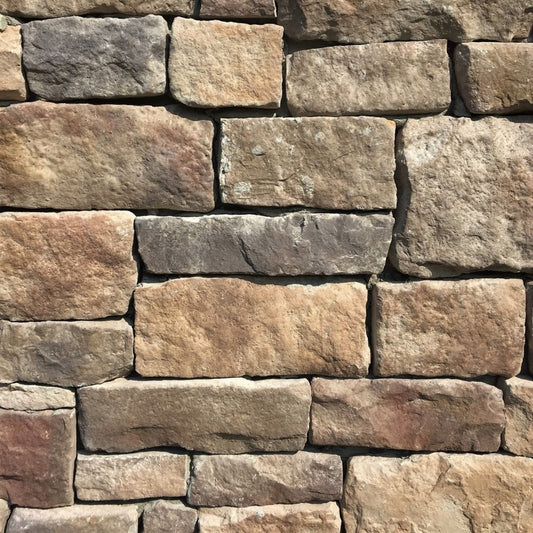
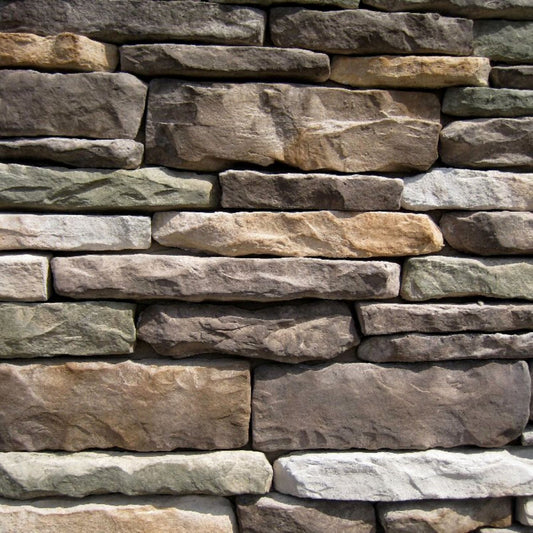
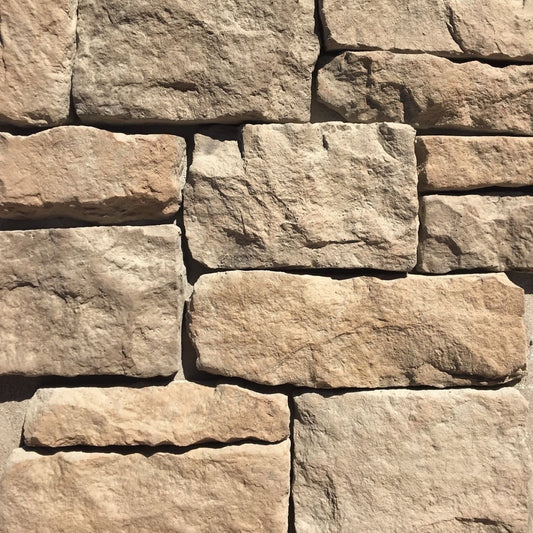
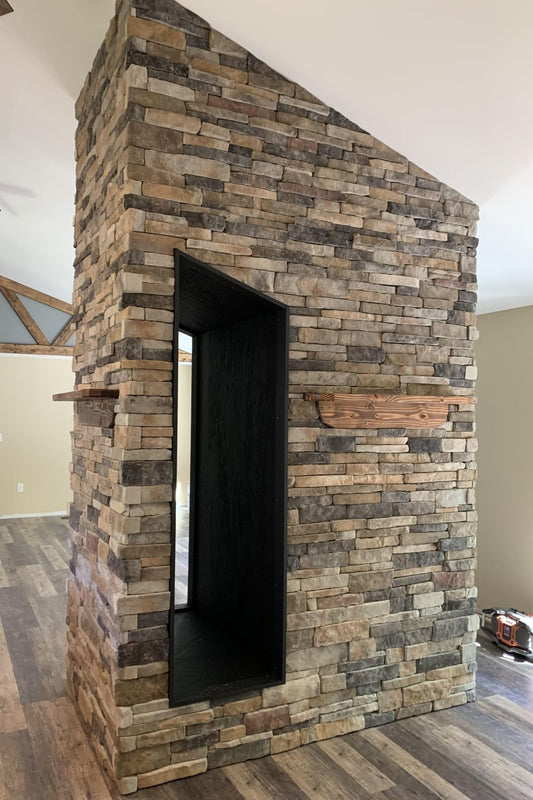
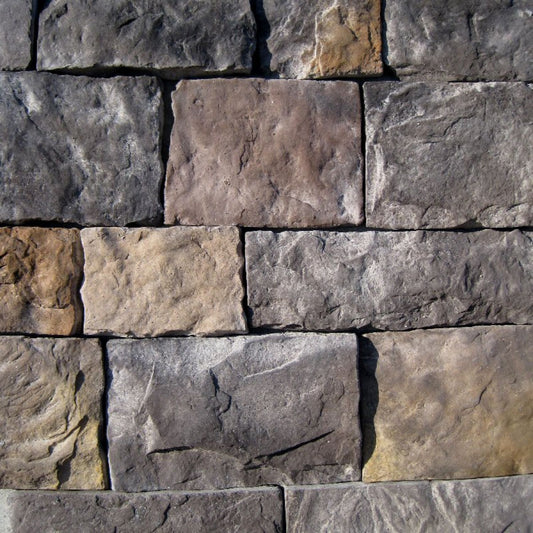
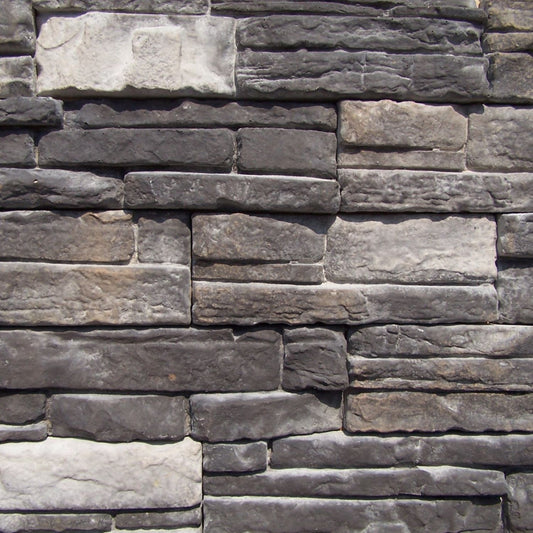
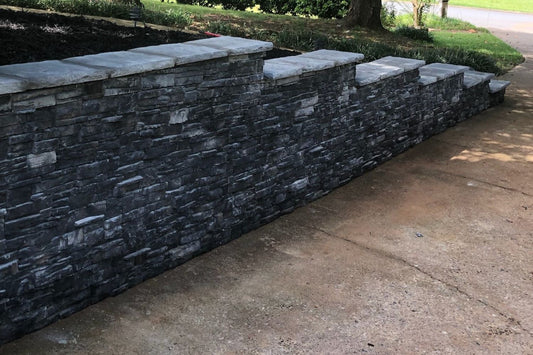
Pictured is ready stack tacoma.