How to Install Manufactured Stone Veneer on Angled Surfaces: 45-Degree Corners and More
Share
Manufactured stone veneer can be installed on angled surfaces like 45-degree corners, but it requires cutting flat pieces and mitering edges instead of using standard 90-degree corner pieces. Proper surface prep, accurate cuts, and careful alignment are essential for a clean, natural-looking finish on non-standard angles.
Manufactured stone veneer has become one of the most versatile materials in modern construction and design. Its lightweight structure, durability, and natural appearance make it ideal for everything from fireplaces to exterior facades. While many installations focus on flat walls and standard corners, more complex features like angled surfaces, columns, and custom architectural details are increasingly popular. If you’re working on vertical structures such as posts or pillars, be sure to explore our complete guide on stone veneer columns, posts, pillars, and arches for a deeper look at those applications.
When it comes to angled surfaces like 45-degree corners, the installation process requires a different approach. Standard corner pieces are designed for 90-degree angles, so achieving a clean, professional finish on non-standard corners comes down to careful planning, precise cutting, and proper technique. This post will walk you through how to successfully install manufactured stone veneer on angled surfaces while maintaining a seamless and natural look.
Understanding angled stone veneer installations
Angled installations introduce a unique challenge because manufactured stone veneer systems are typically designed around flat planes and right angles. Most product lines include flat pieces and 90-degree corner units that wrap neatly around standard corners. However, when the angle changes, those pre-formed corners no longer fit correctly.
Instead of relying on corner pieces, installers must use flat stones and modify them to suit the angle. This process usually involves mitering, where the edges of two adjoining stones are cut at complementary angles so they meet cleanly along the corner. For a 45-degree outside corner, each stone edge is typically cut at 22.5 degrees to form a tight joint.
The goal is to replicate the natural look of stone wrapping around a corner, even though each piece has been individually cut. When done properly, the transition is nearly invisible, preserving the realism that makes manufactured stone veneer so appealing.
Preparing the surface for angled applications
As with any stone veneer installation, surface preparation is one of the most important steps. If you’re new to the process, our DIY stone veneer installation guide walks through the fundamentals in detail, helping you build a strong foundation before tackling angled applications.
Angled surfaces often occur in more complex structures such as columns, archways, or custom framing, which means the substrate must be carefully evaluated. The surface must be structurally sound, clean, and properly prepared to receive stone veneer. A properly installed lath and scratch coat system is typically required, especially for exterior applications. On angled corners, it is especially important that the substrate is straight and true. Even small inconsistencies can become very noticeable once the stone is installed.
Moisture management is also critical. A weather-resistant barrier and proper flashing should be in place where needed, particularly on exterior angled features. These details ensure long-term durability and prevent issues such as water infiltration or freeze-thaw damage.
Cutting and mitering stone veneer for 45-degree corners
The defining step in angled installations is cutting the stone. Since standard corner pieces cannot be used, flat stones must be modified to create a clean corner transition.
Mitering involves cutting the edges of two stones at matching angles so they fit together seamlessly. For a 45-degree corner, each stone is typically cut at a 22.5-degree angle. This allows the two pieces to meet and form the desired corner without gaps.
Achieving clean cuts requires the right tools and technique. A wet saw with a diamond blade is commonly used to ensure precision and reduce chipping. Dry cutting can be done in some cases, but it increases the risk of rough edges and dust.
Consistency is key. Each cut must be accurate so that the stones align properly as the installation progresses. Even slight variations can compound over time, leading to uneven joints or misaligned courses. Taking the time to measure and cut carefully will significantly improve the final result.
Laying out the stone for a natural look
One of the biggest challenges with angled installations is maintaining a natural appearance. Because every corner piece is custom-cut, there is a greater risk of creating visible patterns or unnatural lines.
Before applying mortar, it is helpful to dry lay the stones and plan the layout. This allows adjustments to be made to the placement, size, and orientation of each piece. Mixing stones from multiple boxes helps ensure color variation and prevents clustering of similar shapes or tones.
The goal is to avoid having all the joints line up along the corner. Instead, stagger the stones so the pattern flows naturally from one face to the other. This mimics how real stone would be laid and enhances the overall realism of the installation.
Careful planning at this stage can make a significant difference in the finished appearance, especially on highly visible features like columns or entryways.
Applying stone veneer on angled surfaces
Once the stones are cut and the layout is planned, the installation process follows many of the same principles as standard veneer applications. For a deeper dive into professional techniques, see our guide on how to install manufactured stone veneer to refine your approach and improve your results.
Each stone should be buttered with mortar and pressed firmly into place, ensuring full coverage and a strong bond. On angled corners, extra attention must be given to alignment. The two sides of the corner should meet cleanly, with tight joints and consistent spacing. Mortar joints can be adjusted slightly to accommodate minor variations, but the overall look should remain cohesive.
Working from the bottom up is generally recommended, as it provides support for the stones above and helps maintain level courses. Periodically stepping back to review the work can help catch alignment issues early and ensure a consistent appearance.
Because angled installations often involve more cutting and fitting, the process may take longer than a standard installation. Patience and precision are essential for achieving a professional result.
Dealing with irregular angles and custom designs
Not all angled surfaces are perfectly 45 degrees. Custom architecture often includes a variety of angles, curves, and transitions that require on-the-fly adjustments.
In these cases, the same principles apply, but the cuts will vary depending on the angle. Measuring each section individually and adjusting the cut accordingly ensures a tight fit. Templates can be helpful for complex shapes, allowing the installer to transfer the exact angle onto the stone before cutting.
Flexibility is important. Unlike standard installations, there is rarely a one-size-fits-all approach for irregular angles. Each piece must be evaluated and modified to suit its specific position within the design.
Despite the added complexity, these custom applications can create stunning visual effects that elevate the overall project.
Finishing touches and joint work
Once all the stones are installed, the finishing process helps bring everything together. Mortar joints should be filled and tooled to match the desired style, whether that is a flush joint, recessed joint, or more rustic finish.
On angled corners, clean joints are especially important. Any gaps or inconsistencies will be more noticeable where the two planes meet. Taking the time to carefully fill and shape the joints ensures a polished and cohesive appearance.
After the mortar has set, the surface can be cleaned to remove any excess residue. In some cases, sealing may be recommended depending on the product and application, particularly in areas exposed to moisture or heavy use.
Common challenges and how to overcome them
Installing stone veneer on angled surfaces comes with a unique set of challenges, but they can be managed with the right approach. One of the most common issues is inconsistent cuts, which can lead to gaps or uneven joints. This can be avoided by taking precise measurements and using proper cutting tools.
Another challenge is maintaining alignment along the corner. Regularly checking the level and stepping back to assess the overall look can help prevent issues before they become difficult to fix.
Time is also a factor. Angled installations typically take longer due to the additional cutting and fitting required. Planning for this extra time ensures the work is done properly without rushing.
How to install manufactured stone veneer on angled surfaces
Installing manufactured stone veneer on angled surfaces such as 45-degree corners is a more advanced application, but it is entirely achievable with the right techniques. By understanding the limitations of standard corner pieces and adapting with mitered cuts, installers can create seamless transitions that look natural and refined.
Preparation, precision, and patience are the keys to success. From surface prep to final joint work, every step plays a role in the finished appearance. When done correctly, angled stone veneer installations can add a unique architectural element that enhances both the style and value of a space.
From Mountain View Stone: what you should know
At Mountain View Stone, installing manufactured stone veneer on angled surfaces like 45-degree corners is absolutely achievable, but it requires a more hands-on approach than standard installations. Because our corner pieces are designed for 90-degree angles, any non-standard corner will need to be completed using flat pieces that are carefully cut and mitered on-site. We always recommend ordering a sample first to understand the size, shape, and texture of the stone before committing to your project. While we’re happy to provide guidance and best practices, final measurements, cuts, and installation decisions are the responsibility of the installer or homeowner. Taking the time to plan your layout and make precise cuts will ensure the most natural and professional-looking result.
Frequently asked questions
1. Can manufactured stone veneer be installed on a 45-degree corner? Yes, it can be installed on a 45-degree corner, but standard corner pieces cannot be used. Flat stones must be cut and mitered to fit the angle.
2. Do I need special tools to cut stone veneer for angled surfaces? A wet saw with a diamond blade is recommended for clean, precise cuts, especially when mitering edges for corners.
3. Can I use corner pieces on non-90-degree angles? No, corner pieces are designed specifically for 90-degree angles. For any other angle, flat stones must be cut to fit.
4. Is installing stone veneer on angles more difficult? Yes, it requires more precision, planning, and cutting compared to standard installations, but it is manageable with proper technique.
5. How do I make angled stone veneer look natural? Careful layout, staggered joints, and consistent cutting help create a natural, seamless appearance across angled surfaces.
6. Does angled installation affect durability? No, as long as the stone is properly installed with full mortar coverage and correct surface preparation, durability remains the same.
What's next?
Transform your space with the timeless look of stone veneer. Shop now to find your perfect style or order a sample to experience the quality up close before you buy. Start your project today!
Have a question?
Please see our full terms of service or check out our frequently asked questions.
For general information and questions please call: (864) 882-8960 Mon. - Fri. 8am - 5pm (EST) or email: info@mountainviewstone.net we are more than happy to help you.
Or you can submit your questions via our contact us page.
We look forward to working with you on your upcoming project.
The Mountain View Stone Team
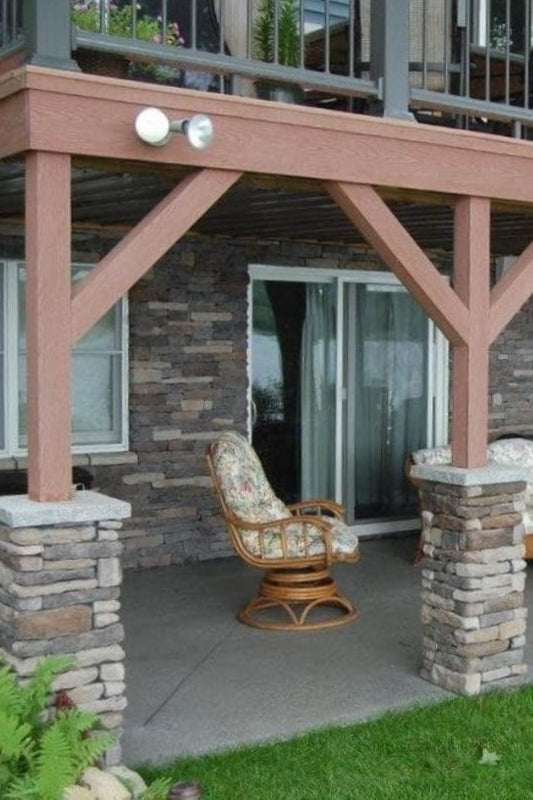
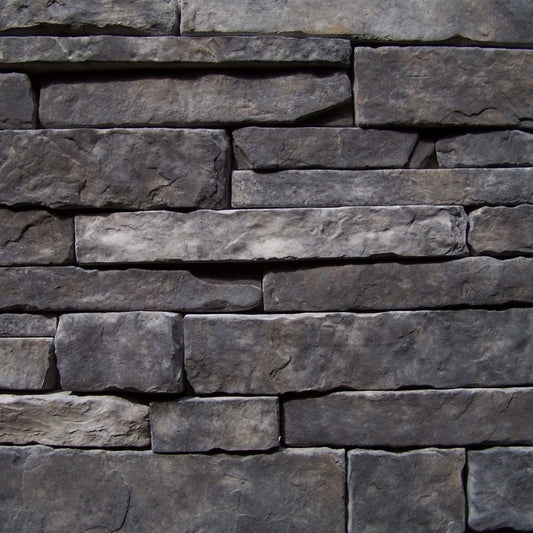
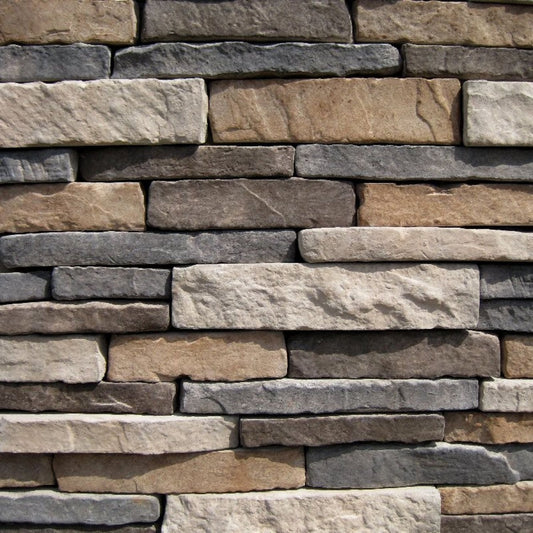
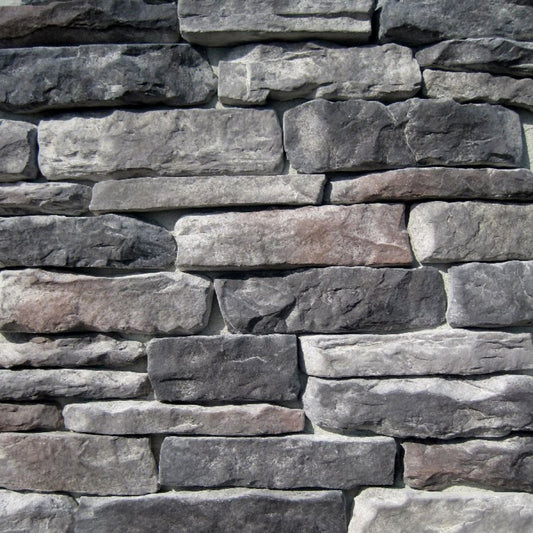
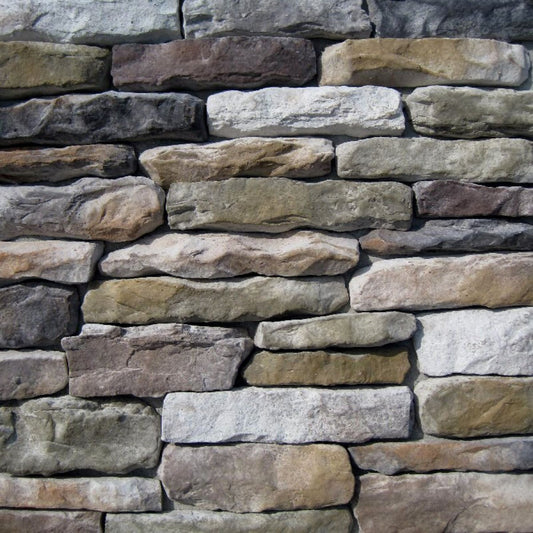
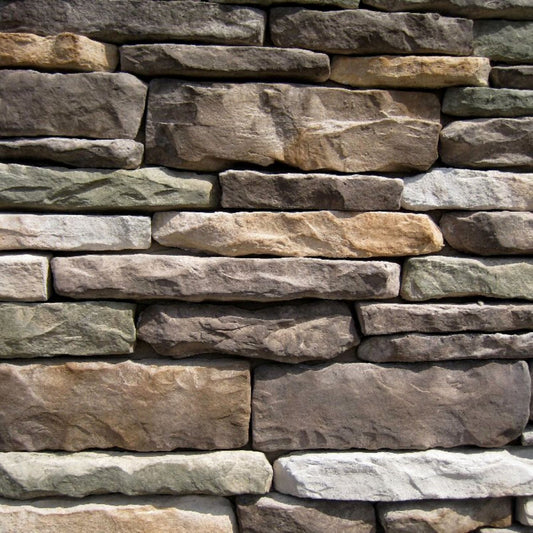
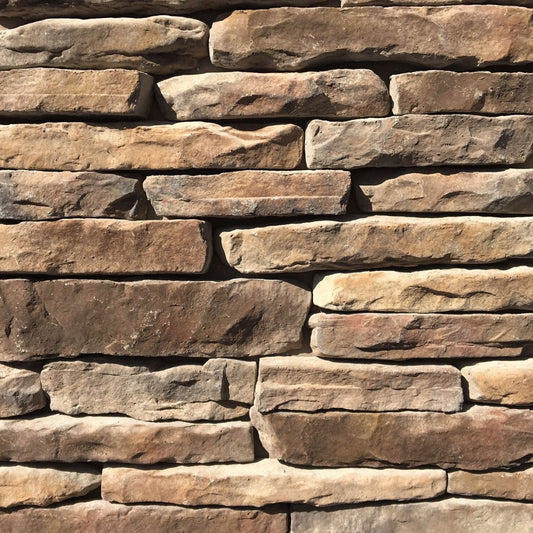
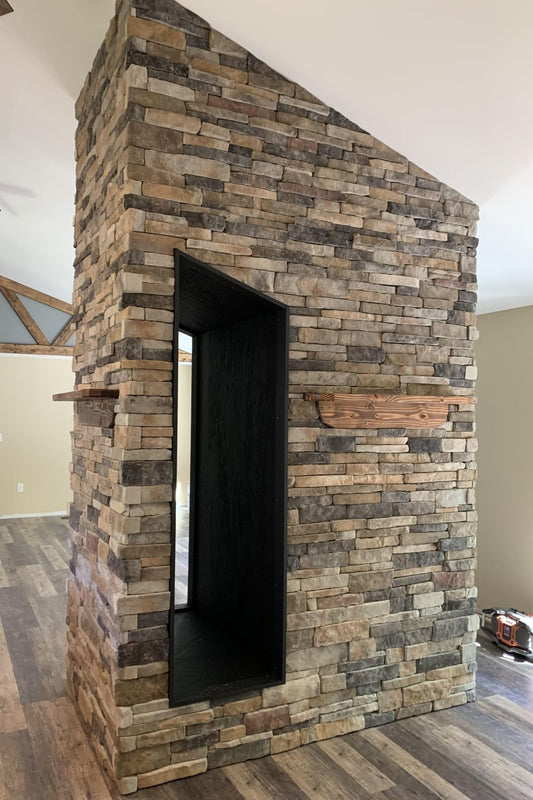
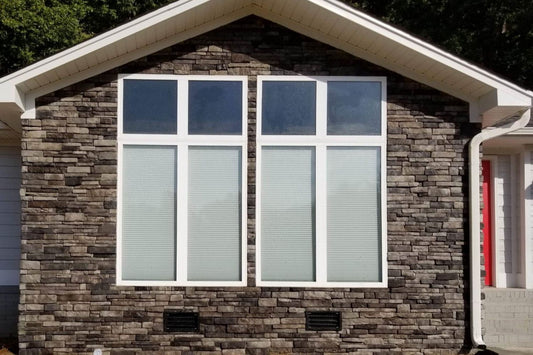
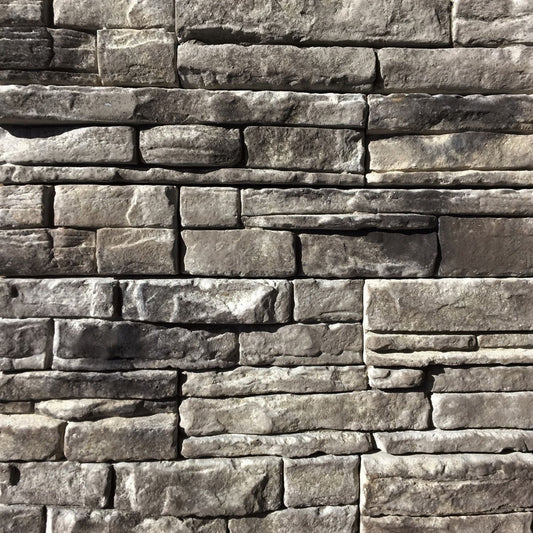
Pictured is stack stone aspen.