
Updating Existing Stone Veneer: How to Refresh, Repair, and Transform Stone Surfaces
Share
Updating existing stone veneer can involve cleaning, repairing loose or damaged stones, changing the color, or replacing the veneer with a new style. The best approach depends on the stone's condition, installation method, and desired appearance.
Stone veneer adds texture, dimension, and natural character to homes, but even a well-designed stone feature can begin to look dated as architectural styles and personal preferences change. A fireplace that once served as the centerpiece of a living room may no longer suit a remodeled interior. An exterior stone facade may clash with new siding, windows, or landscaping. In other cases, the stone itself remains attractive, but years of dirt, discoloration, or localized damage have diminished its appearance.
Fortunately, updating existing stone veneer does not always require removing every stone and starting over. The right approach depends on the type of veneer, its current condition, how it was installed, and the transformation you want to achieve. Some projects can be completed by cleaning the surface and updating the surrounding design. Others require repairs, a carefully considered color treatment, or replacement with a new stone profile.
Understanding these options before beginning a renovation can help you avoid unnecessary demolition, protect the underlying structure, and achieve a more cohesive finished appearance. It is also important to recognize when an existing installation has problems that cannot be solved with cosmetic improvements alone.
Whether you are refreshing an interior fireplace, modernizing an exterior facade, updating a dated accent wall, or planning to replace an older stone finish, this guide explains how to evaluate existing stone veneer and choose an appropriate renovation strategy.
What Does Updating Existing Stone Veneer Involve?
Updating existing stone veneer means improving the appearance, condition, or overall design of a stone-covered surface while determining how much of the original installation can reasonably remain. The work may involve cleaning the stone, repairing loose or damaged pieces, addressing deteriorated mortar joints, changing nearby materials, modifying the color, or removing the existing veneer and installing a different product.
The term stone veneer covers several materials and installation types. Natural stone veneer consists of genuine stone that has been cut or shaped for installation on a wall or other suitable surface. Manufactured stone veneer is a cement-based product designed to reproduce the appearance of natural stone. Brick veneer provides a similar decorative finish with the proportions and character of brick.
These materials can look comparable once installed, but their composition, surface treatments, and installation requirements differ. A renovation method that works for one product may be unsuitable for another. Before choosing a cleaning solution, coating, repair material, or replacement method, identify the existing veneer as accurately as possible.
The distinction between cosmetic aging and installation failure is equally important. A stone surface may look dated while remaining structurally sound and suitable for continued use. Conversely, a wall that appears reasonably attractive may conceal moisture intrusion, deteriorated mortar, or inadequate attachment.
An effective update begins with a condition assessment rather than an immediate decision to paint, cover, or remove the stone. Once you understand the condition of the existing surface, you can determine whether a simple refresh will accomplish your goals or whether a more extensive renovation is justified.
Assess the Condition of Your Existing Stone Veneer
Before updating an existing stone feature, examine the surface carefully and consider how it has performed over time. Look for loose stones, cracked or missing mortar, discoloration, white mineral deposits, water staining, and visible damage around windows, doors, rooflines, or other transitions. On interior walls, pay attention to staining near ceilings, floors, plumbing, and fireplaces.
Some surface changes are primarily aesthetic. Ordinary dust, soot, and accumulated grime can make stone appear darker or less defined than it originally did. Furniture rearrangements, changes in flooring, or new wall colors may also reveal that a stone feature needs a design update rather than a material replacement.
Other conditions require more attention. Loose or detached stones, recurring dampness, widespread cracking, and deteriorating joints may indicate an underlying installation or moisture problem. Efflorescence, which appears as a white, powdery deposit, can occur when moisture carries dissolved salts to the surface. Cleaning the deposit may improve the appearance temporarily, but recurring efflorescence calls for investigation into the moisture source. Because recurring white deposits can indicate an underlying moisture issue rather than a simple surface stain, manufactured stone veneer and efflorescence explains why efflorescence develops and what it can mean for an existing installation.
Loose stones are one of the most important warning signs to look for when assessing existing manufactured stone veneer. A stone that shifts when touched, separates from neighboring pieces, or begins pulling away from the wall may indicate a bonding failure, moisture intrusion, improper installation, or movement behind the veneer. Do not simply push a loose stone back into place or cover the problem with new mortar without determining why it has separated. If the issue is limited to a few stones, localized repairs may be possible, but widespread detachment can indicate a more serious installation problem. Can stone veneer fall off? explains common causes of detachment and why proper installation is essential.
Exterior installations deserve particular scrutiny because they are exposed to rain, temperature changes, freeze-thaw cycles, and movement in the building. Check areas where water could enter, including the tops of walls, roof intersections, openings, and transitions between dissimilar materials. Interior installations can also experience moisture problems, particularly around plumbing, basements, and poorly ventilated spaces. In climates where temperatures fluctuate around freezing, stone veneer and freeze-thaw cycles explains how repeated freezing and thawing can affect stone veneer installations and why moisture management is important.
If stones are separating from the wall or damage is widespread, do not assume that reattaching visible pieces will solve the problem. The underlying substrate, water-management system, attachment method, or structural movement may need to be addressed first.
A professional assessment can help distinguish isolated damage from a broader installation failure. This is particularly valuable when the veneer covers a large exterior area, when the wall has experienced prolonged moisture exposure, or when removing stones could expose a concealed problem.
Can You Update Stone Veneer Without Removing It?
Existing stone veneer can often be updated without complete removal, provided the installation is sound and the chosen renovation method is compatible with the material. Cleaning, localized repairs, changes to surrounding finishes, and carefully planned color treatments can all improve the appearance of an existing stone surface.
The most straightforward option is to clean the stone and restore the definition of its original texture and color. This approach works especially well when the veneer has accumulated dirt, smoke residue, or environmental staining but has not suffered significant deterioration.
Another option is to change the design elements around the stone. Replacing a dated mantel, updating the fireplace surround, changing wall colors, installing new lighting, or coordinating the stone with updated flooring can make an existing feature feel substantially different without altering the veneer itself.
Where damage is limited to a few stones or isolated joints, repairs may be sufficient. Matching replacement pieces and compatible repair materials can restore continuity while preserving the majority of the original installation.
Color changes are possible in some situations, but they require more caution. Stone veneer is not a single, uniform material, and coatings can affect its texture, breathability, and long-term appearance. The suitability of a stain, mineral coating, limewash, or other treatment depends on the specific veneer and the product manufacturer's requirements.
If the existing stone is extensively damaged, poorly installed, or incompatible with the desired design, removal may be the more practical choice. The objective is not simply to preserve as much of the old material as possible. It is to achieve a durable, attractive result without creating additional maintenance or installation problems.
Cleaning Existing Stone Veneer to Restore its Appearance
Cleaning is often the best first step when the stone remains in good condition but looks tired, dirty, or discolored. Years of airborne dust, cooking residue, smoke, pollution, and organic growth can obscure the differences in color and texture that make stone veneer attractive.
Begin by identifying the veneer material and checking the manufacturer's cleaning recommendations, if available. Test any proposed cleaning method on a small, inconspicuous area before treating the entire surface. A solution that is safe for one type of stone or cement-based veneer may damage another.
For routine cleaning, a soft brush and a suitable mild cleaning solution are often preferable to aggressive chemicals or abrasive tools. Work carefully around mortar joints and textured surfaces, where dirt can accumulate in recesses. Rinse only as appropriate for the material and installation, and avoid saturating the wall unnecessarily.
Exterior stone veneer may require a different approach from an indoor fireplace or accent wall. Algae, mildew, soil splashes, and environmental deposits can accumulate outdoors, while indoor surfaces may collect soot, grease, or dust. The cleaning product and method should address the actual source of the staining rather than treating every discoloration as the same problem.
Pressure washing should not be the default solution. Excessive pressure can damage the veneer surface, erode mortar joints, or force water behind the installation. Use it only if the product manufacturer permits it and the installation can safely tolerate the method. Avoid harsh acids, wire brushes, and unapproved chemical cleaners that could alter the surface or damage adjacent materials. Because excessive water pressure can damage mortar joints or force water behind the veneer, stone veneer and pressure washing explains the considerations homeowners should understand before using this cleaning method.
Some stains cannot be removed completely through ordinary cleaning. Rust, deep organic staining, mineral deposits, and discoloration caused by prolonged moisture may require specialized treatment or further investigation. If a stain returns after cleaning, determine whether an ongoing source is responsible.
Once the stone has been cleaned and allowed to dry, reassess its appearance. You may discover that the original color variation and texture remain attractive and that no additional treatment is needed. Cleaning first also provides a more accurate basis for deciding whether repairs, color changes, or replacement are necessary. After cleaning or refreshing an existing stone surface, how to seal and protect stone veneer explains when sealing may be appropriate and how to protect the veneer while maintaining its appearance.
Repairing Loose, Cracked, or Damaged Stone Veneer
When existing stone veneer has isolated damage, repairs may allow you to preserve the surrounding installation. The appropriate repair depends on what has failed. A chipped stone, a cracked mortar joint, a loose veneer piece, and a wall with widespread detachment are different problems that should not be treated identically.
Minor surface chips may be relatively straightforward to address if a compatible repair product is available and the damage does not compromise the stone. Matching the original texture and color is important because repairs can become conspicuous when the replacement material looks different under changing light.
Deteriorated mortar joints may require removal of loose material and repointing with a compatible product. The repair material must suit the existing veneer, joint configuration, and installation requirements. Using an incompatible material can create bonding problems, unwanted color differences, or other deterioration.
Loose stones deserve greater attention. Their movement may result from a localized bonding failure, substrate damage, moisture intrusion, or a problem with the original installation. Before reattaching a piece, determine why it became loose and whether the surrounding wall remains sound. Simply applying additional adhesive or mortar over a failed installation can conceal the underlying problem without correcting it.
Exterior repairs should also account for water management. If water has entered behind the veneer, the source must be identified and corrected. Otherwise, the repaired area may deteriorate again, and nearby stones may eventually be affected.
When multiple stones are loose, cracks are spreading, or damage extends across a substantial area, a qualified installer should evaluate the wall before cosmetic repairs begin. Removing selected stones may be necessary to inspect the substrate and attachment system.
The goal of a successful repair is not merely to make damage less visible. It is to restore the appropriate performance of the installation while maintaining a consistent appearance. If replacement stones cannot be matched satisfactorily or repairs would be extensive, replacing the entire veneer may offer a better long-term result. Before deciding whether to repair individual stones or replace the entire surface, read can you repair stone veneer? to learn more about common stone veneer damage and when repairs may be appropriate.
If the damaged component is a capstone or hearthstone rather than a standard veneer piece, can you repair a capstone or hearthstone? discusses the options to consider when these specialized stone elements become damaged.
Can You Paint or Change the Color of Existing Stone Veneer?
Changing the color of existing manufactured stone veneer is possible, but the best approach depends on the current finish, the condition of the stone, and the appearance you want to achieve. Options include painting, limewashing, and applying a German smear finish. Each treatment creates a different look, and homeowners should understand how it may affect the stone's original color, texture, and long-term performance before proceeding.
Painting creates a more uniform color change and can significantly alter the appearance of a stone fireplace, accent wall, or exterior feature. However, applying paint may obscure the natural color variations that help manufactured stone veneer look realistic. Paint can also affect the stone's ability to manage moisture, depending on the product used and the existing installation. Before painting, check the stone manufacturer's recommendations and warranty terms. For more information about the process and its potential limitations, read can you paint manufactured stone veneer?
Limewashing offers a softer alternative by creating a muted, aged appearance while allowing some of the original stone color and texture to remain visible. The final result depends on the application technique, the existing stone color, and the product used. If you are considering this finish, limewashing manufactured stone veneer explains how limewashing can change the appearance of a stone surface.
A German smear finish creates a different effect by applying mortar or a suitable masonry finish over portions of the stone, leaving some areas exposed while softening others. This technique can produce a rustic, old-world appearance, particularly on fireplaces and brick or stone accent walls. The amount of coverage determines how much of the original stone remains visible. Because applying a German smear changes the surface and may affect the original finish, homeowners should confirm that the proposed materials and method are appropriate for their particular veneer. For a closer look at this decorative technique, see applying a German smear finish to stone veneer.
Before changing the color or finish of an existing installation, make sure the veneer is securely attached and that there are no unresolved moisture problems, loose stones, or deteriorating mortar joints. Cosmetic treatments will not correct underlying installation issues. Test any proposed treatment in a small, inconspicuous area first, and evaluate the result after it has fully dried.
In some cases, cleaning the stone or repairing damaged areas may be enough to improve its appearance without changing the original color. If the goal is a completely different stone style, replacing the existing veneer may provide a more predictable and durable result than applying a surface treatment.
Updating an Existing Stone Fireplace
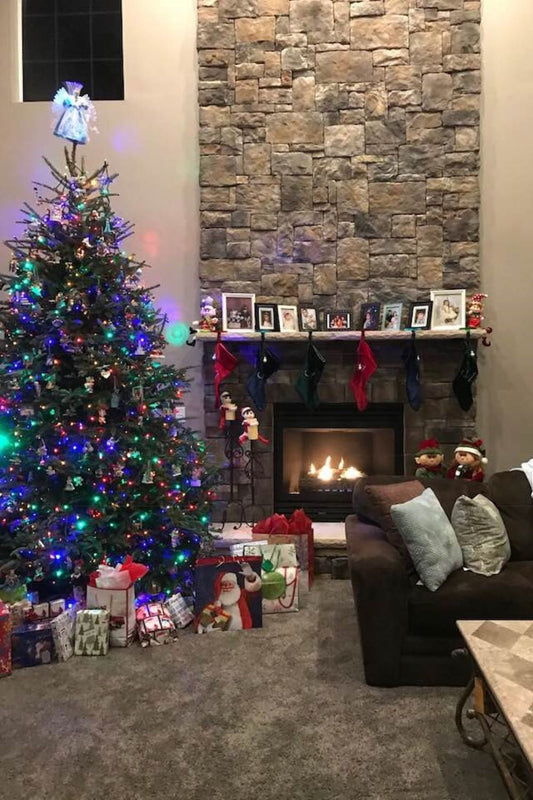
Fireplaces are among the most common stone features homeowners want to update. Because a fireplace often occupies a prominent position in a living room, family room, or great room, its color, proportions, and texture can influence the entire space.
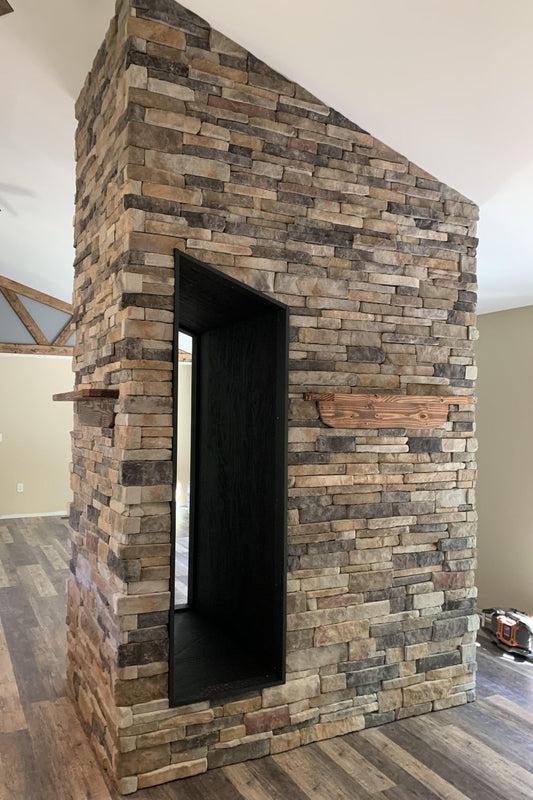
An older fireplace may feature bulky stonework, a dated color palette, an oversized raised hearth, or a mantel that no longer suits the room. In many cases, the existing stone can remain while the surrounding design is changed. If your renovation involves transforming an existing brick fireplace with a new stone finish, installing stone veneer over a brick fireplace explores the considerations involved in this type of project.
One approach is to update the mantel. Replacing a heavy, dark wood mantel with a simpler profile, or introducing a different material, can change the character of the fireplace without disturbing the stone veneer. The new mantel must be appropriate for the fireplace type and installed with suitable clearances and attachment methods. If you plan to keep the existing stone but change the fireplace's overall appearance, stone veneer and wood mantels explores how wood mantels can complement stone veneer and contribute to the finished fireplace design.
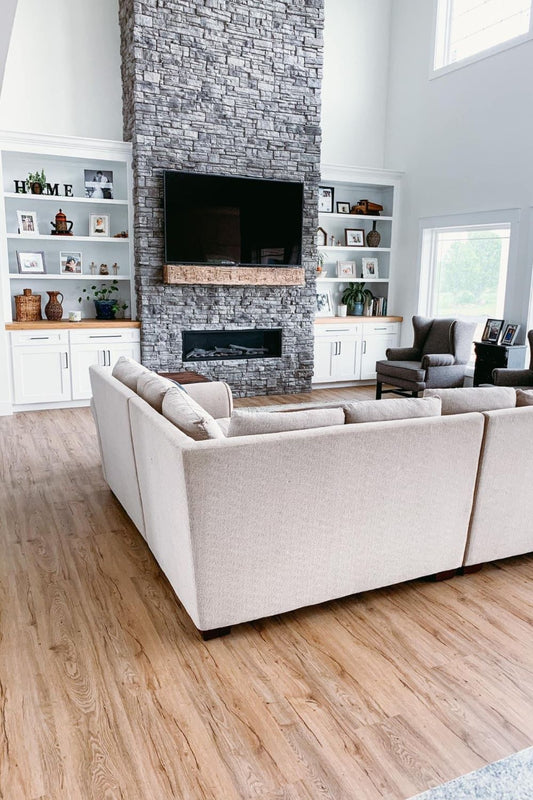
Wall color can make an equally significant difference. Warm neutral paint may complement beige or buff stone, while a cooler background can help gray stone feel more contemporary. The best combination depends on the undertones in the stone, the room's lighting, and the flooring and furnishings.
Lighting also affects how the stone appears. Recessed lights, wall washers, or well-positioned fixtures can emphasize texture and create depth. However, strong directional lighting can also reveal imperfections that are less noticeable under diffuse light, so lighting should be considered alongside the condition of the veneer. Lighting can dramatically change how the texture, relief, and color variations of a stone surface appear, and how light and shadows work with manufactured stone veneer explains how these effects influence the finished design.
For a more substantial transformation, homeowners may choose to install new stone veneer over an existing fireplace surround or remove the original material and replace it. The feasibility of covering an existing surface depends on the substrate, attachment method, added thickness and weight, clearances, and applicable building and fireplace requirements.
Fireplace renovations require particular caution. Decorative stone veneer may be non-combustible, but that does not automatically make the entire assembly fire-rated or suitable for direct flame exposure. Firebox linings, hearths, combustible mantels, and surrounding materials must meet the requirements for the specific appliance and installation.
If the fireplace has loose stones, deteriorated mortar, evidence of moisture, or unknown construction details, have it evaluated before applying a new finish. A cosmetic update should not conceal a condition that affects safety or durability.
Updating Exterior Stone Veneer
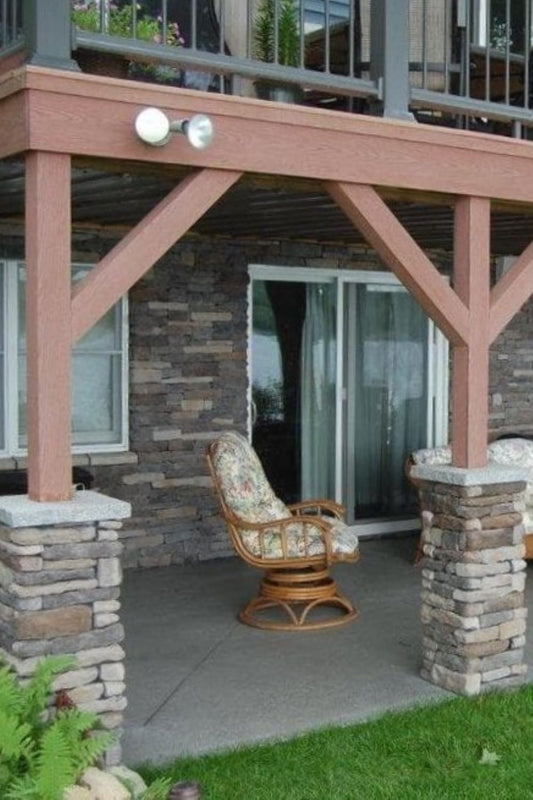
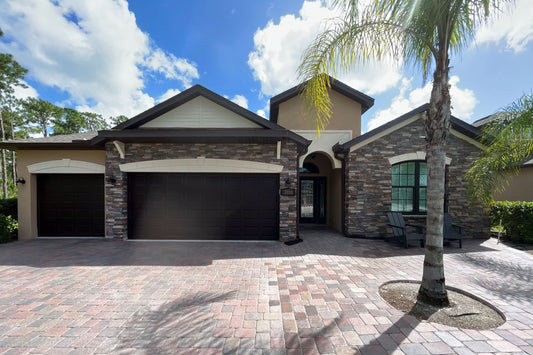
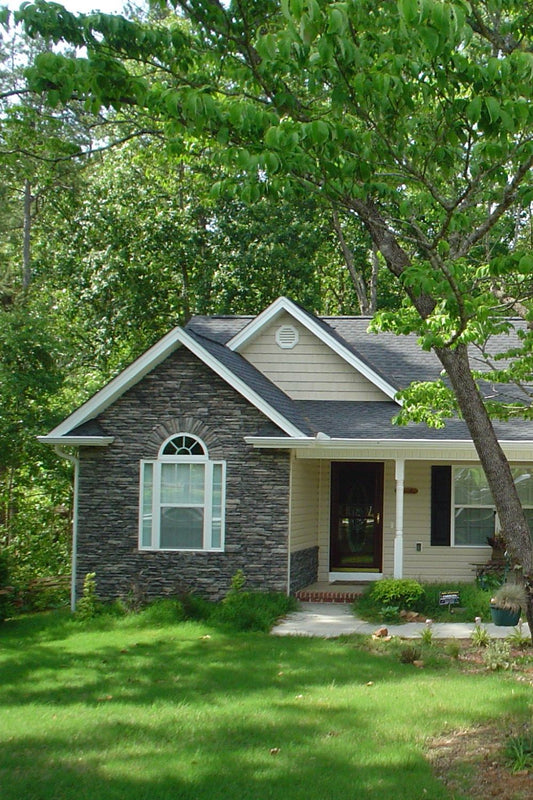
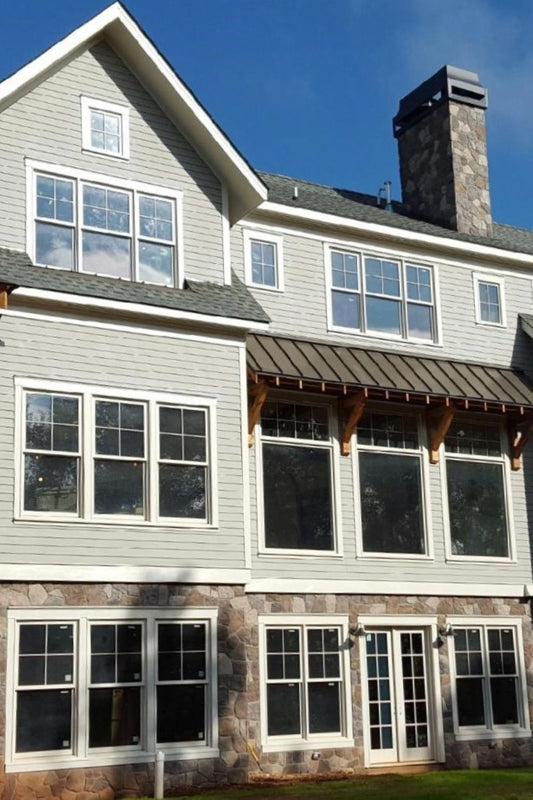
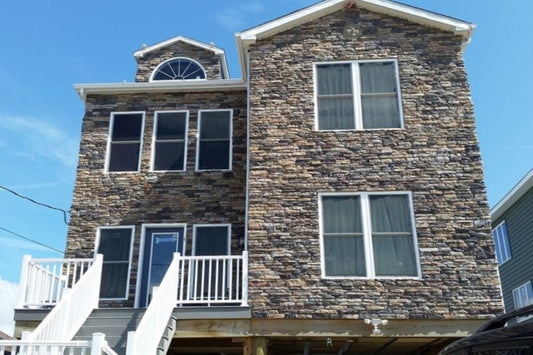
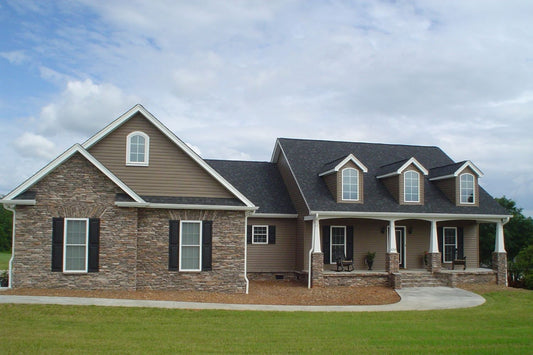
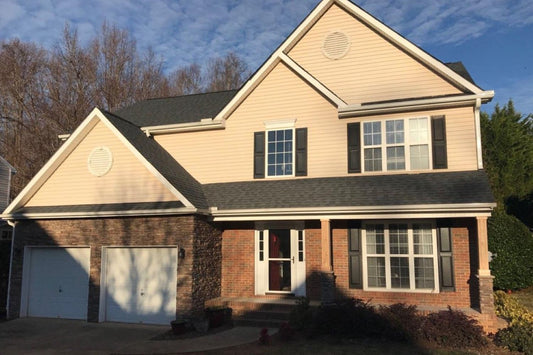
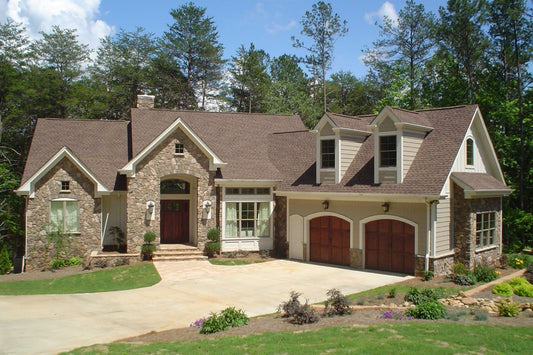
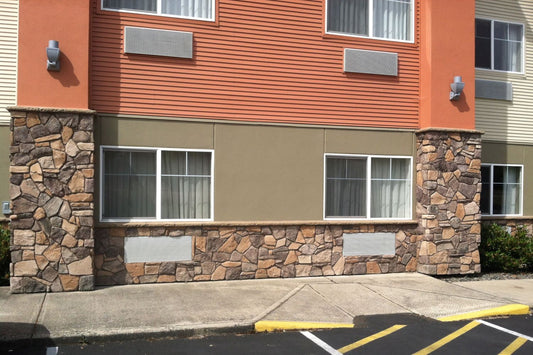
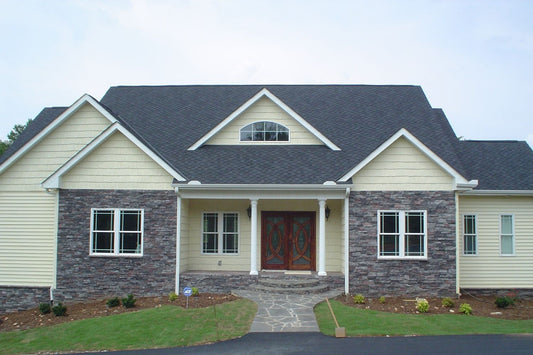
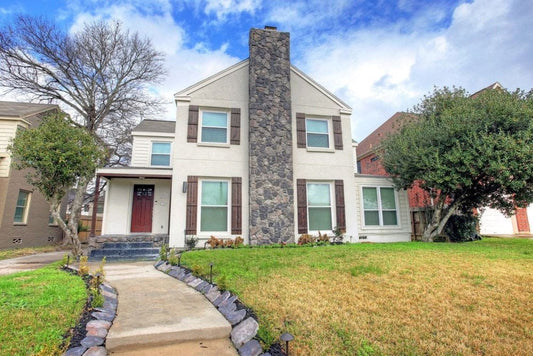
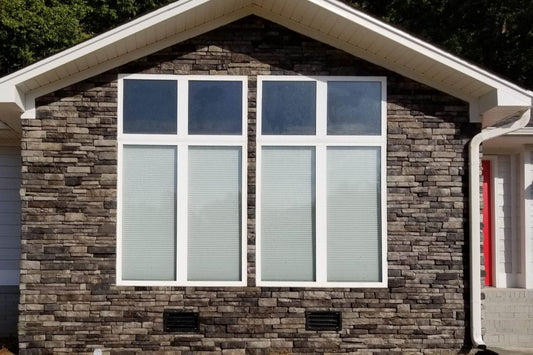
Exterior stone veneer can give a home a substantial architectural presence, but it can become difficult to coordinate with updated siding, roofing, windows, doors, and landscaping. A stone finish that once complemented the house may feel too dark, too busy, or inconsistent with a newer design.
Before changing the appearance, inspect the exterior installation for signs of water intrusion and deterioration. Pay particular attention to the tops of walls, window and door openings, roof-to-wall intersections, and transitions between stone veneer and other cladding materials. These areas are especially important because improperly managed water can damage the installation even when the visible stone initially appears sound.
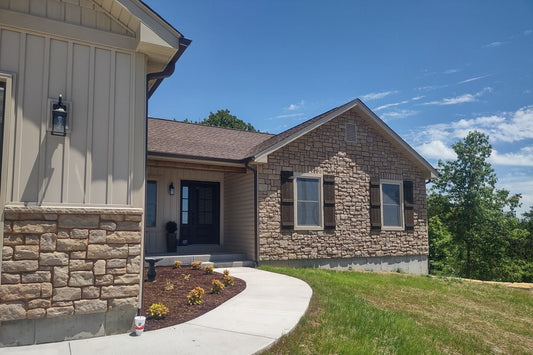
If the veneer is in good condition, updating adjacent materials may be the simplest way to refresh the facade. New siding, a different trim color, updated exterior lighting, or a revised landscape design can help older stone feel intentional within a more contemporary exterior.
For example, warm-toned stone can pair well with cream, taupe, or other earthy exterior finishes. Gray stone may complement charcoal trim, muted siding colors, or natural wood accents. These are starting points rather than fixed rules; the stone's undertones and the home's overall architecture should guide the final combination.
Cleaning and repairing the stone can also make a meaningful difference. Removing accumulated grime, correcting deteriorated joints, and addressing isolated damage may restore the original appearance without requiring a complete replacement.
Color treatments need additional scrutiny outdoors because the veneer must continue to perform under changing weather conditions. Coatings can alter how moisture moves through a wall, and exterior exposure may cause fading, peeling, or uneven wear if the treatment is unsuitable. Follow the manufacturer's recommendations and investigate warranty implications before proceeding. If your existing exterior stone looks lighter or less vibrant than it once did, does stone veneer fade? explores the factors that can affect stone veneer color and its appearance over time.
When the existing installation is damaged, poorly integrated with the wall's water-management system, or fundamentally incompatible with the desired design, removal and replacement may be the better option. The replacement project should account for the condition of the substrate, appropriate moisture protection, attachment requirements, and transitions to the surrounding cladding.
A successful exterior update should improve the home's appearance without compromising the performance of its wall assembly. This is why addressing water management and installation integrity is just as important as selecting the new stone color or profile.
Can You Install New Stone Veneer Over Existing Stone?
Installing new stone veneer over an existing stone surface may be possible in some circumstances, but it is not a universally suitable shortcut. The decision depends on the original installation, the condition and compatibility of the existing surface, the proposed veneer system, and the structure's ability to support the additional material.
The first consideration is whether the existing stone is firmly attached and stable. New veneer should not be installed over loose, deteriorating, or otherwise unsound material. Covering a failing surface can make future repairs more complicated and may leave the underlying problem unresolved.
The next consideration is the substrate and installation system. A surface that looks solid is not necessarily an approved bonding surface for the new veneer. Existing stone may have an irregular texture, a coating, contamination, or a construction method that prevents reliable attachment. The new product's installation instructions must specifically support the proposed application. If the existing surface is brick rather than stone veneer, can you install stone veneer over existing brick? explains the key considerations when evaluating whether the brick can serve as the base for a new stone veneer installation.
Weight and thickness are also important. Adding another layer changes the finished wall depth and can affect trim, window and door returns, exterior transitions, and other architectural details. Depending on the structure and installation, the added weight may require professional evaluation.
For interior projects, an existing stone fireplace or accent wall may have limitations related to clearances, available space, and the condition of the original wall assembly. For exterior projects, the wall's water-management system and ability to drain or dry appropriately must also be considered.
In some cases, removing the original veneer is more predictable than covering it. Removal makes it possible to inspect the substrate, correct underlying problems, and install the replacement system according to its requirements.
If you want to retain the existing stone but achieve a new look, consider whether cleaning, repairs, or changes to the surrounding design could accomplish the same goal with less disruption. If you prefer a completely different stone style, compare the practical and aesthetic benefits of overlaying the existing surface, where permitted, with removing it first.
A qualified installer can assess whether an overlay is appropriate for your specific project. Do not assume that a strong-looking surface is sufficient proof that it can support another veneer installation.
Replacing Outdated Stone Veneer With a New Style
Sometimes the most effective way to update existing stone veneer is to replace it. This is particularly true when the original installation is damaged, the color or texture is incompatible with the desired design, or the cost of extensive repairs approaches the cost of installing a new surface.
Replacing the veneer provides an opportunity to reconsider the scale, pattern, color, and overall architectural character of the stone. It can also allow an installer to inspect the substrate and address deficiencies that would otherwise remain hidden.
The first decision is whether the existing veneer can be removed without unacceptable damage to the underlying structure. Removal methods depend on the original attachment system, the substrate, and the surrounding finishes. Some projects involve significant demolition, while others permit more controlled removal.
Once the original stone is removed, the exposed surface should be inspected and prepared for the new installation. Any necessary repairs to the substrate, water-management system, or supporting structure should be completed before the replacement veneer is installed.
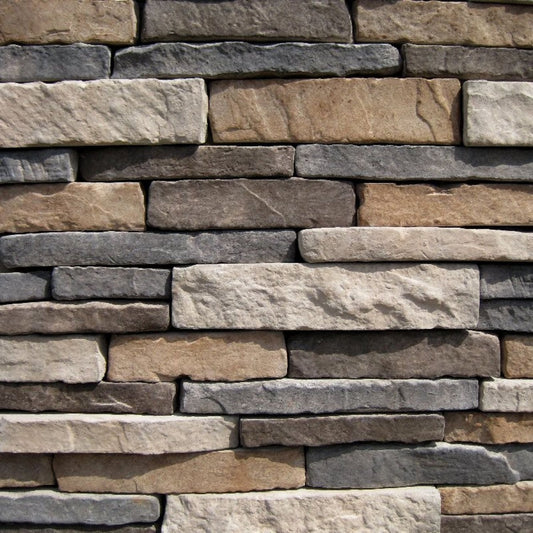
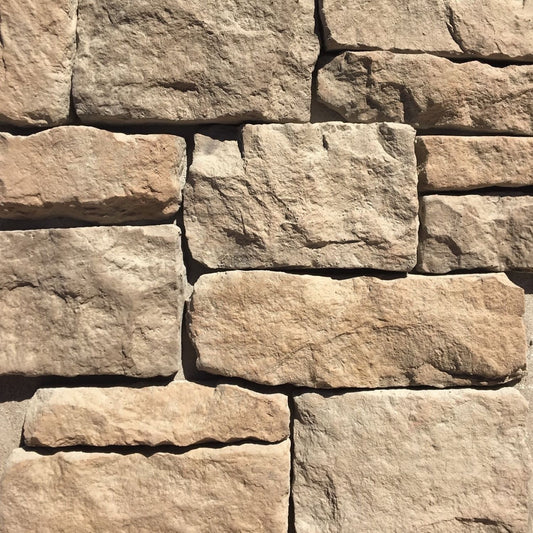
Choosing the replacement style is just as important as evaluating the construction. A stone profile with a similar color but a different scale can produce a noticeably different result. Larger stones may create a bold, substantial appearance, while narrower horizontal pieces can emphasize the length of a wall. Irregular shapes can introduce a more rustic character, while carefully arranged ashlar patterns often feel more formal.
Color should be considered in relation to the entire space or facade. Look at the stone alongside existing flooring, cabinetry, siding, trim, roofing, and other permanent finishes. A sample that looks attractive on its own may appear quite different when installed across a large wall.
The amount of texture and contrast also affects the finished design. High-contrast stones can become a focal point, while subtle variations may allow the stone to complement other architectural features without dominating them.
When replacing only part of an existing stone feature or extending a stone finish into a nearby area, how to match new manufactured stone veneer to existing stone installations explains how to select a compatible profile and color for a more consistent result.
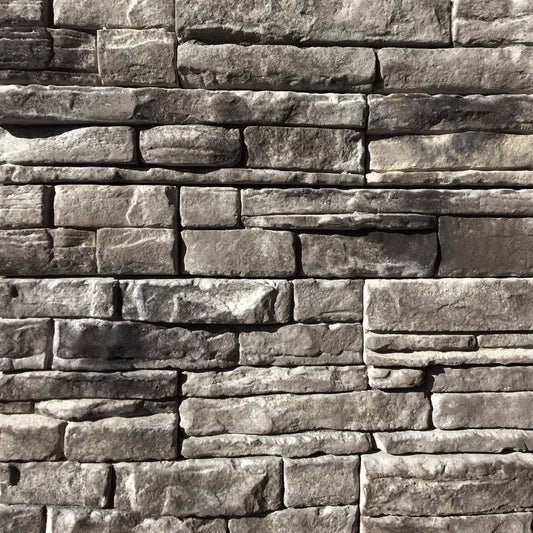
For homeowners planning a complete change, manufactured stone veneer offers a range of styles inspired by natural stone, including ledgestone, fieldstone, and limestone appearances. The best selection depends on the desired look, the dimensions of the project, and the installation system appropriate for the location.
Choosing the Right Manufactured Stone Veneer for Your Update
When replacing existing stone or undertaking a major renovation, choosing the right manufactured stone veneer is an opportunity to create a more cohesive design. The selection should account for appearance, installation requirements, location, and the surrounding materials rather than color alone.
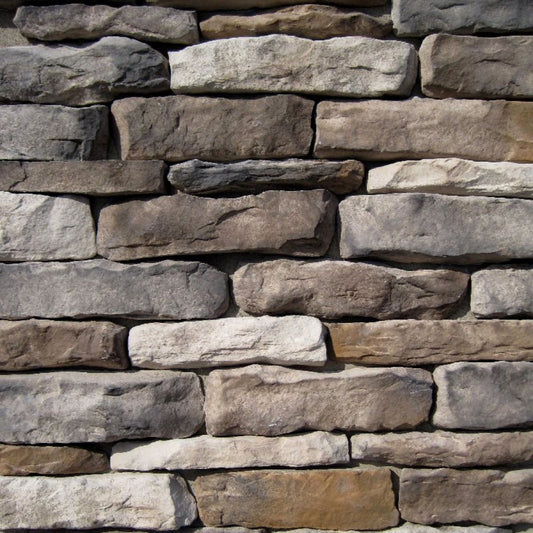
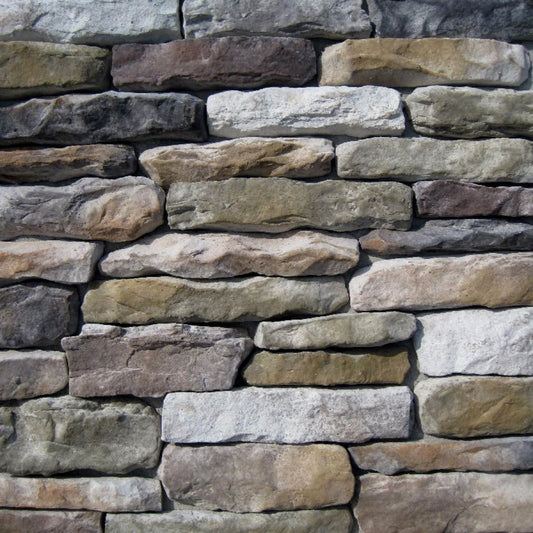
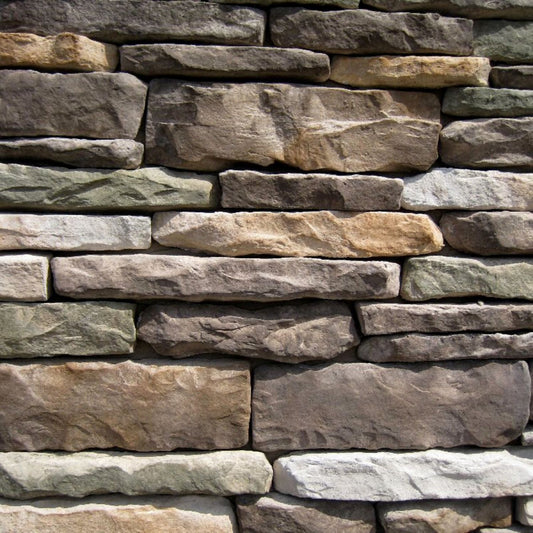
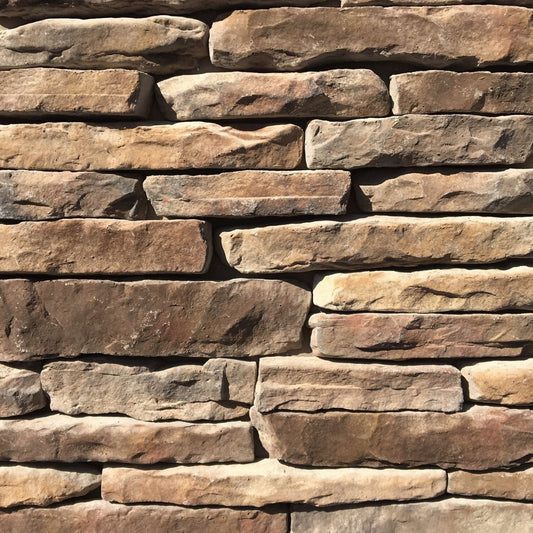
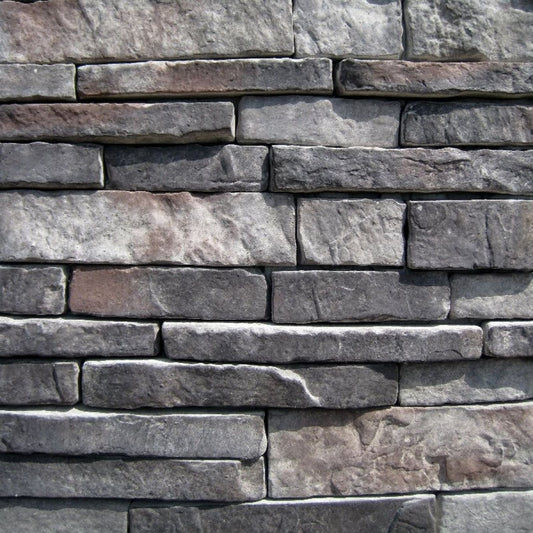
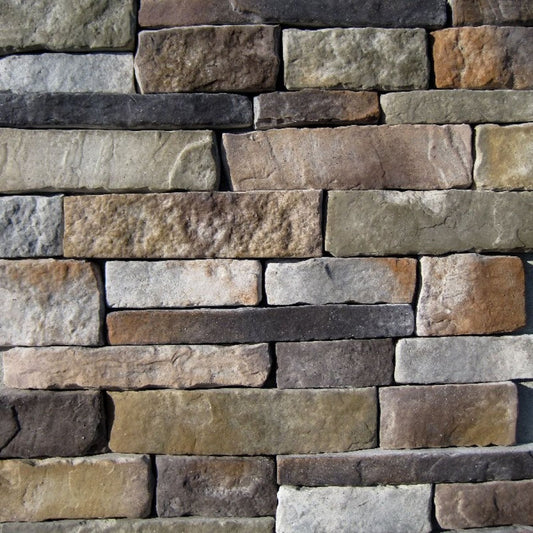
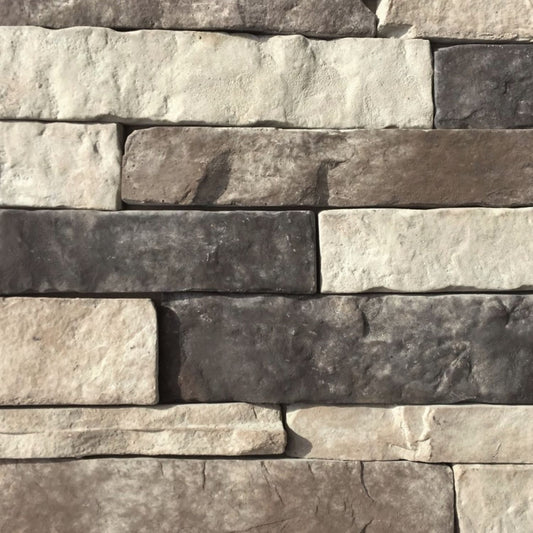
Ledgestone profiles generally feature elongated, relatively narrow pieces arranged in horizontal courses. This can emphasize horizontal lines and create a strong sense of texture. They can work well on fireplace surrounds, exterior facades, and accent walls where the goal is to introduce a pronounced stone pattern.
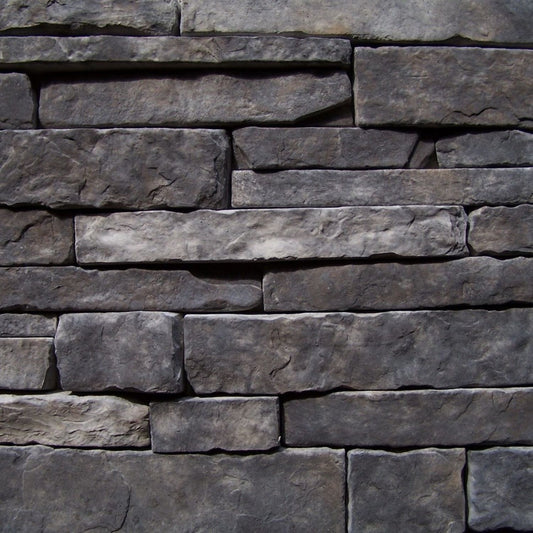
Stack stone profiles typically use individual pieces arranged closely together to create a tight-jointed, dry-stack appearance. The resulting texture can suit both traditional and contemporary spaces, depending on the color and stone proportions.
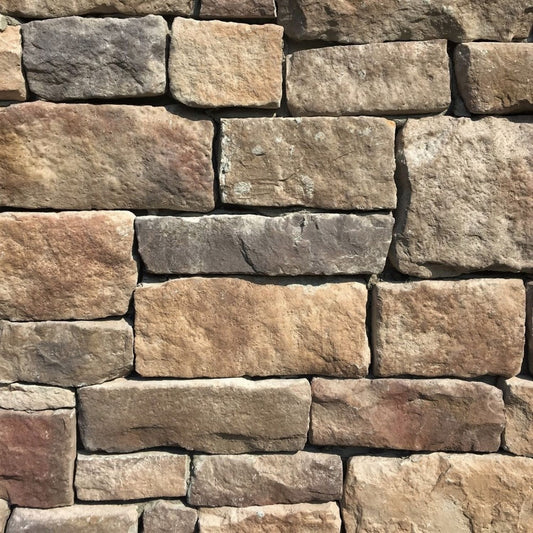
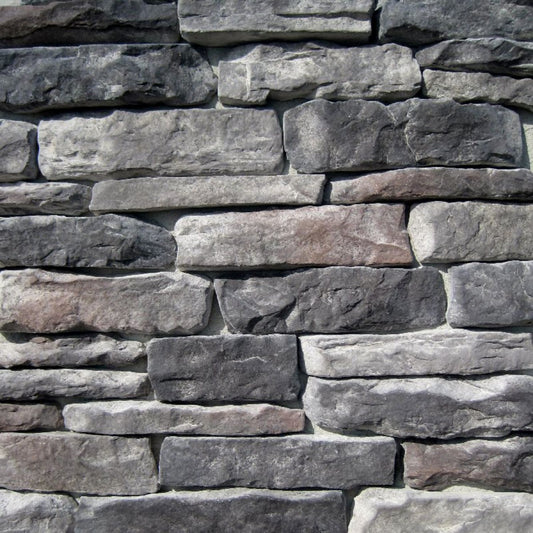
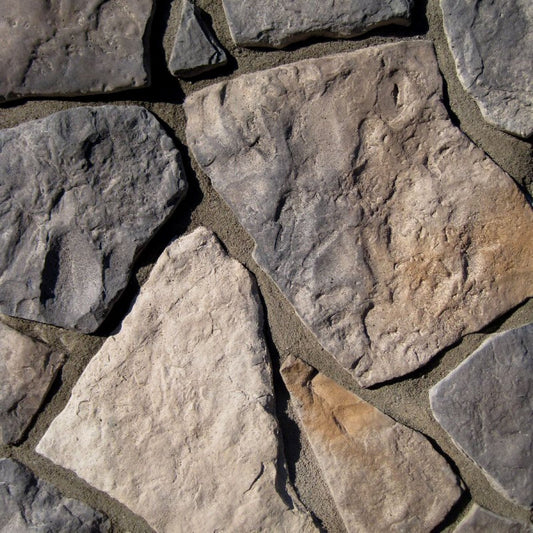
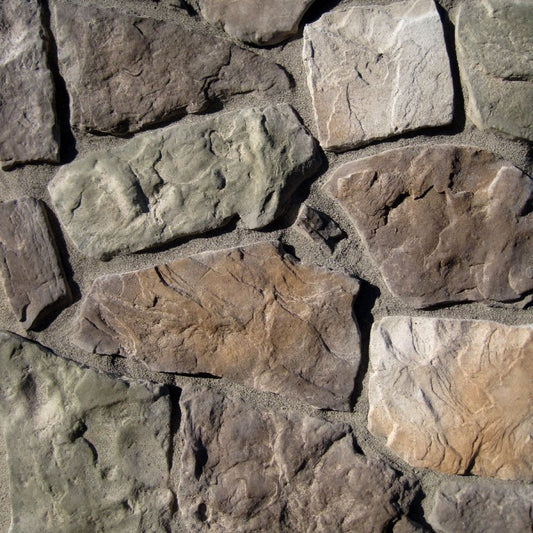
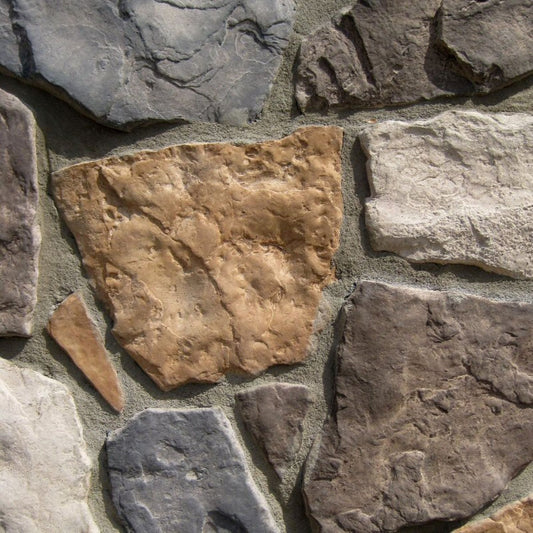
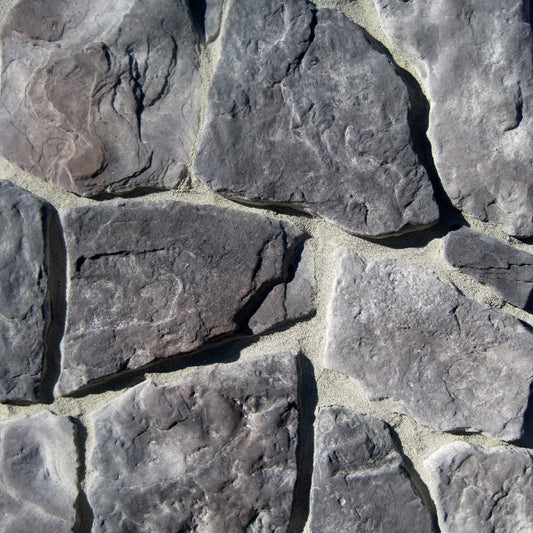
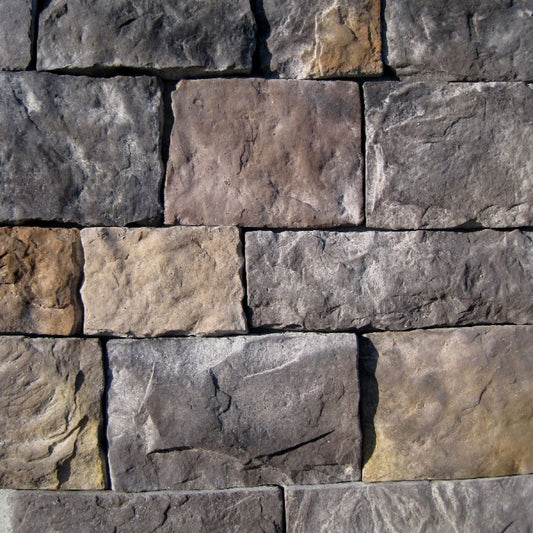
Fieldstone offers a more irregular appearance, with varied shapes and sizes that can create a rustic or natural character. Ashlar-style profiles use more organized rectangular or squared pieces, producing a more structured pattern that can complement a range of architectural styles.
The names used for stone styles vary among manufacturers, so examine the actual profile rather than relying solely on the product label. Stone dimensions, relief, joint configuration, and the way pieces fit together all influence the final appearance.
Color selection deserves the same attention. Natural-looking stone designs often incorporate several related tones rather than a single uniform color. These variations help individual pieces remain visually distinct and create depth across a larger installation.
If you are selecting a replacement product for a specific room or exterior wall, obtain physical samples when available. View them under the lighting conditions where the stone will be installed and compare them with the materials that will remain in place. A small sample will not reproduce every variation found across a full wall, but it can help you assess the general color, texture, and profile. Exploring different profiles and reviewing physical samples can help homeowners, contractors, and designers identify an option that complements the project. Before committing to a replacement profile, manufactured stone veneer samples explains how reviewing physical samples can help you evaluate color, texture, and style alongside your home's existing finishes.
Before ordering, confirm the product's intended applications, installation requirements, minimum order quantity, and current lead time. These details are particularly important when coordinating stone replacement with a larger renovation or construction schedule.
Preparing for a Stone Veneer Renovation
Proper preparation helps prevent avoidable delays and reduces the risk of choosing a renovation method that is unsuitable for the existing wall. Begin by documenting the dimensions of the surface, the location of openings and transitions, and the condition of the stone.
For a cleaning or repair project, determine which areas need attention and whether the work can be completed without disturbing the surrounding installation. If the project involves a color treatment, confirm product compatibility and test the appearance before committing to the full surface.
For a replacement project, establish whether the original veneer will be removed completely or whether an approved overlay system is being considered. This decision affects demolition, substrate preparation, material quantities, labor, and project scheduling.
The underlying wall is particularly important. Exterior manufactured stone veneer installations commonly involve water-resistive protection, appropriate flashing, lath and a scratch coat, or another system specified for the substrate and product. The correct assembly depends on the building construction and the manufacturer's installation instructions.
A cement-based board, existing masonry wall, wood-framed wall, and insulated concrete form wall may require different preparation and attachment methods. Do not assume that a new veneer can be bonded directly to every surface simply because it is hard, flat, or cementitious.
Plan for transitions around doors, windows, trim, corners, electrical fixtures, and other architectural details. A new stone profile may be thicker or thinner than the original, which can affect how these details meet the finished surface. Addressing these conditions in advance usually produces a more professional result.
Outdoor projects also require suitable weather conditions and protection during installation. Temperature, precipitation, and curing requirements vary by installation system, so follow the applicable instructions rather than relying on a single rule for every product.
Finally, consider whether the project requires a qualified installer. Cosmetic cleaning or updating nearby finishes may be manageable for an experienced homeowner, while extensive removal, moisture-related repairs, and new exterior installations can involve technical requirements that warrant professional assistance.
How Much Does It Cost to Update Existing Stone Veneer?
The cost of updating existing stone veneer depends on the condition of the installation, the size of the surface, the chosen renovation method, and the amount of preparation required. Cleaning and minor repairs generally involve less work than a project that includes extensive demolition, substrate repairs, and new veneer installation.
A cleaning project may primarily involve labor, suitable cleaning products, and access equipment where necessary. The cost increases when staining is severe, the surface is difficult to reach, or specialized treatment is required.
Repair costs depend on the number of damaged stones, the extent of mortar deterioration, and whether the installer must investigate or correct an underlying problem. Matching an older stone profile can also affect the price if compatible replacement pieces are difficult to source.
Color treatments involve surface preparation, the cost of the treatment product, and application labor. However, the lowest initial price does not necessarily represent the best value. If the treatment is incompatible with the veneer or requires frequent maintenance, the long-term cost may exceed that of a more appropriate solution.
Replacing the existing veneer generally involves the cost of the new stone, removal and disposal of the original material, preparation of the substrate, installation labor, and finishing details. If moisture protection or structural repairs are required, these can significantly affect the overall budget.
Project size also influences material planning. The amount of stone needed depends on the surface area, openings, corners, the selected profile, and the manufacturer's coverage calculations. Accurate measurements and a clear installation plan help reduce the risk of ordering too little material or purchasing unnecessary excess.
Because each project has different requirements, it is best to obtain estimates based on the actual condition of the existing wall and the desired finished result. Compare the scope of work included in each estimate, not just the total price. A proposal that addresses substrate preparation and moisture management may provide better long-term value than one that focuses exclusively on covering the visible surface.
Common Mistakes to Avoid When Updating Stone Veneer
One of the most common mistakes is treating an installation problem as a cosmetic problem. Cleaning, painting, or replacing a few visible stones will not correct an underlying moisture issue, unstable substrate, or widespread attachment failure. The source of the damage must be addressed before the surface is refinished.
Another mistake is choosing a color treatment before identifying the veneer material. Products designed for one type of stone may not be suitable for manufactured stone veneer. A coating can also alter the appearance, moisture behavior, or warranty status of the original product.
Aggressive cleaning is another avoidable risk. Harsh chemicals, abrasive brushes, and excessive water pressure can damage textured surfaces and mortar joints. Always follow the product manufacturer's guidance and test cleaning methods in an inconspicuous area.
Homeowners sometimes assume that new veneer can be installed directly over an existing stone surface without further preparation. In reality, an overlay must be supported by a suitable substrate and an approved installation method. Covering an unstable surface can make future repairs more difficult.
Choosing replacement stone based on a small photograph alone can also lead to disappointment. Color reproduction varies by screen, and the relationship between individual stones becomes more apparent across a large installation. Samples, project photographs, and comparisons with existing finishes provide a more reliable basis for selection.
Finally, do not overlook details around the edges of the project. Transitions at corners, windows, doors, mantels, and adjoining wall materials contribute substantially to the finished appearance. A carefully selected stone profile can still look unfinished if these details are not planned properly.
A successful update balances appearance with durability. Taking time to assess the original installation, select compatible materials, and plan the work can help prevent avoidable costs and produce a more satisfying result.
Updating Existing Stone Veneer
Updating existing stone veneer can be worthwhile when the material remains sound but no longer fits the appearance or function of the space. Cleaning, repairing isolated damage, or changing surrounding finishes can extend the useful life of a stone feature without the expense and disruption of a complete replacement.
A more extensive renovation may be justified when the existing veneer has significant damage, recurring moisture problems, or a style that cannot be adapted to the desired design. Although replacement requires more planning and investment, it creates an opportunity to correct underlying issues and select a stone profile that better suits the home.
The best approach is the one that addresses the actual condition of the installation while meeting your design goals. A visually dated fireplace may need only a new mantel and updated wall color. A deteriorating exterior wall may require a more comprehensive assessment and replacement system.
For homeowners who decide that new stone is the right choice, manufactured stone veneer offers a wide range of textures, shapes, and colors for interior and exterior renovations. Comparing styles, reviewing samples, and confirming installation requirements can help you move from an outdated finish to a design that feels intentional and enduring.
From Mountain View Stone: What You Should Know
Mountain View Stone manufactures cement-based manufactured stone veneer and brick veneer for residential and other suitable architectural applications. The product range includes a variety of stone profiles and colors that can help homeowners, contractors, masons, and designers update fireplaces, accent walls, exterior facades, and other stone features. If your existing stone veneer no longer suits your design, consider whether cleaning, repairs, or changes to the surrounding finishes could preserve the original installation. When a full replacement is the better option, selecting a new profile provides an opportunity to reconsider the stone's color, scale, texture, and relationship to the rest of the home. Review the installation requirements for the product and application you choose, and ensure that the existing surface and underlying wall assembly are suitable for the proposed work.
Frequently Asked Questions About Updating Existing Stone Veneer
Can you change the appearance of existing stone veneer without replacing it?
Yes. If the veneer is in good condition, you may be able to improve its appearance through cleaning, localized repairs, updated mortar joints, or changes to the surrounding finishes. Some stone surfaces can also accept compatible color treatments, provided the product manufacturer permits them. The best method depends on the veneer material, installation condition, and desired result.
Can you paint manufactured stone veneer?
Some manufactured stone veneer can be painted or treated, but compatibility and warranty implications must be checked before applying a coating. Paint may create a more uniform appearance and obscure the natural-looking variation of the stone. Always follow the manufacturer's recommendations and test the proposed treatment before proceeding.
Can you install new stone veneer over existing stone?
In some cases, an approved installation system may permit new veneer over an existing surface. However, the original stone must be stable, the substrate must be suitable, and the additional weight and thickness must be considered. Removal may be necessary if the existing installation is damaged, incompatible, or unsuitable for the proposed system.
How do you modernize an outdated stone fireplace?
An outdated stone fireplace can often be refreshed by updating the mantel, changing the surrounding wall color, improving lighting, or coordinating the stone with new flooring and furnishings. If the stone itself is damaged or no longer fits the design, replacing it with a different manufactured stone veneer profile may provide a more complete transformation. Fireplace clearances and installation requirements must be maintained throughout the renovation.
How do you repair damaged or loose stone veneer?
The repair method depends on the cause and extent of the damage. Minor chips or deteriorated joints may be repairable with compatible materials, while loose stones require investigation into the attachment and substrate. If moisture intrusion, widespread detachment, or structural movement is suspected, address the underlying problem before completing cosmetic repairs.
Is it better to repair existing stone veneer or replace it?
Repair is often appropriate when the installation is sound and the damage is limited. Replacement may be more practical when damage is widespread, moisture problems persist, matching materials are unavailable, or the desired design requires a different stone profile. Comparing the cost, scope, and expected durability of each approach can help determine the best option for your project.
What's Next?
Transform your space with manufactured stone veneer that combines realistic textures, natural color variations, and lasting durability. Shop now to find the right style for your project or order a sample to see the color and texture up close before you buy.
Have a Question?
Please see our full terms of service or check out our frequently asked questions.
For general information and questions please call: (864) 882-8960 Mon. - Fri. 8am - 5pm (EST) or email: info@mountainviewstone.net we are more than happy to help you.
Or you can submit your questions via our contact us page.
We look forward to working with you on your upcoming project.
The Mountain View Stone Team
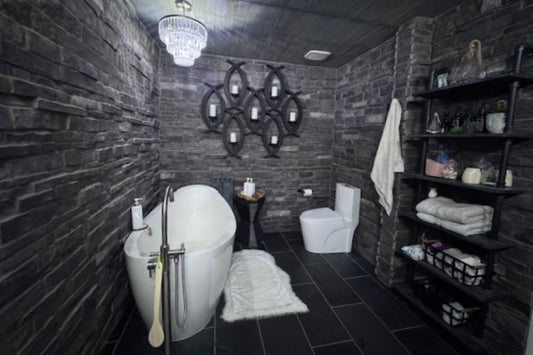
Pictured is hackett stone ash enhanced with AI.